Not to Long Ago

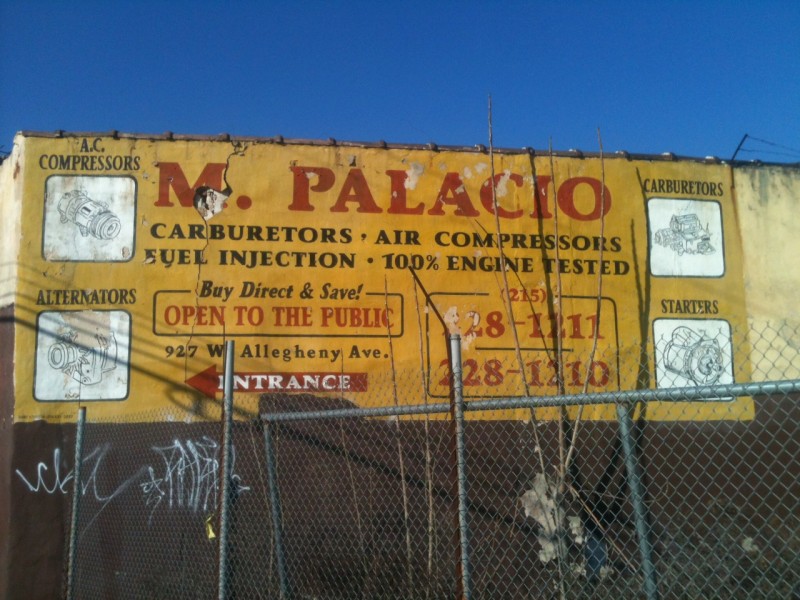
With all this machining and making parts as of late, got to me thinking about the places that used to do these things on the regular and how there disappearing. Soon we will only have ourselves and the cottage industry to rely on to keep the machines we love on the road. I ride by this now abandoned building every time I go down to the shop. Reminds me of a time about 12 years ago I had needed a carb serviced apon moving to the city. I asked around south philly where I was living at the time and the general consensus was North Philly’s Palacio Carburetor. This was an old clapped out 2 bbl on a 74 Plymouth Valiant. After riding about 60 blocks on my bicycle I was there. Despite all the windows on the side of the building when you entered it was like a cave in there. There were boxes of carb cores and ac compressors piled to the ceiling blocking off all light. I was told by the old guy behind the counter that it would be ready in a week or so. Week goes by and I get a call from them to pick it up. A half a day bicycle ride later I was there again. The old guy and I talked shop a while and I asked him a about the 100% engine tested on his sign. He gave me the old “come here kid” and we meandered through hallways with walls of parts and carbs to a back room with an old flathead 4 on a test stand. He asked me for my carb out of the box that he had just given back to me.
This intake manifold on the flatie had a big square sheet metal box on it where the carb would go. Looked to have been gas welded 100 years ago. He reached up to a wall of adapter plates made of mahogany and put the 2bbl one on and set my carb on top. There was some kind of quick action ratcheting lever arm to press down on the carb body to make a seal. He pushed on a fuel line and fires that old flathead 4 right up. Cool.
After that I brought it home and put it on the Valiant, It ran great after that, I can’t remember so well now but I think they re-bushed the shafts and changed out the jets and powervalve. It makes me wonder where all the industry has gone. Please feel free to share your stories in the comments below.
-DAN

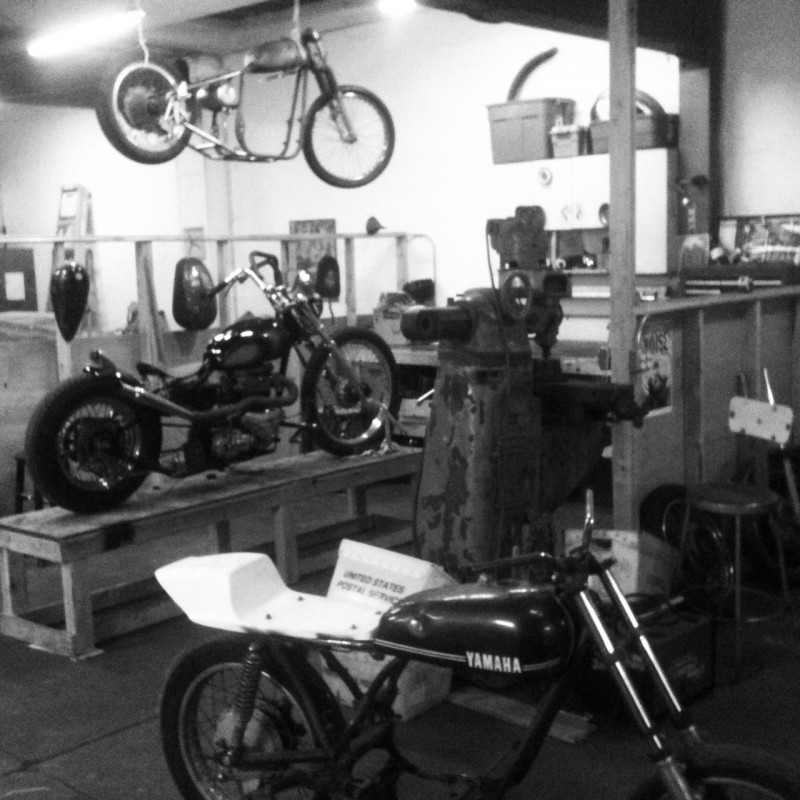
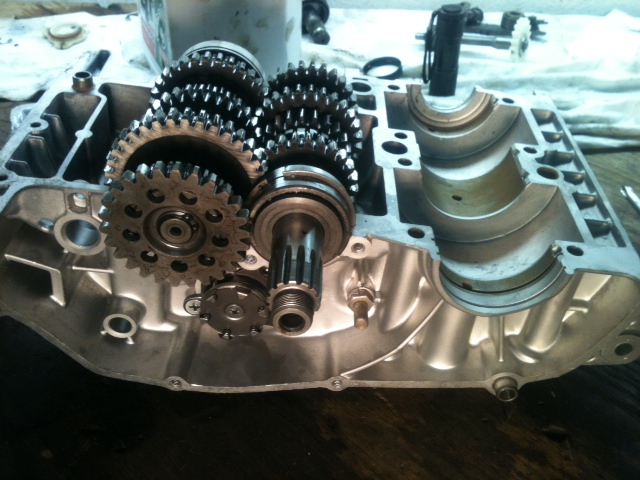
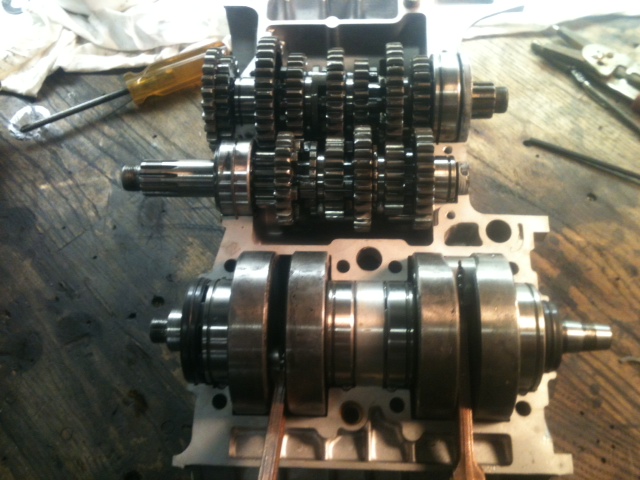
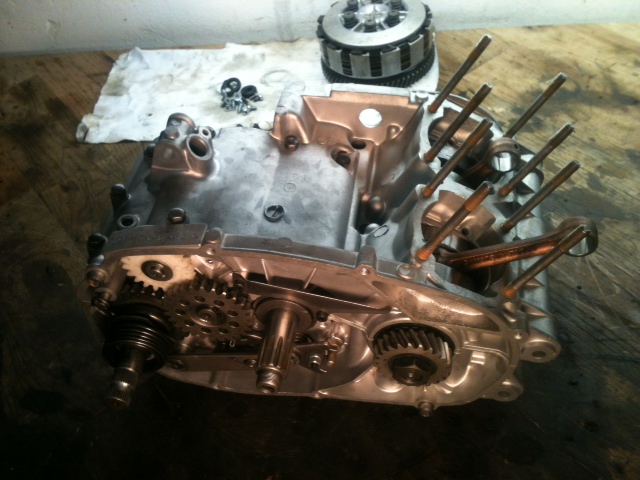
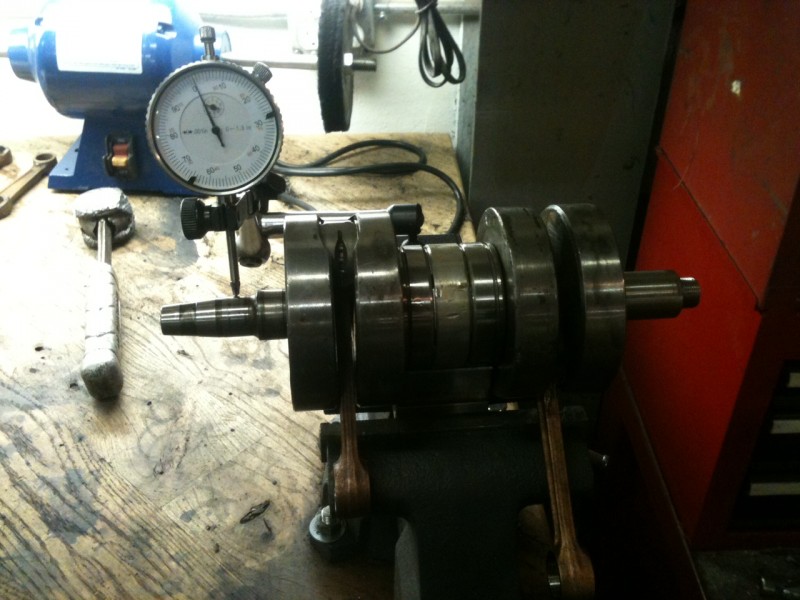
From when stuff was worth rebuilding
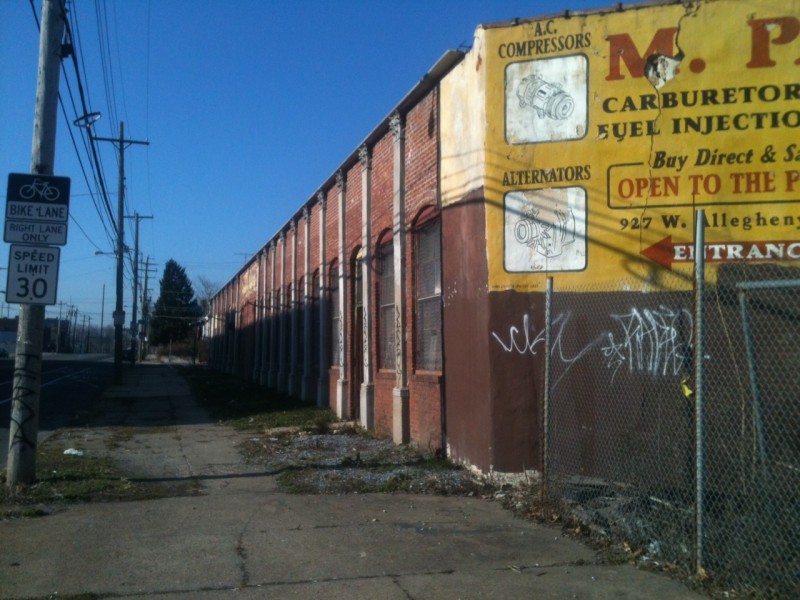
9th and Allegheny

Looking For

80’s Honda xl 600r with title or similar for special project, Does not have to be honda but needs to be a large displacement dual sport with mono shock rear. DOES NOT NEED MOTOR. I can trade british/jap parts plus cash. Email me at dan@greasygringo.com or leave a comment below

Drum Brake Redux

For one reason or another I am always fixing the crappiest, clapped out parts, Partly because I’ve sold all the good ones or I’m broke when it comes to buying motorcycle parts and have the tools to fix them. This drum brake hub was no different. The rim and spokes went to the scrap yard.

Chucked in the lathe ready to take a cut on the braking surface.


Close up of the severe rusting

Any time I have a wheel apart like this I like to resurface the drum because there is no other way to do it. This particular hub is made of aluminum with a cast iron ring pressed into it for the shoes to ride on. Years of sitting have severely rusted the cast iron part and corroded the aluminum. After taking about .020 off the surface it was looking like something useable again and a  final cut made it workable again.

After the cuts and cleaning

Spent the next few hours polishing and painting the hub before lacing it to a new SUN rim. There is a lot of info on building wheels on the net but the one I prefer is by a guy named “Sheldon Wheels Brown” He builds bicycle wheels but his info is superior to all else. Find him here. A few things to watch out for, Motorcycle wheels often have different length spokes and cross patterns in the same wheel. Meaning you can have up to 4 different spokes per wheel. This wheels spokes were the same length but the inners and outers had different lengths from the elbow to the butt end. You should try building your own wheels some time it’s fun and easy.

Looking fine

Happy New Year!
-Dan

RD motor build

Went down to the shop on christmas day eve for some motor building fun. I have been collecting the parts and I needed over the last few weeks. Here it is to enjoy

Cases back and bare from getting the "treatment"

Trans in and endplays checked and set

Clutch side

Bearings on crank and seals installed

All together now

Oil pump rebuild

In the FACTORY YAMAHA manual there is a section about the autolube oil injection system. In this section it tells you how to adjust the pump stroke and remove and install it. It also says the pump is a precision machined part and is unserviceable and if needed it should be replaced with a new pump. Well that was 40 years ago and the NOS pump supply has dried up.  As you can see there are no less than 40 parts in this small pump. its about 2 inches square in size.

Heres the workings

I forgot to bring my camera to take some pictures so we are reeling on the diagrams. I ordered a new seal kit fromlast week and it arrived yesterday. Kit comes with 3 oil seals 2 pump gaskets and some new screws. Theres not much info I have found about rebuilding these pumps on the interwebs.

all the many parts

I worked on this thing for a solid 4 hours and had it apart and together at least 15 times before I had it working where I was happy with it.

setting the stroke

Last thing to do is bench test it with some oil and set the pump stroke for Idle conditions. Sorry again for the lack of pics today.
-DAN

Removing A broken bolt

If you turn a wrench on an old bike for more than 5 min you bound to find a broken bolt, stripped threads, or rounded fasteners. We’ll be removing a broken spark plug from a head. A few of the things working against us here are: Dissimiler metal corrosion with the plug being steel and the head aluminum,the fact that this head hasn’t been on a running bike since 81′  and was sitting in upstate ny it’s whole life.

As you know my cases and heads are out in Oregon getting vapor blasted. Guy sent me some pics and they look great. Bad thing is the $6.50/hr truck unloader at fedex doesn’t give a shit about my parts and they arrived In Oregon with a broken fin. I had an extra head but it still had this broken plug in it and I had tried simpler methods of removing it weeks before to no avail.

Theres lots of ways to remove a broken bolt, but my favorite is to weld a new bolt to it to allow use of a socket and the bonus of this method is the added heat cycling from the welding itself. First I drilled the old plug out to the same size as a junk bolt I had, this case it was 3/8. This allowed me to put the bolt in and get a good weld on the freshly drilled metal.

Underside of head with bolt welded to offending plug

Top of new "spark plug remover tool"

At This point I heat cycled the head a few more times with a propane torch for extra piece of mind and went ahead with the removing. As you can see It came right out first try.

Plug remover with the threads of the old plug visible on the end

I was  pretty pleased that it came out easily without damaging the threads badly. Since my tap and die selection is pretty weak right now and I didn’t have the correct plug thread tap I did the next best thing. This works especially well for the CEI and WHITWORTH fasteners because I don’t have ANY of those taps. I found an old spark plug and coated the threads with valve lapping compound. Slowly I threaded the plug in by hand working it in and out. Removing all the crud and corrosion out of the threads from 30 years of sitting. Plug now goes in and out freely.

All that's needed for the trick

If you are ever in going to get some Vapor Blasting done. I HIGHLY recommend Jeff. First class dude

Truing The RD Crank

By now Im sure all of you are banshee and Rd built up crank experts. This week we will be truing the crank. With the assembly being built up of 6 parts there are plenty of places for it to be out. The spec we will be shooting for is .02mm or .000787 in, thats seven hundred eighty seven ten thousandths. There are three places to check this “trueness”, on the two ends of the crank and in the center bearings. If you paid someone to do this this is where money all went. We will support the crank on the center bearings and take our measurements with a .0005 dial indicator mounted on a magnetic base.First we set the crank on the V block and spin it through supporting the rods and making sure there are no hang ups. After you establish that you spinning free its time to put the indicator on it and establish a baseline as to where its out . As you can see from the drawing below there are 4 planes we are checking in. We’ll call the crankpin 0 then 90 degrees going around the crank, 180, and 270 respectively. Rotate the crank checking all these and see the chart as to where you should hit to correct it. Don’t be shy at first, my crank was over .040 out when I started and it took a good while to get my arm calibrated on how hard to hit it. Check all points after each time you adjust he alignment. As you get close you will want ease up and just lightly tap it to bring it home. It took me about 45 min to get it within .001 and an additional 30 min to get it to .0005 where I left it. Well within spec and at this point Don’t breathe around it as you might just throw it off a few 10 thousandths. -DAN