Just when I was about to button up the ’64 panhead last week after rewiring and a bunch of other improvements I found the seat pivot boss to be stripped. Dammit. Decided to go to 3/8″ bolt from 5/16 as the tab is not really thick enough for a thread repair and tapping welded areas varies from troublesome to impossible. The original pivot pin is hardened and ground and made out of that incredibly tough metal that Harley used to employ as a matter of course. Carbide wouldn’t put a scratch in it. No way to bore out the original pin.
So I made one out of 660 bronze. Sorry once again, purists. Functional over stock every time, where the latter isn’t available and I’d like to actually ride somewhere.
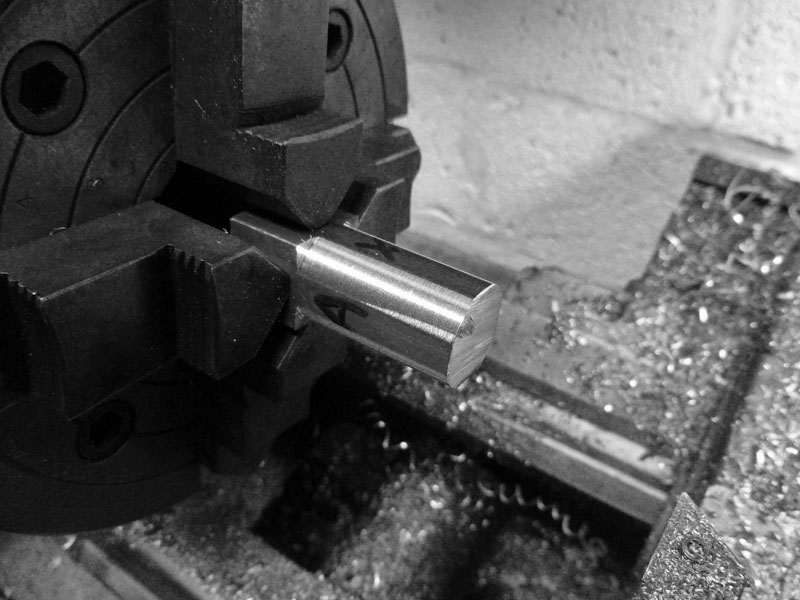
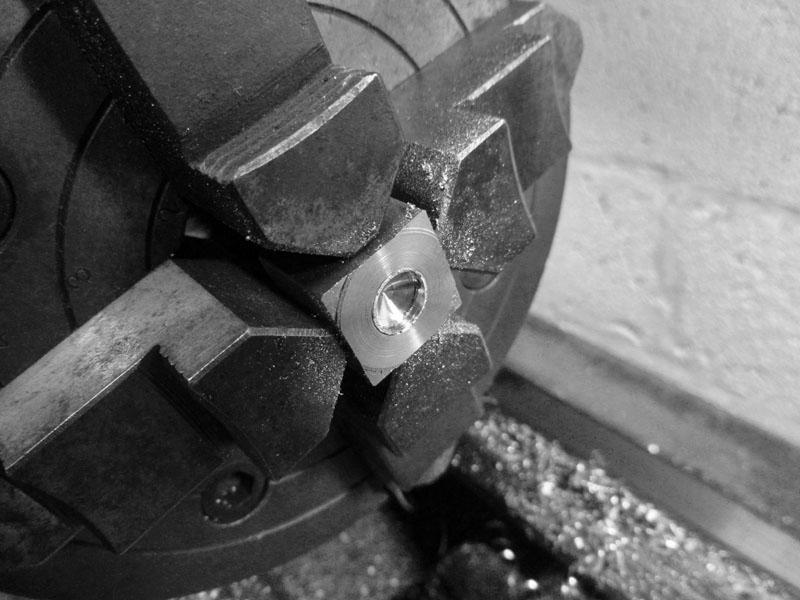
So the only bronze stock I have is square. No way to hold it in the three-jaw chuck on the lathe. Guess I’ll break out the four-jaw. It’d been a while. Then I figured I take a couple snaps and show how to center a part in the four-jaw chuck. Here it is. . .
A three-jaw chuck is designed to close concentrically on any round or six-sided piece with a single adjuster screw. It is the type most commonly found on lathes and has a million uses. Sometimes though, you have do do offset or square work. The four-jaw chuck has four independently controlled jaws that must each be set when aligning a part as desired.
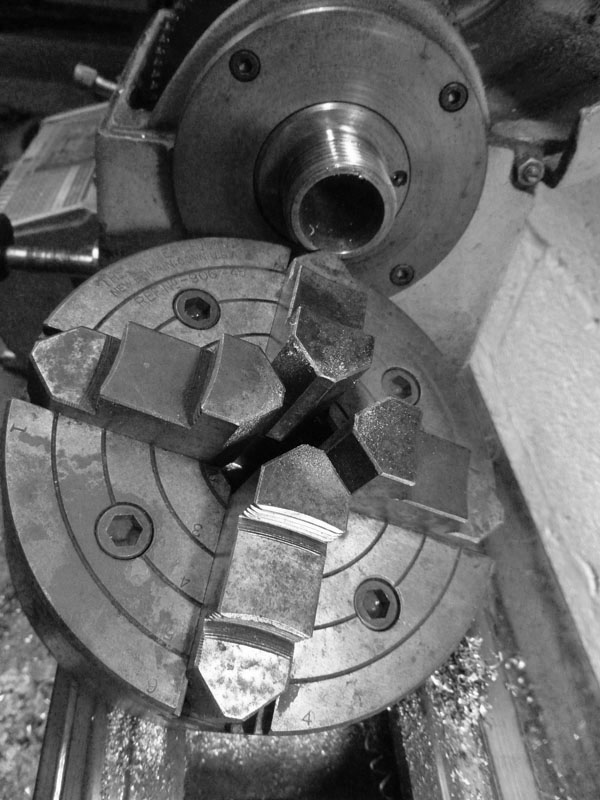
Here is a chuck I got pretty cheap and rebuilt it. It's been around the block a few times, but who hasn't?
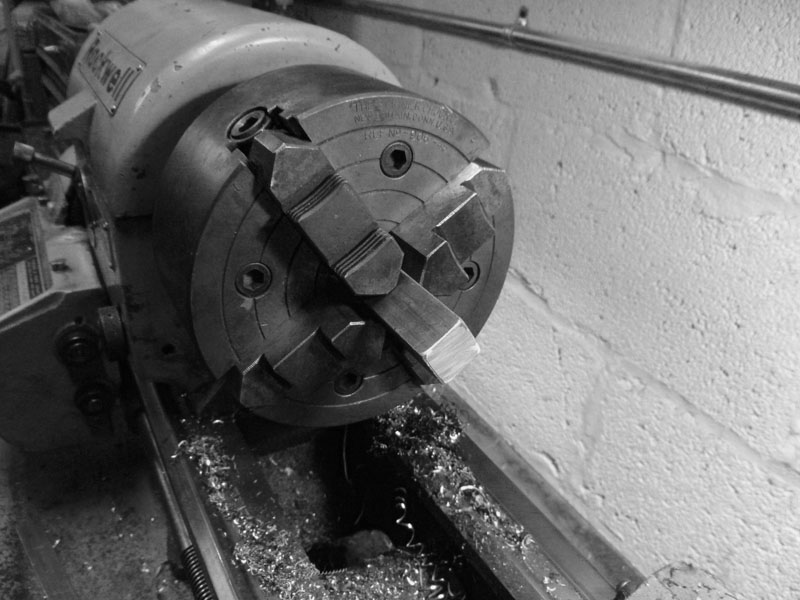
The first step is loosely place your piece in the chuck and get it visually centered by whatever means you like. You can eyeball it, rotate it by hand slowly, use the guide lines on the chuck face or anything else you can come up with. Once the piece is where you like it, snug each jaw, but not too tight as you’ll be making further adjustments.
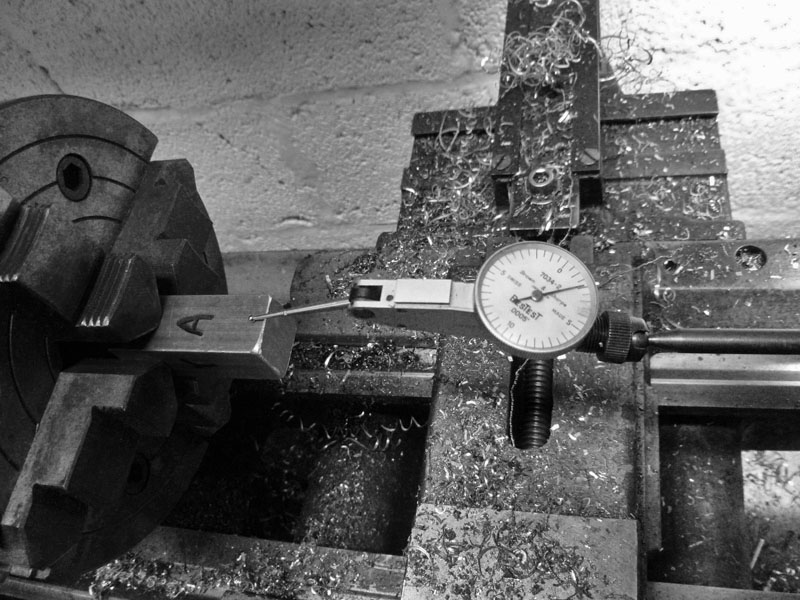
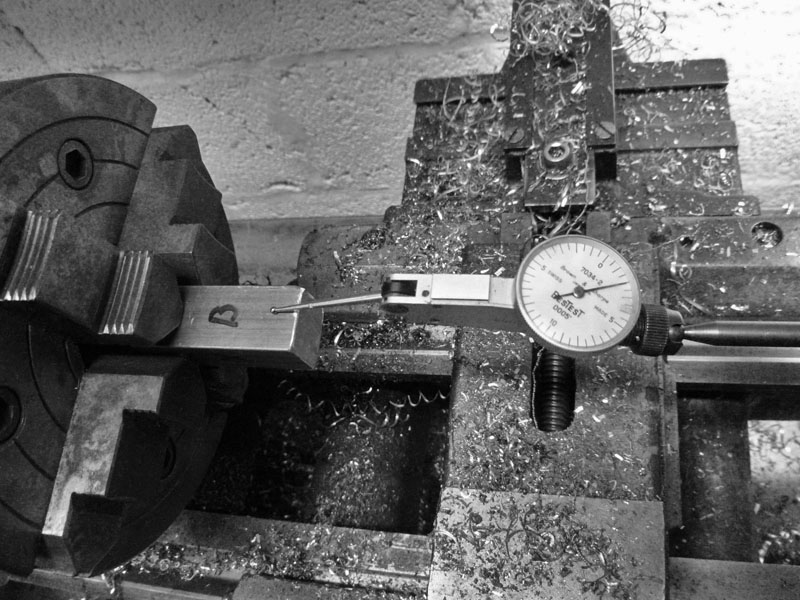
For the fine adjustment, you’ll need a dial indicator mounted in some way where you can apply it to the work piece and retract it again for rotating the work and checking the other sides. You can mount the indicator in the toolpost, or in this case, the tail stock with the hand-chuck and indicator holder.
The approach is to get one axis setup so that both sides (opposite faces) indicate the same. Then rotate 90deg and do the same to the other axis. To make adjustments on an axis, you loosen one screw a little and tighten its opposite a little. And repeat. I like to mark out the part to make this easier. I labeled the faces X,Y and A,B.
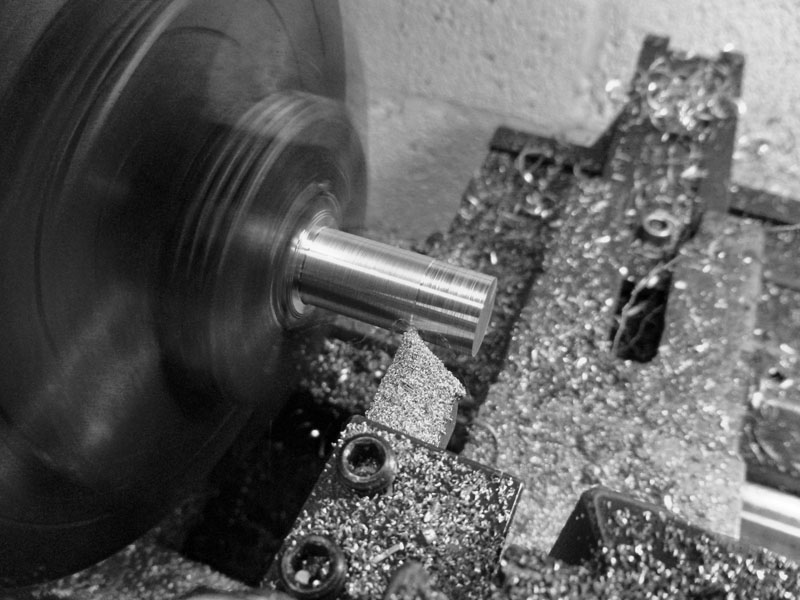
After getting the piece centered to my liking, I tightened all four jaw screws and set to work. As I’m only making a round piece here and not needing any square features, the centering really didn’t need to be that critical. I just did it for practice and the tutorial.
Here you can see the part early in the turning process, with some flats still showing. For future reference, cutting a part that does not make contact with the tool bit (cutter) at all points during the rotation is called an interrupted cut. Knocking the corners off a square bar to make a round bar qualifies. It can be a little hard on tooling and machinery, but if you take light cuts on softer materials at slow speeds you’ll do fine.
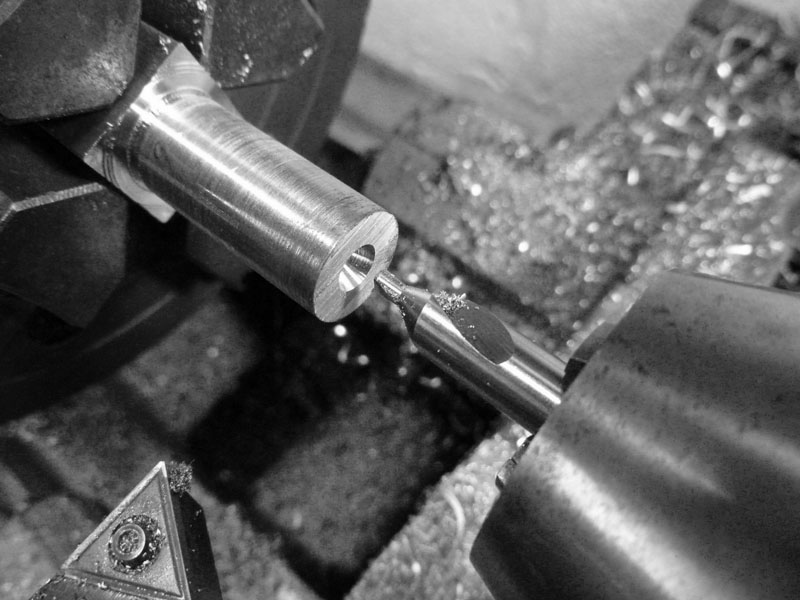
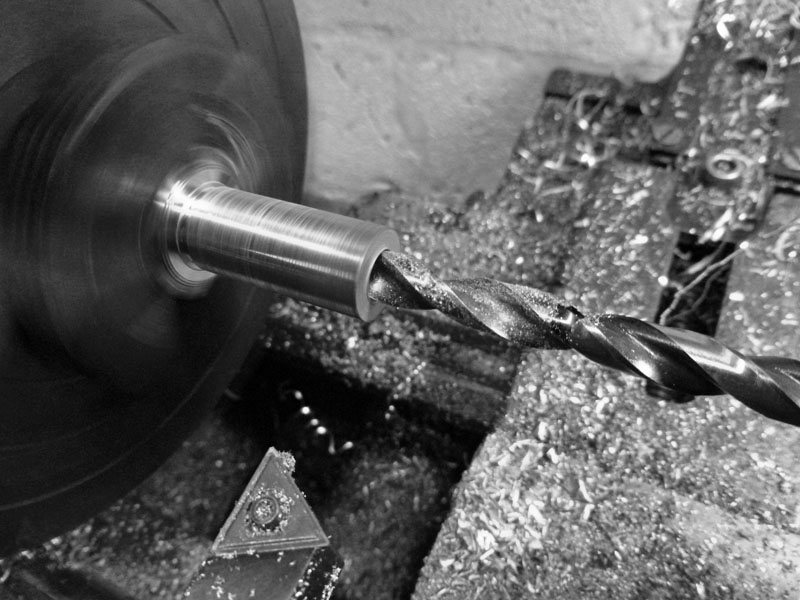
After the outer diameter is done, it’s time to drill the through-hole, in this case 3/8″ for the screw that will hold this sleeve in place on the motorcycle frame. This is a center drill. It is used for starting holes without flexing or moving off-center. It is short and stubby so as to be very rigid. Drilling on the lathe is cool. Many people are confused the first time they see it, with the drill bit stationary and the part rotating. Once you see it, you’ll understand much better how drill bits actually work. Two single-point cutting surfaces applied to the work at once. The flutes are just for carrying chips away.
Finishing the hole with a standard drill bit.
Once the piece is done, it needs to be separated from the stock. This is called parting off. I have a thin cutter with horizontal flat ground edge called a parting blade for this.
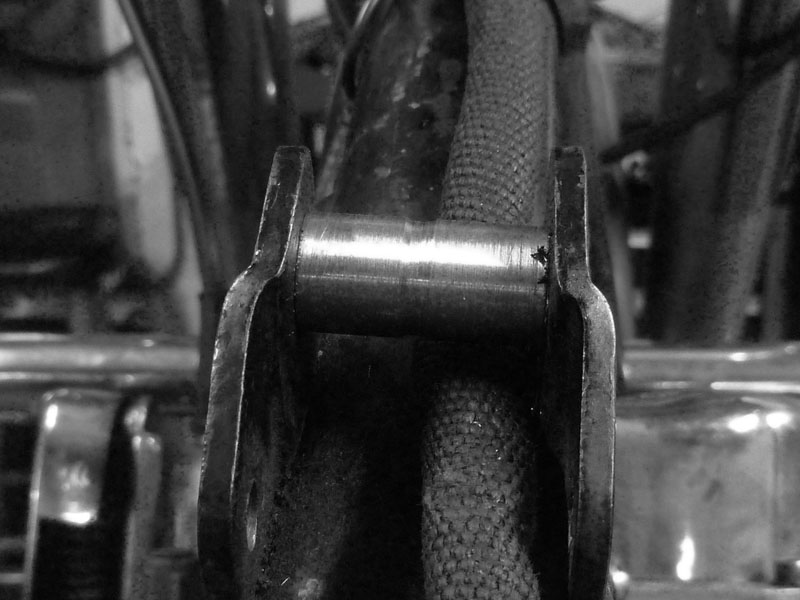
The finished piece in place. The center groove is a lube channel as there’s a grease nipple on the bar that fits over this pin. Easy enough. While this setup is not as tough as the original hardened ground pin, it should last more than a few years. I intentionally used bronze as a sacrificial piece so as not to hog out the seat T-bar if I ever want to go back to stock.
Jason

i think the mishap on tuesday was karma telling you that you need to write an entry about using a lathe 🙂
Nice job!
Learned something new. Thanks J.
My pleasure.
nice write up.