We’ve been helping Ralph turn his ’70 XLCH (The Iron Headache) into a reliable machine for regular use over the last couple months. As most people who’ve owned an ironhead will tell you, there’s a pile of work hiding in all of them. Some choose to refine the bike over a period of years fixing crap as it occurs. This gets tiring and often leaves you short of your destination. Some folks like that approach and that’s perfectly valid. We’re trying fast-track Ralph to understanding his machine thoroughly and addressing all the major systems in advance of their likely failure. This week? A non-fidgety low maintenance ignition system.
His bike has an external ignition timer as opposed to the embedded timing chamber that later sportsters and cone shovels have. This slims down the choices a bit. There are three main issues that limit choices: The timer does not accept a bolt-in points replacement as the body of the timer itself carries the points. The timing weights are also integral with the timer shaft preventing use of an ignition that doesn’t use centrifugal advance weights. Lastly, the timer shaft rotates clockwise whereas later sportsters, cone shovels and evos rotate the timer shaft/cam counter-clockwise. Hmmm.
I recommended a Dyna S for this job, as would probably anyone who has put serious miles on an early bike. They are cheap, simple and stone reliable. There’s a reason most bikes at the drag strip run them. You can run them with stock HD coils and existing weights. In the even of a rare failure out on the road, you can pop your points (that you carry in your tool bag, right?) back in and keep it moving.
Young Dan and I got to figuring out our approach last evening using an old Dyna S I had in my stash. We had it largely figured by time Ralph arrived. Both of us are prone to impatience and are easily consumed by interesting problems to solve. Details are in the captions below. Enjoy.
Jason
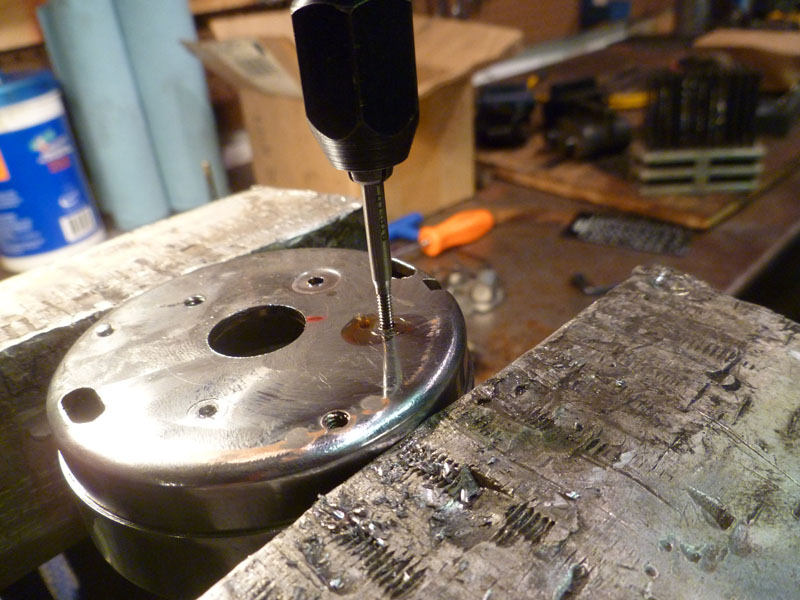
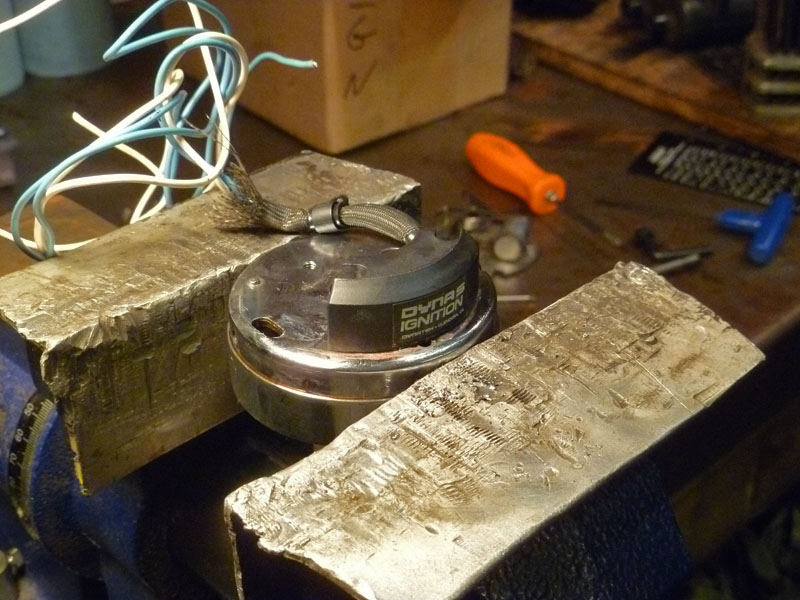
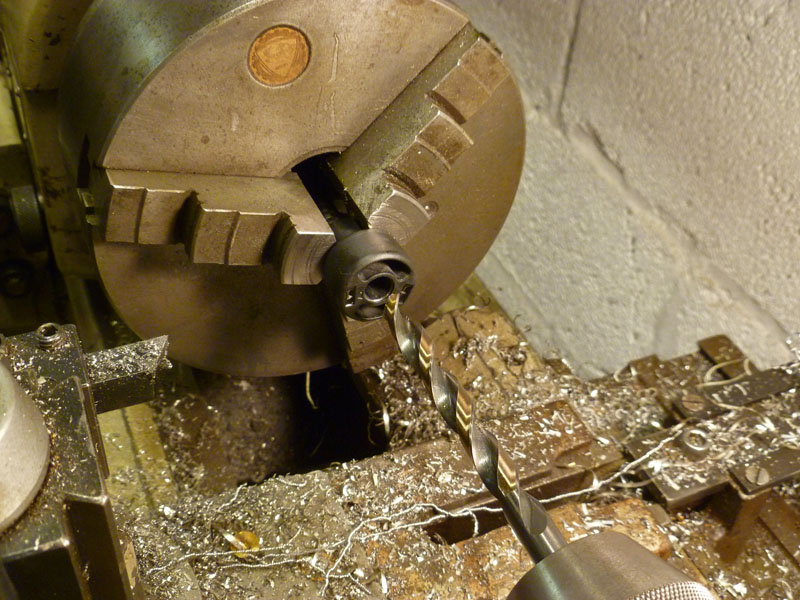
We removed the pickup sensor from the new ignition and marked holes for mounting on the old timer. Tapped to 4-40 to use the mount screws it came with.
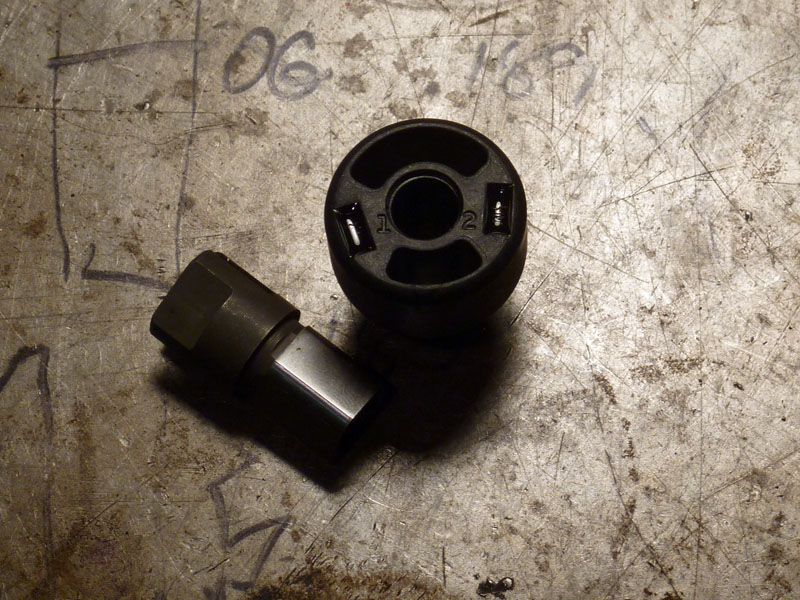
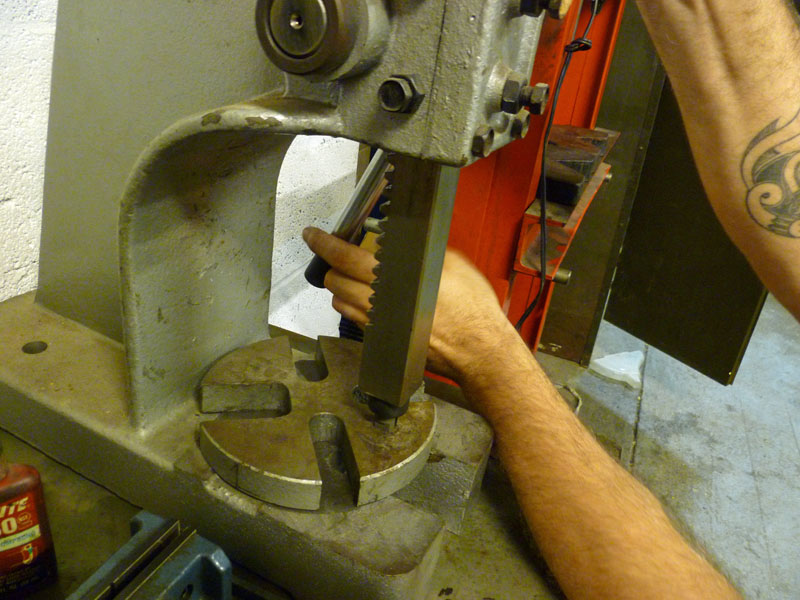
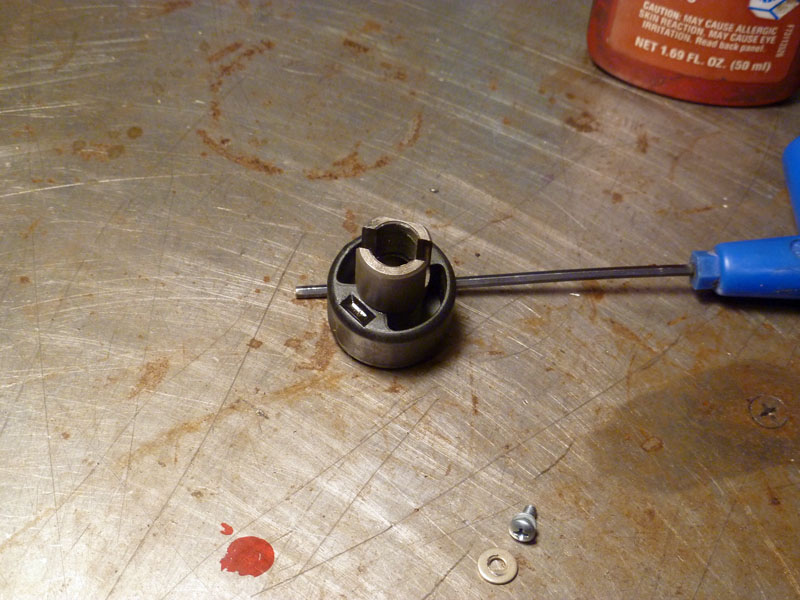
The old points cam and the new rotor. Let's make them into one part! Since the timer rotates in the opposite direction from that intended for the new ignition, we'll flip the rotor and install on old point cam.
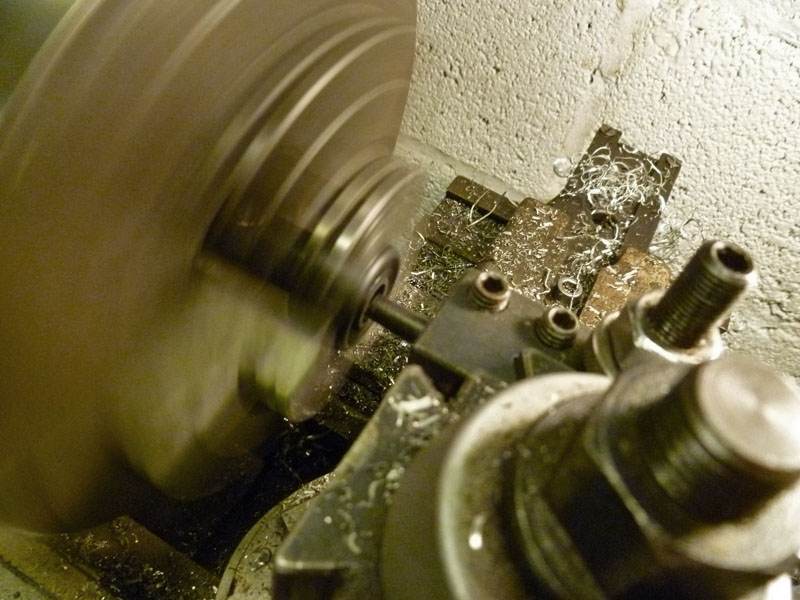
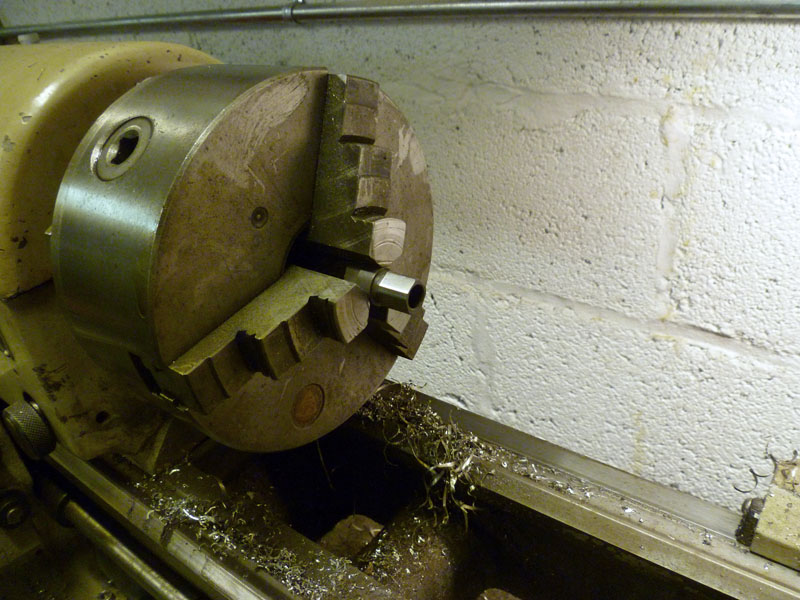
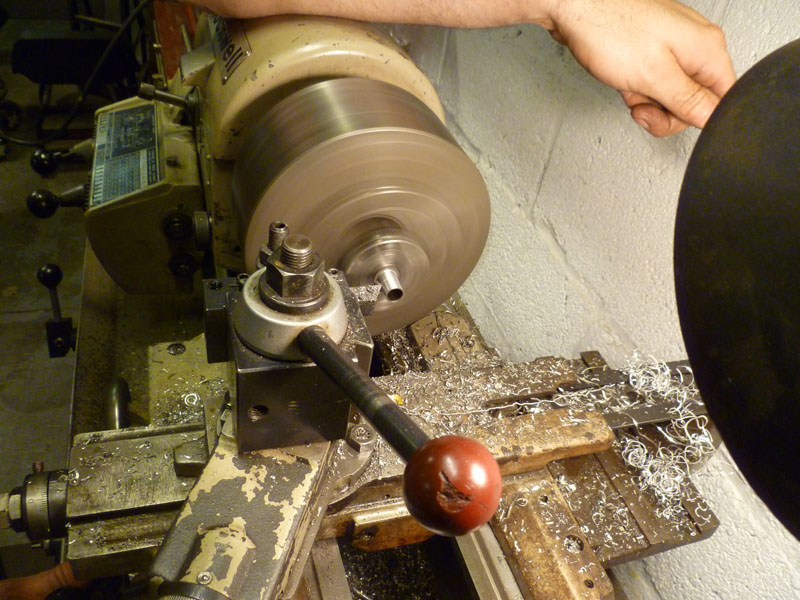
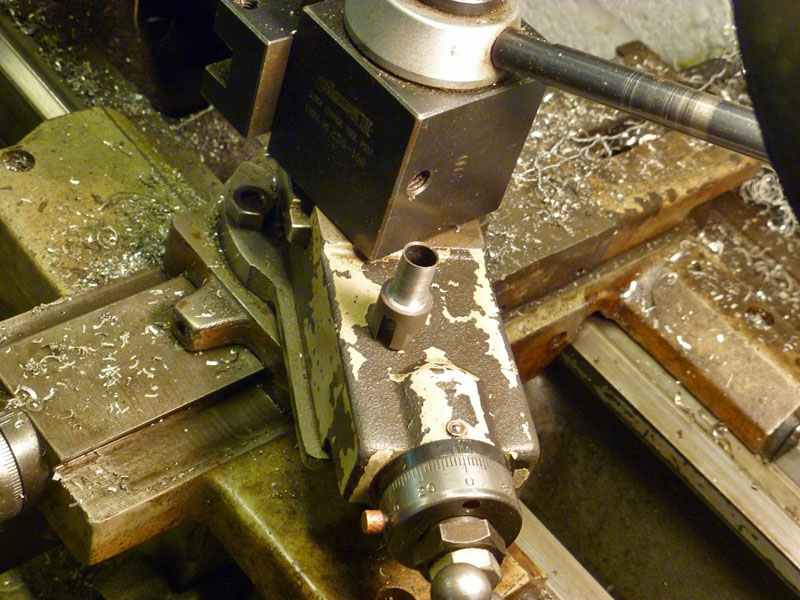
Finish size rotor for press fit to .002 interference. We figured a tighter fit would be OK with the give of the rotor material.
p.s – We later discovered after thinking about it that flipping the rotor was not necessary in this case. As there is only one pickup with two poles on the rotor, the direction doesn’t matter. Only the spacing of the two poles matters, which was not changed. See this diagram for clarification: HD Timing Events

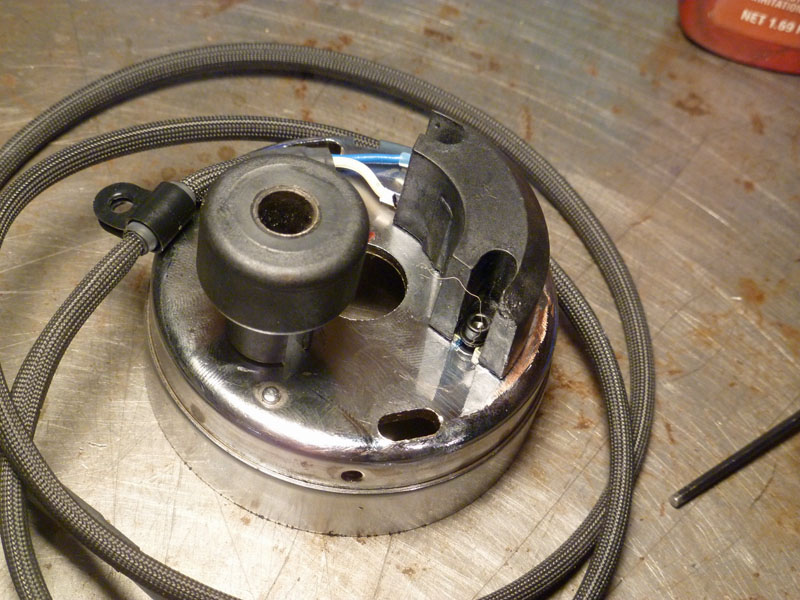
looks great! hows it work?
Jason – nice write up on adding e-ignition to a timer. This is a relevant topic for me because I want to put e-ignition under the cap of an early Wico magneto (not an original WR mag, but a tractor mag modified to look and act the part).
How did you you deal with the staggered firing of the Harley. Ever points cam I’ve seen hasn’t had the lobes 180 degrees apart. Am I missing something?
I was going to use this product, which is designed for use with Harley timers, but the Dyna is a lot cheaper (I didn’t think it would work, though).
https://www.ebeyond2000.net/quickstart.html
Can you drop me an e-mail please? Thanks – Scott
Scott,
I think this diagram explains it:
http://www.greasygringo.com/wp-content/uploads/2011/10/HD_Timing_Events.pdf
Most tractors that use the Wico have inline cylinders. The HD cylinders are 45deg offset. As the timing shaft is geared at half revolution per crank revolution, this offset is 22.5deg. In other words, trigger poles are at 0deg and 157.5deg (or 202.5deg) depending on your perspective ;-0
Jason
forgot – e-mail is sjelescheff@yahoo.com
Young Dan just sent me a video of the bike running, sounds great! real excited to take The Breakfast Machine out this weekend…you guys are awesome, thanks for everything last night!
My pleasure. It was fun. Wasn’t in the mood to work on my own stuff anyway.
I scratched Dyna Z under the points cover, represent son.
Holy shit! You guys are insane. I’m still confused though…
Thanx for the tip! I just did the conversion on my Knuckle and it ‘s workin’ great!
Great! I didn’t know if anyone read this stuff any longer. I rarely check in on it.
Still reading it lol. I have a Genny shovel and a spare Dyna s dual fire system I’m thinking about doing what you did here, my only concern though is timing I’ve read that timing has to be set on rear cylinder at Tdc?