In Session: On Any Tuesday

You might not see us around town much. Sure, here and there on nice summer evenings having a beer for a while. While all of us are good for a rave-up story and some beer-fueled antics from time to time, it’s really all about the metal. We like to build machines, improve them, figure out interesting problems. That’s where learning happens. That’s where interest grows and dues are paid.

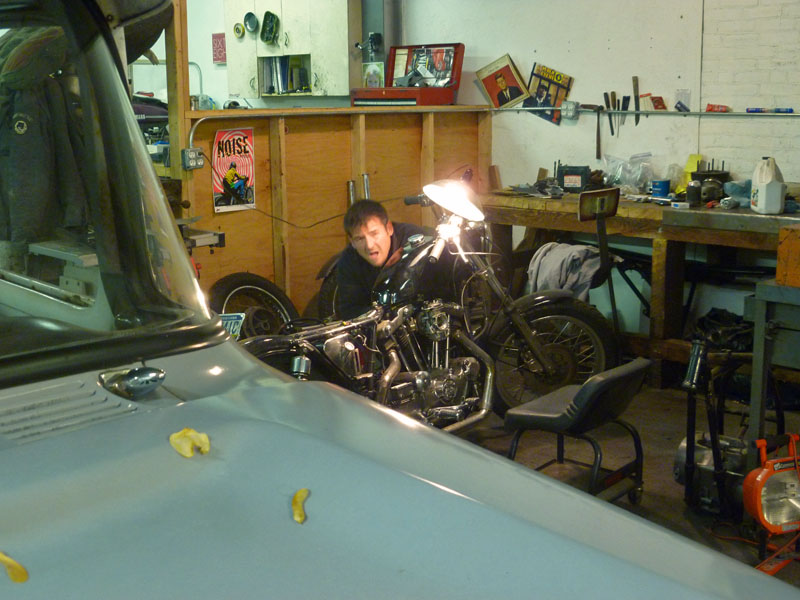
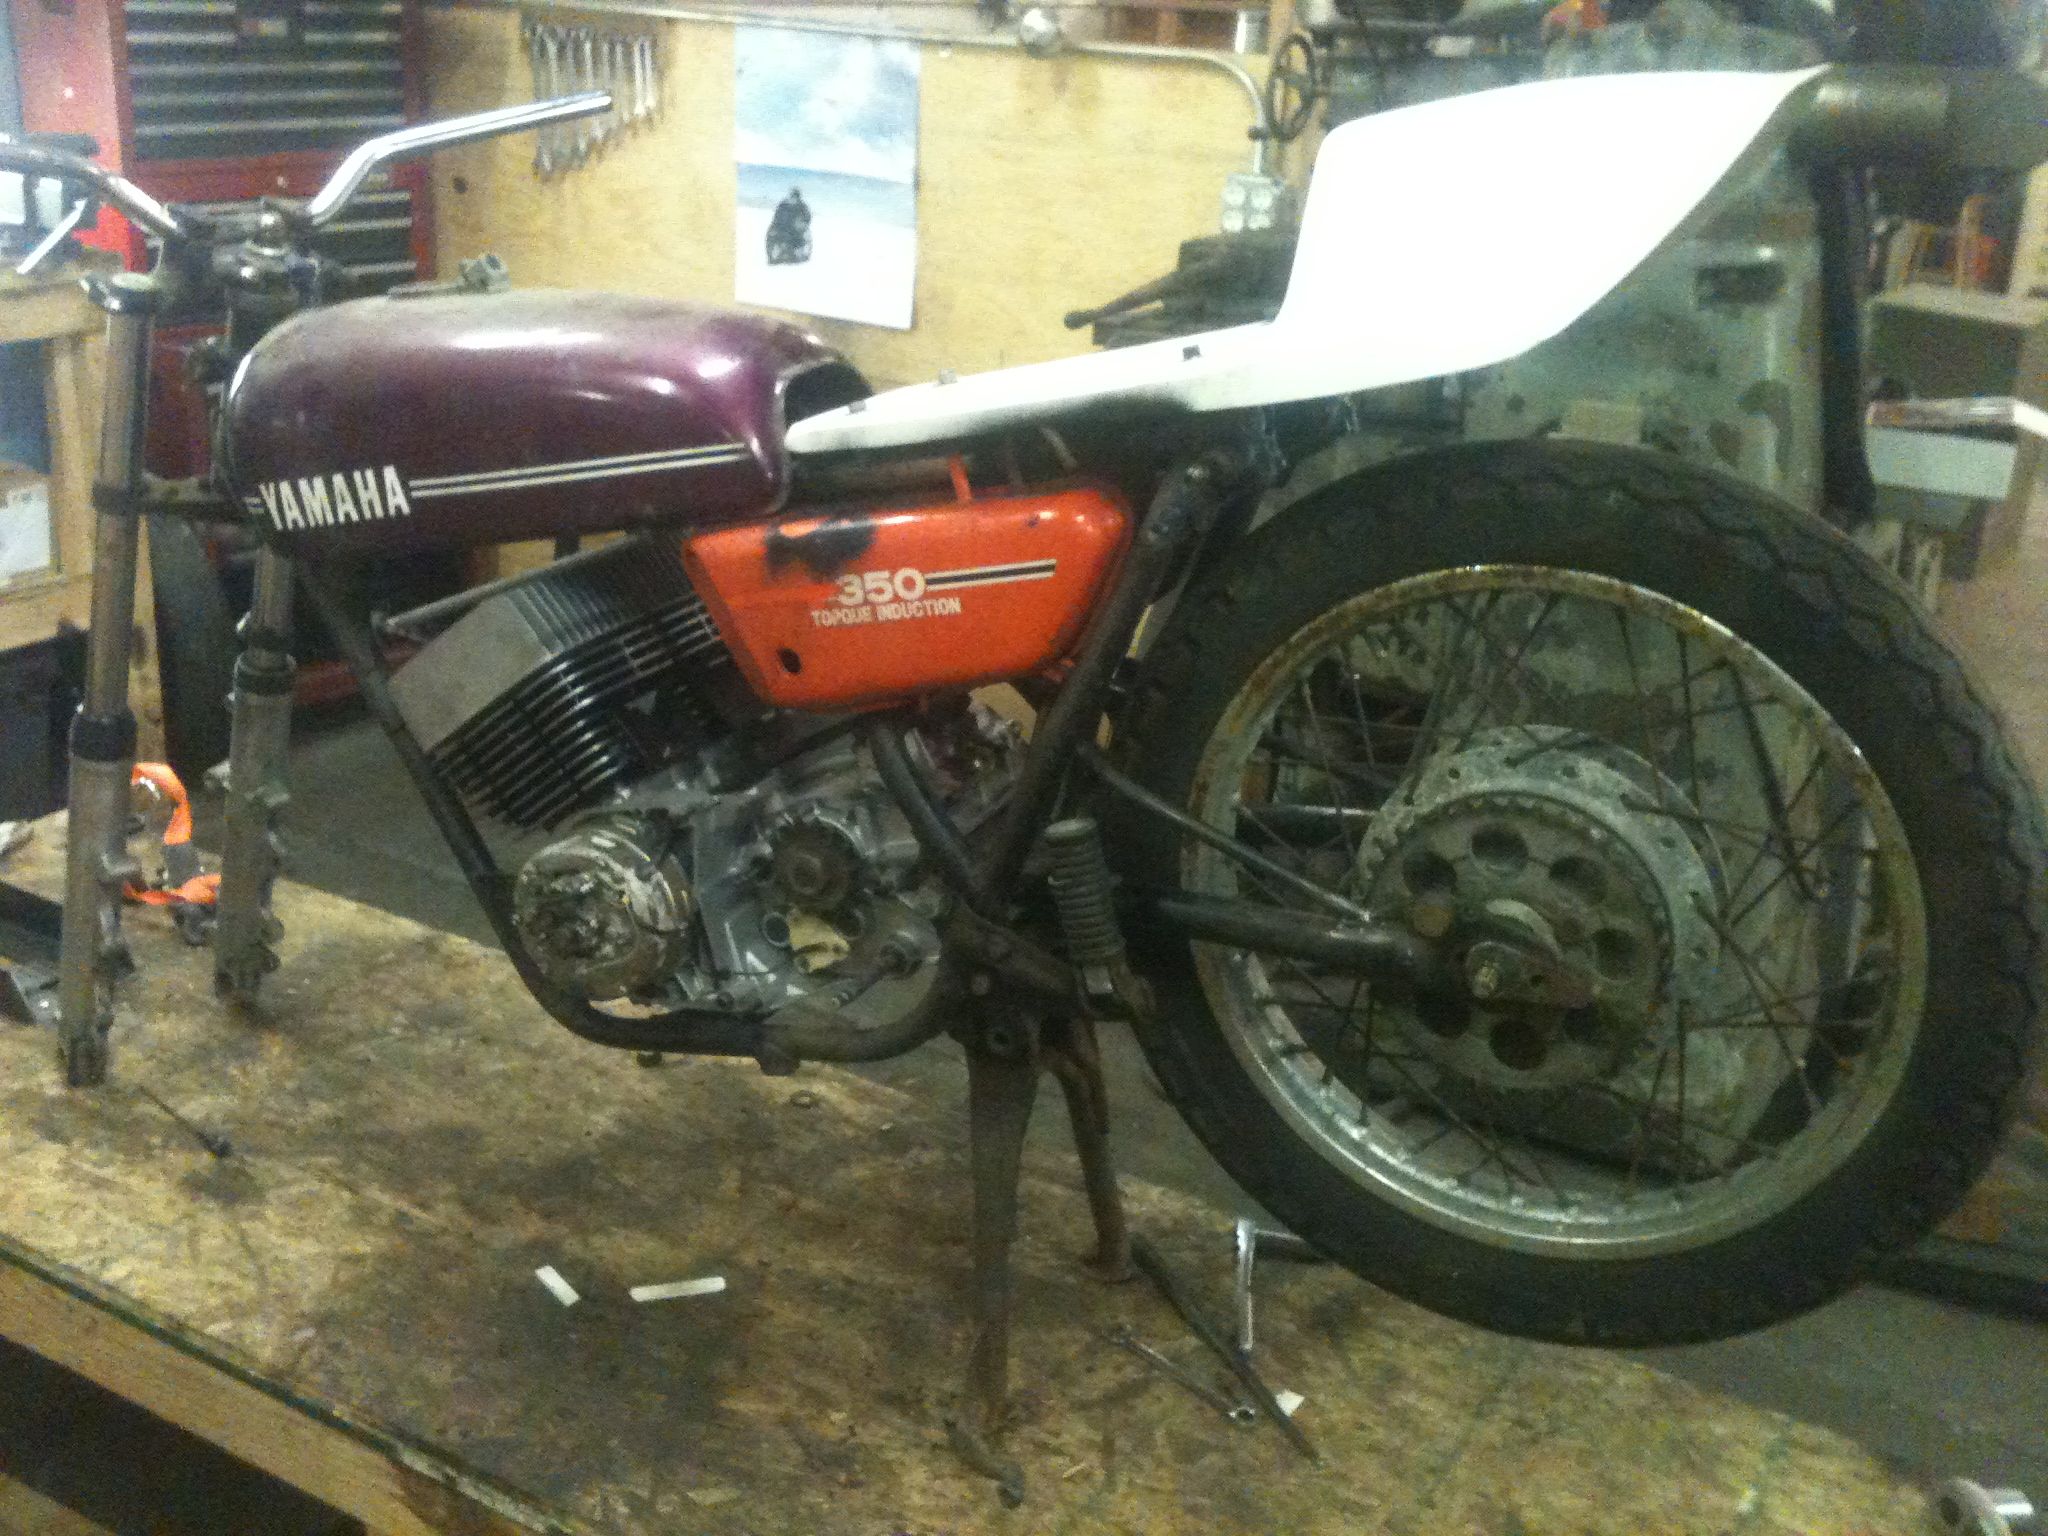
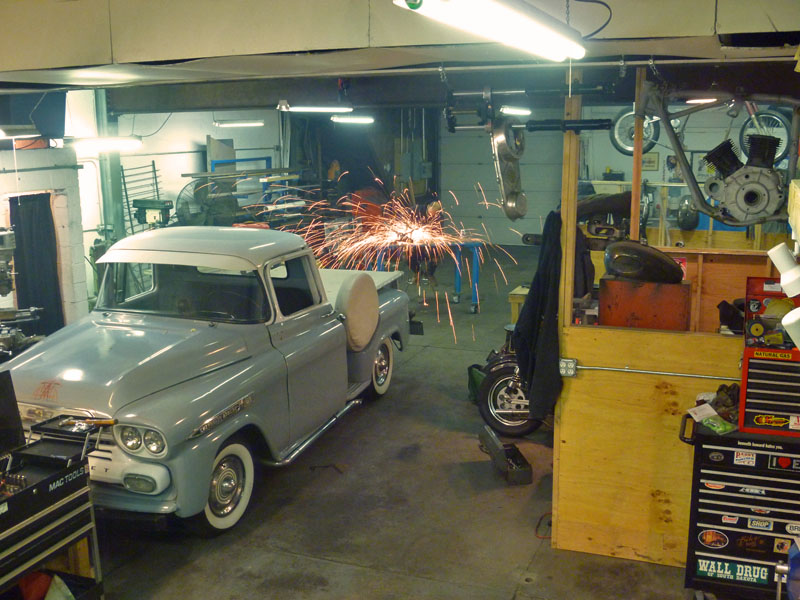
On any Tuesday night, it usually looks like this. Shop in session.

Jason

Bird's eye view. I've been rebuilding the door on the '59. All internals were shot.

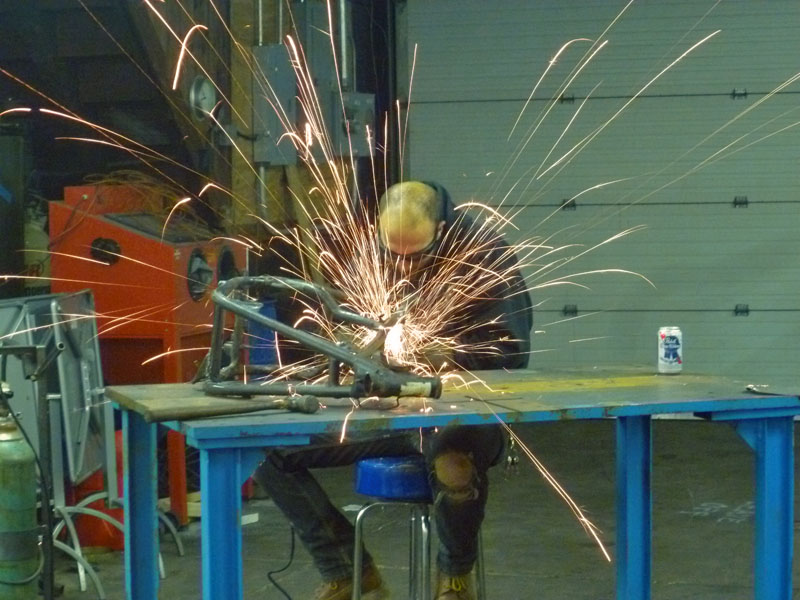
Dan tweaking the RD frame on the welding table

Casey getting his sporty ready for street duty

Fixing dented pipes

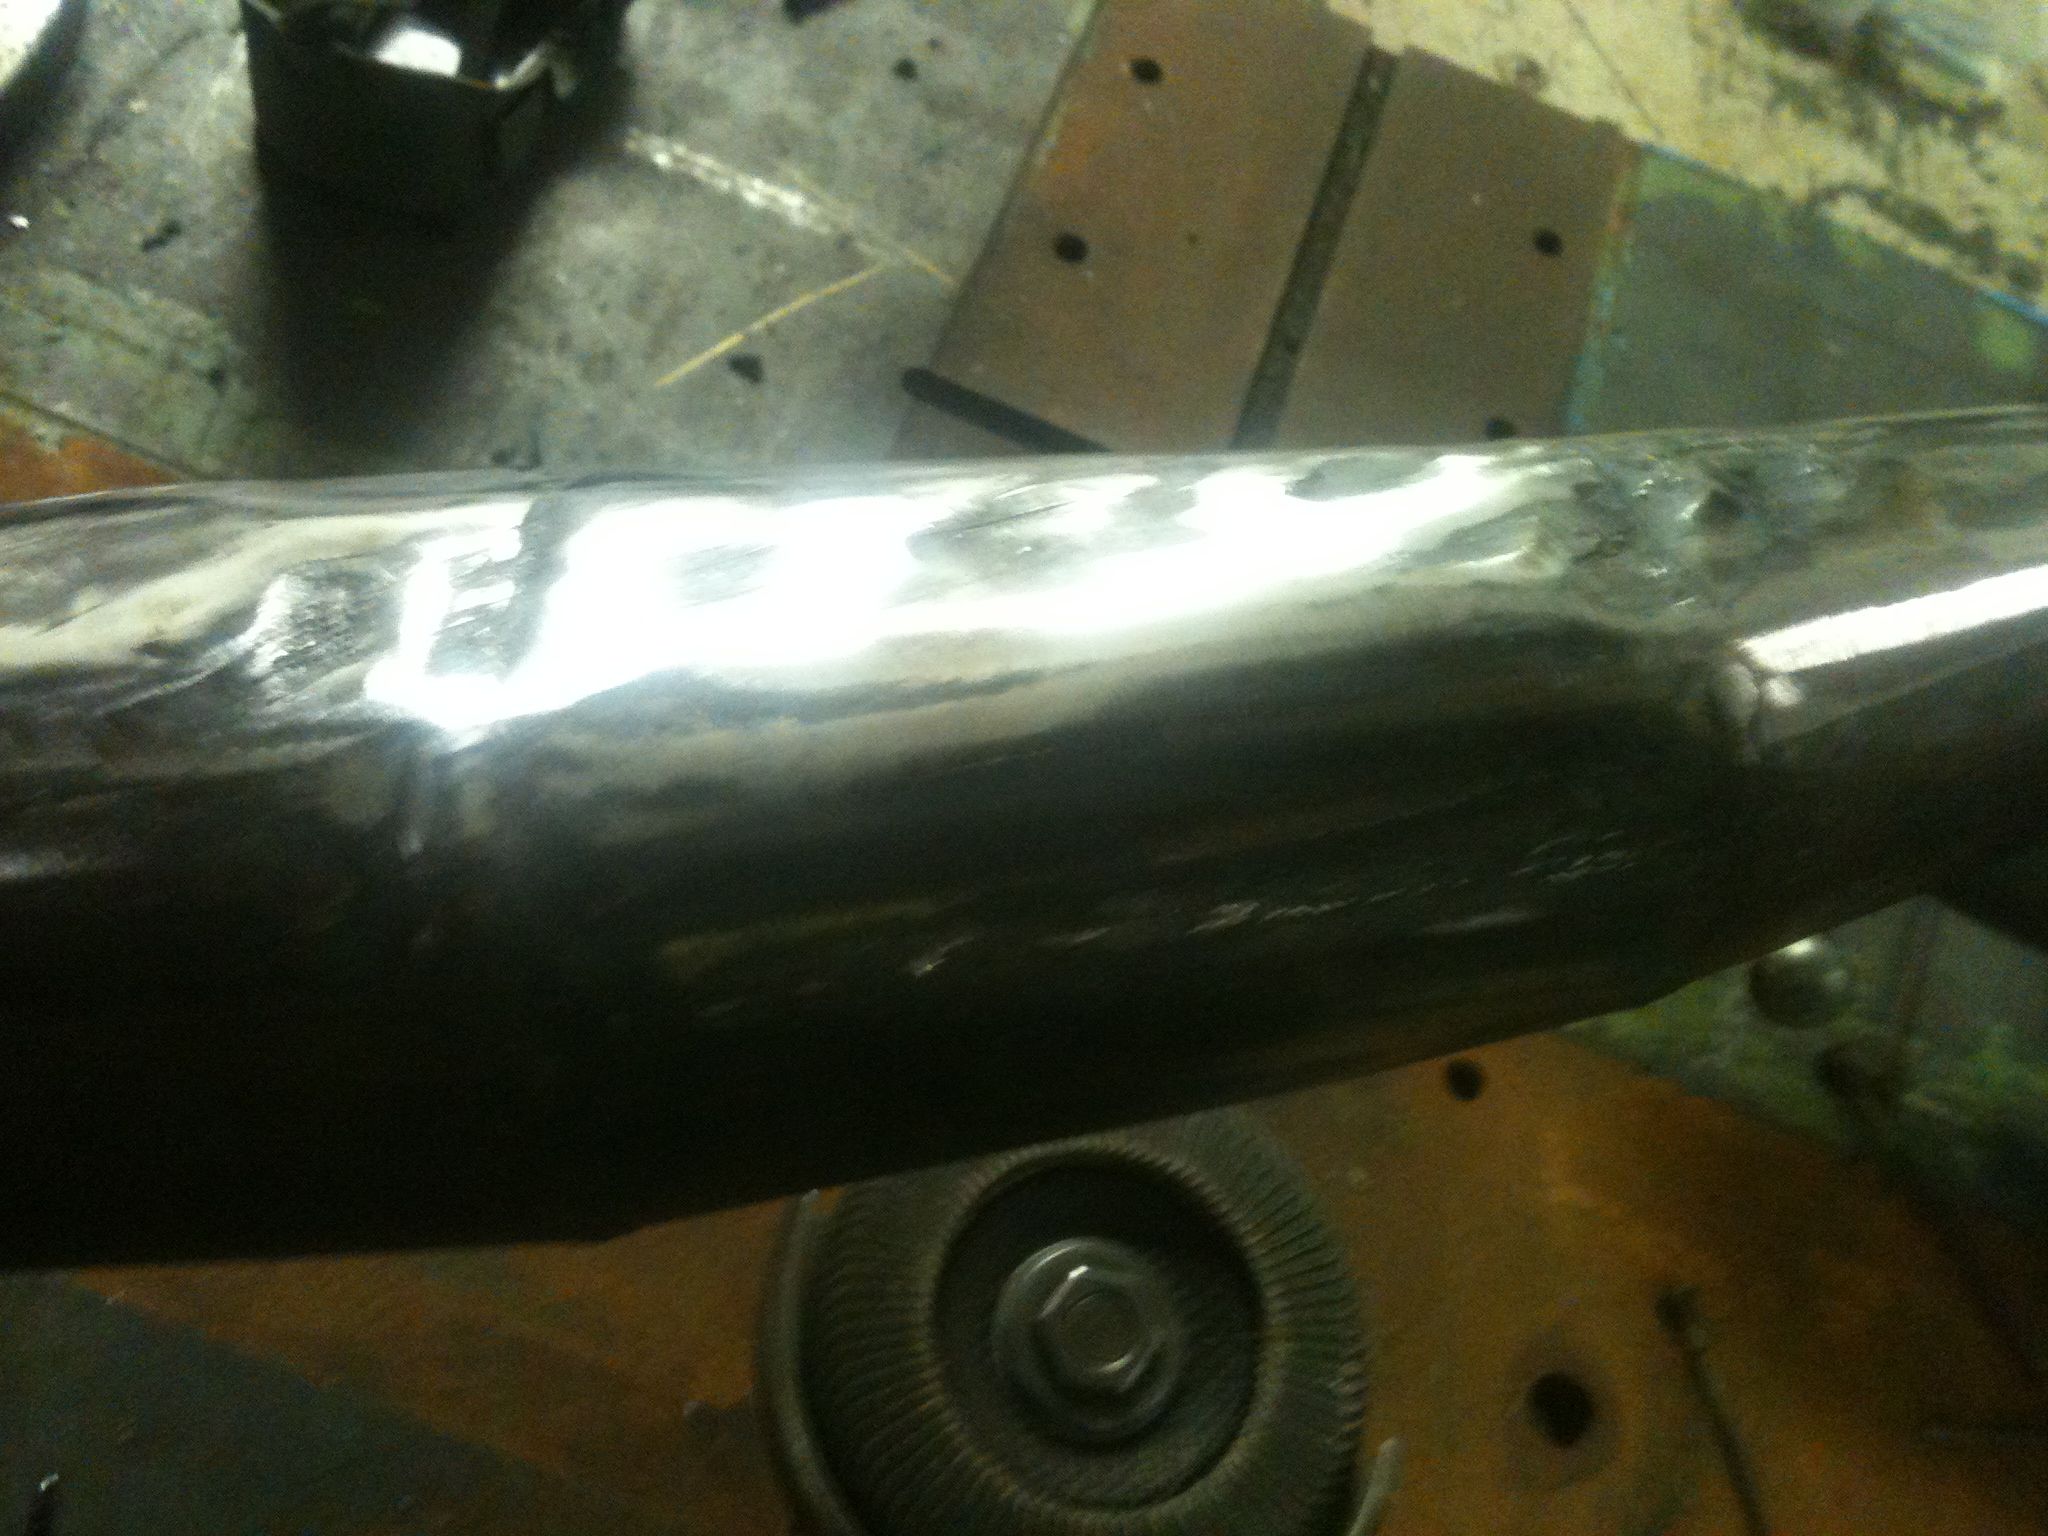
I picked up this set of beat-up pipes for my current project. They were typical of a 30 year old part and were rife with dents and creases. Ive heard a lot of talk of guys putting water in pipes and freezing them to push dents out. I promise you this will bulge your pipe in ways you don’t want. I decided to pull the dents out using a trick I learned working at an auto body shop years ago.

Dents

Flattened area

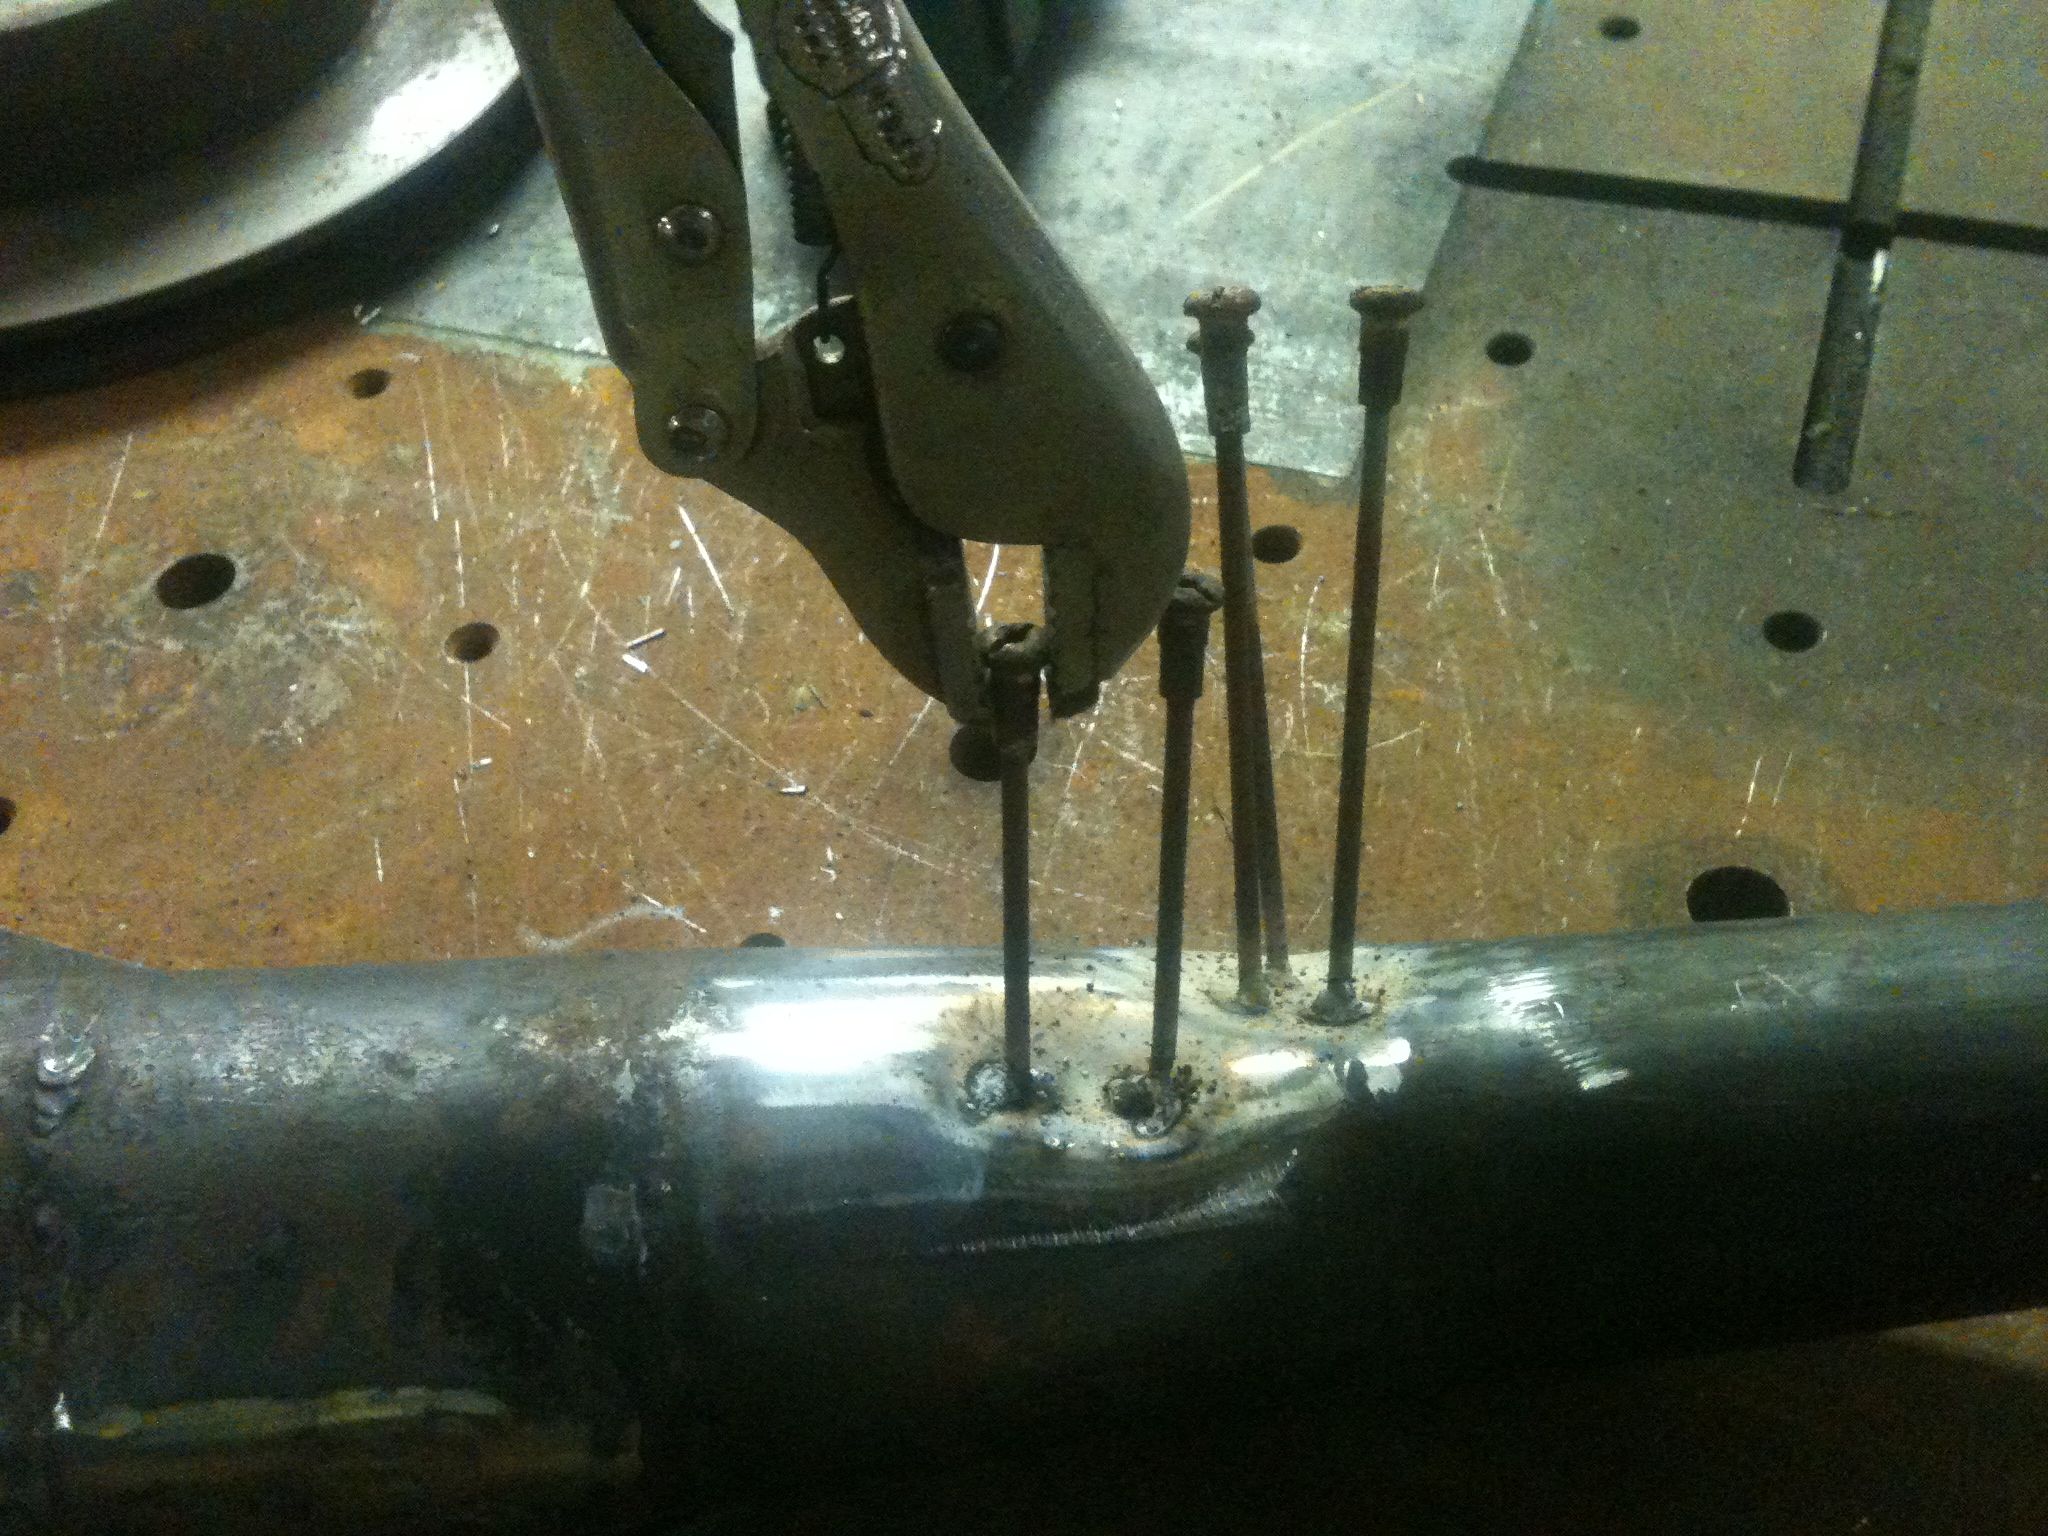
At the body shop we had this slick little spot welding gun that would weld studs to the sheet metal and you would pull the dents out with a slide hammer. I have neither of those, But I did have some old spokes, a torch and welder to work with.

Spokes welded to the bad areas

Heat and pull hard


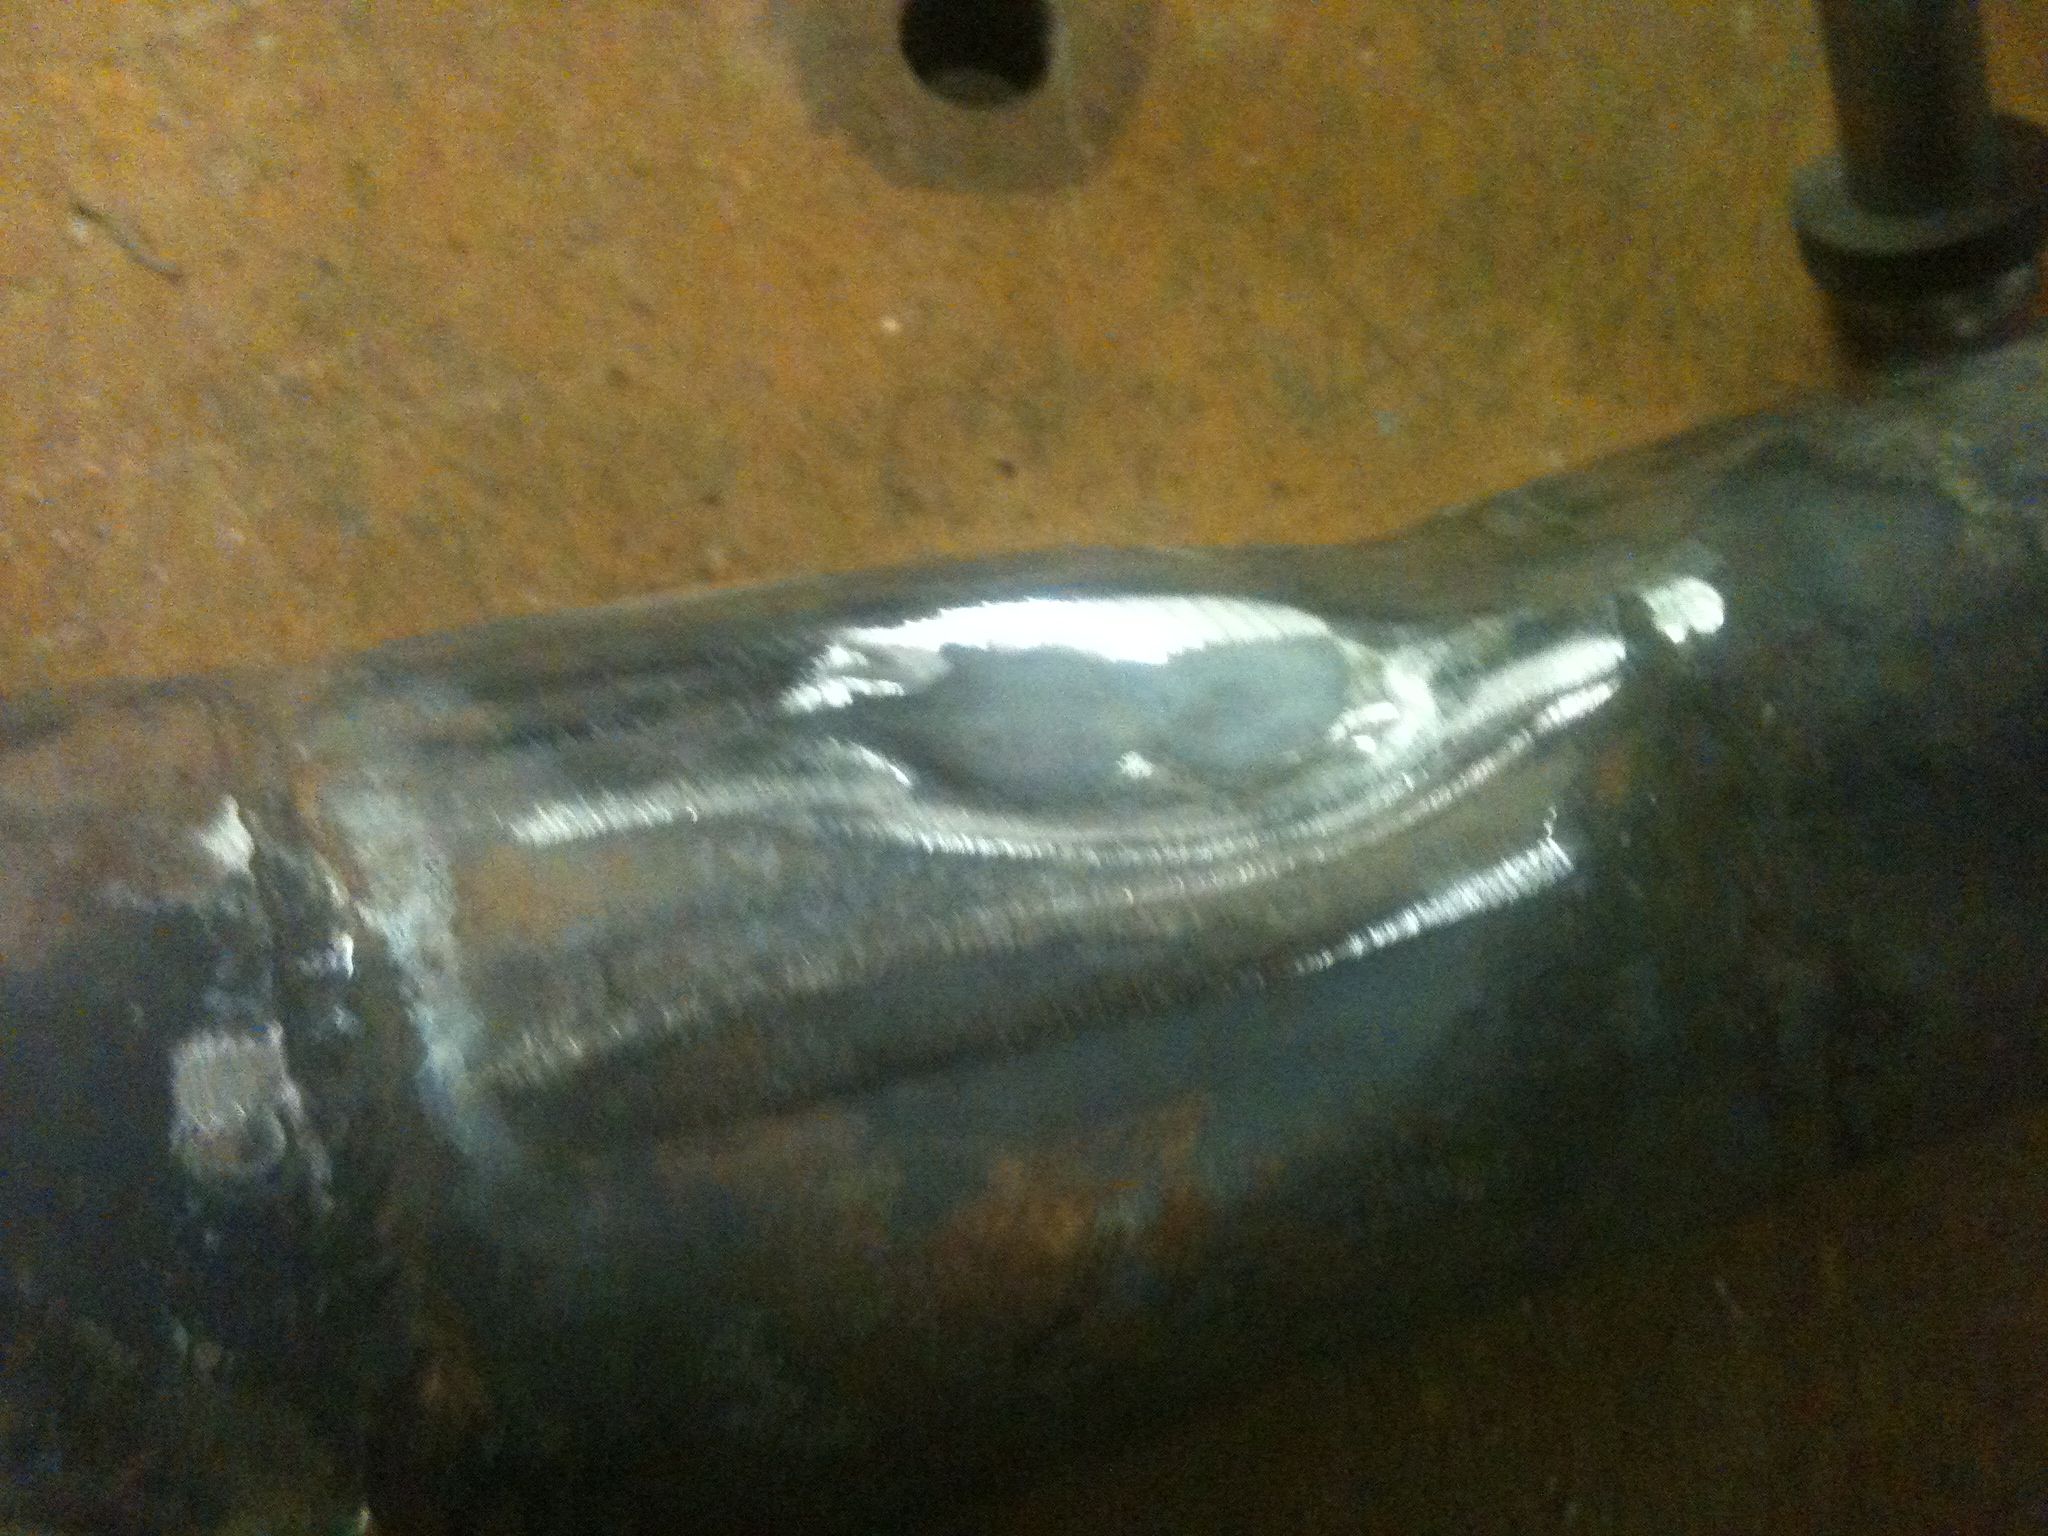
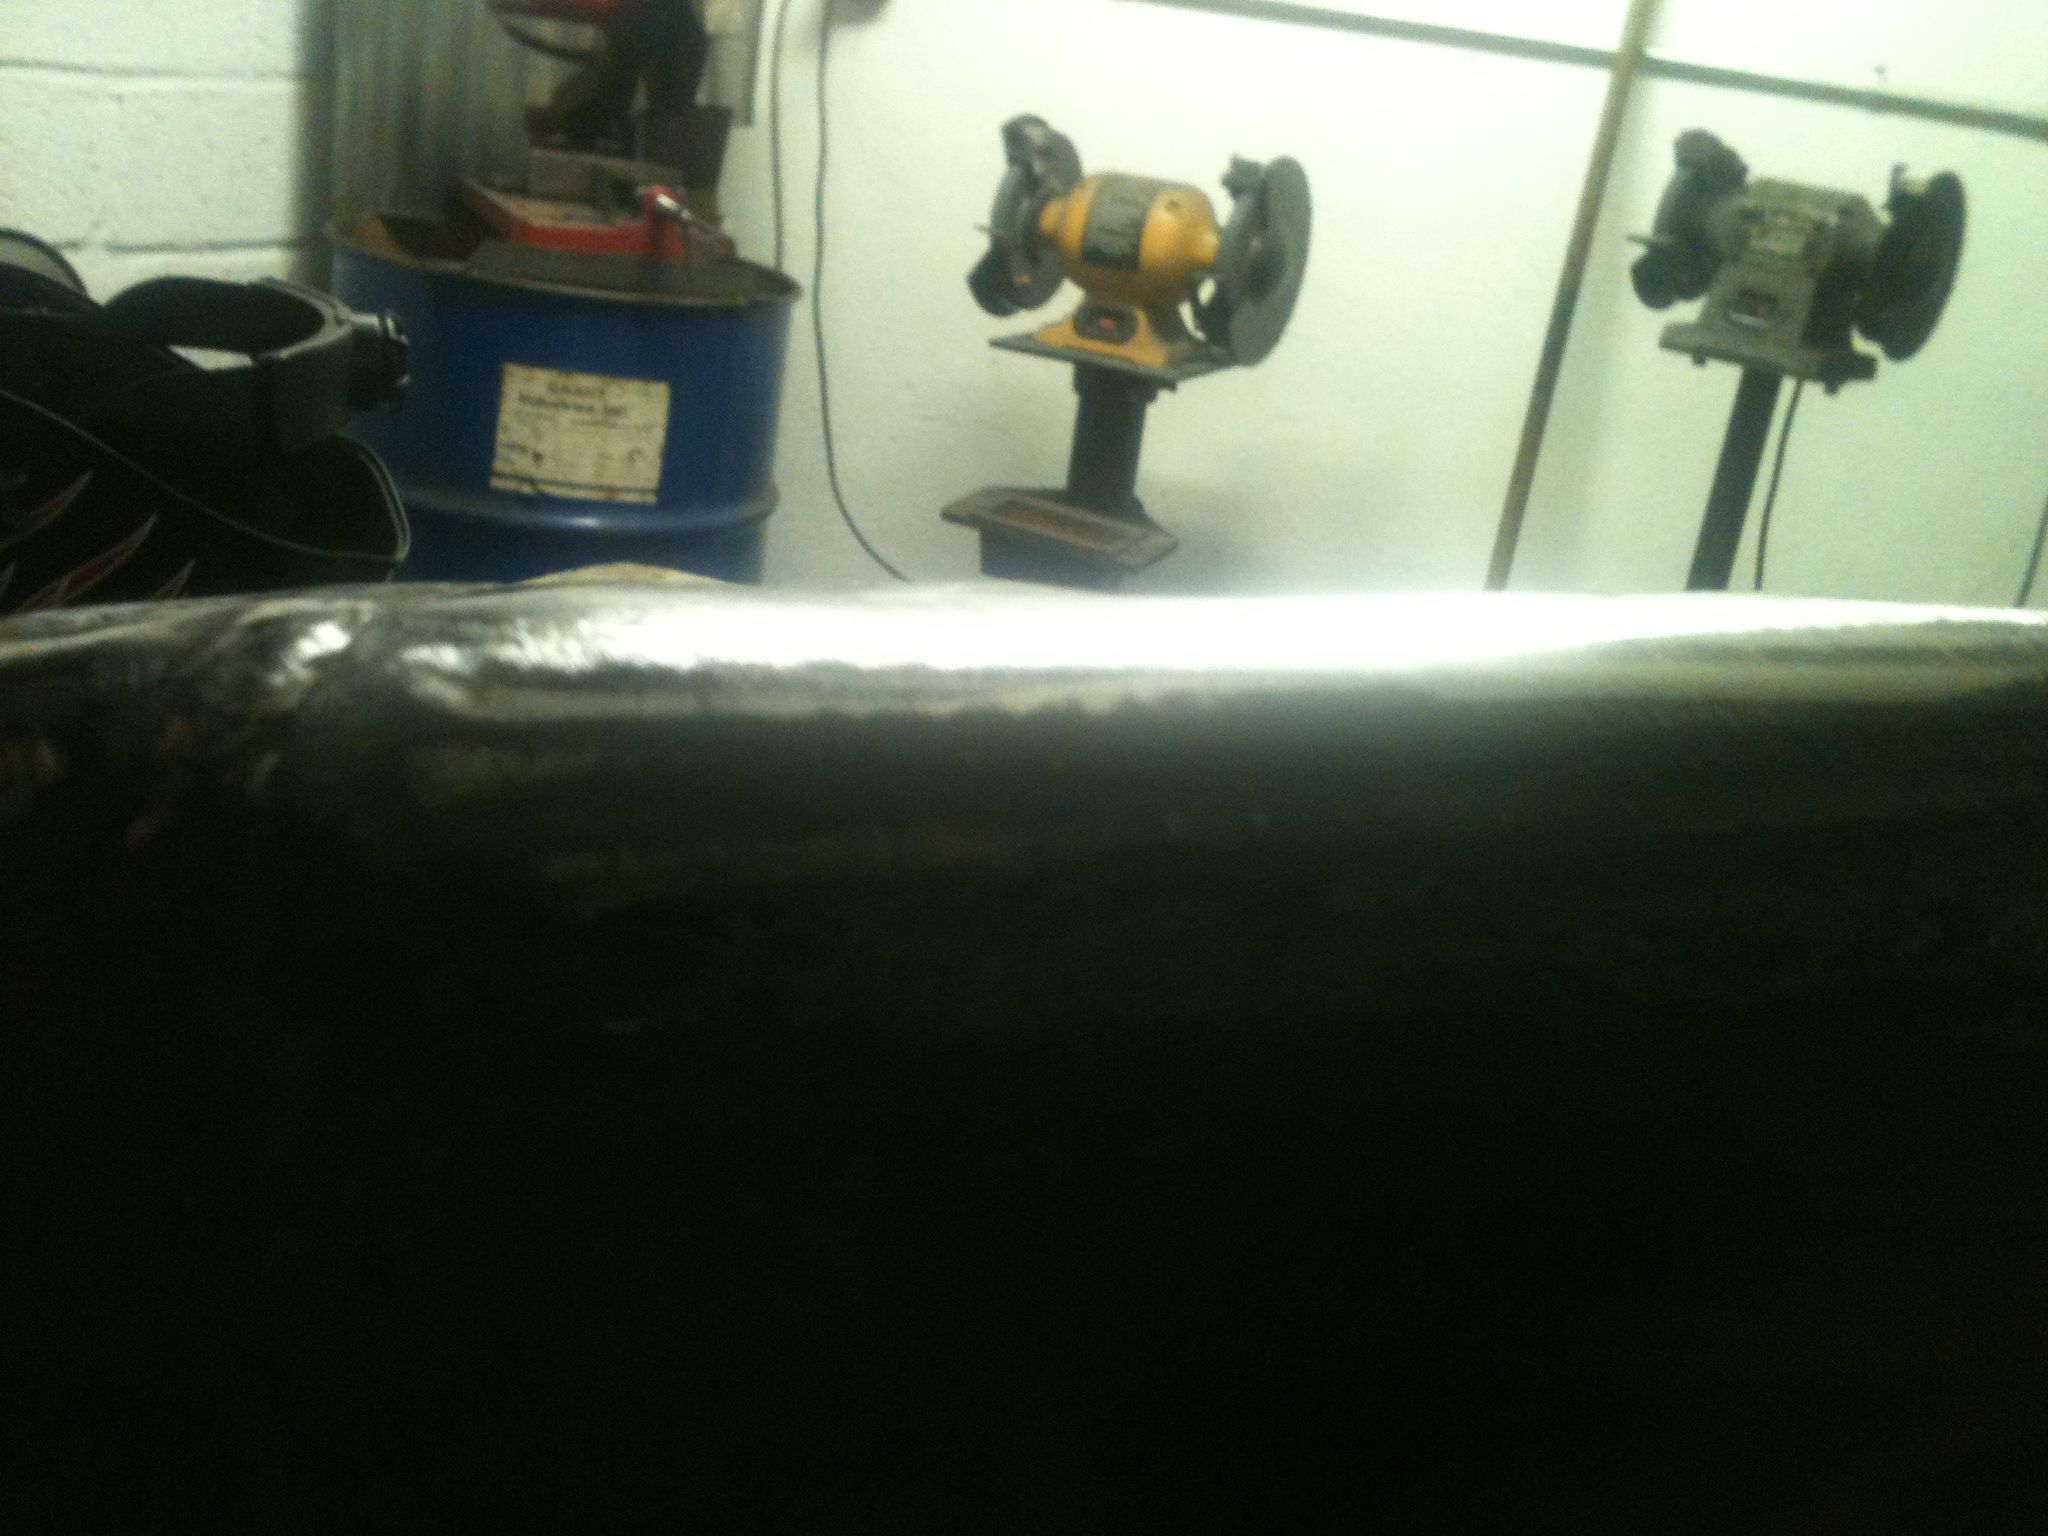
After welding the spokes on I heated the area cherry red and slowly pulled to working as I went. Sometimes I had to go back and reposition the studs after I pulled it all out to get the last bit. I finally ground off all the stud mount welds to finish the job. These pipes woulnt be perfect after this but much better than before and they are getting painted soon.

pretty shapely


-Dan

The RD get a Trick suspension upgrade on the CHEAP!

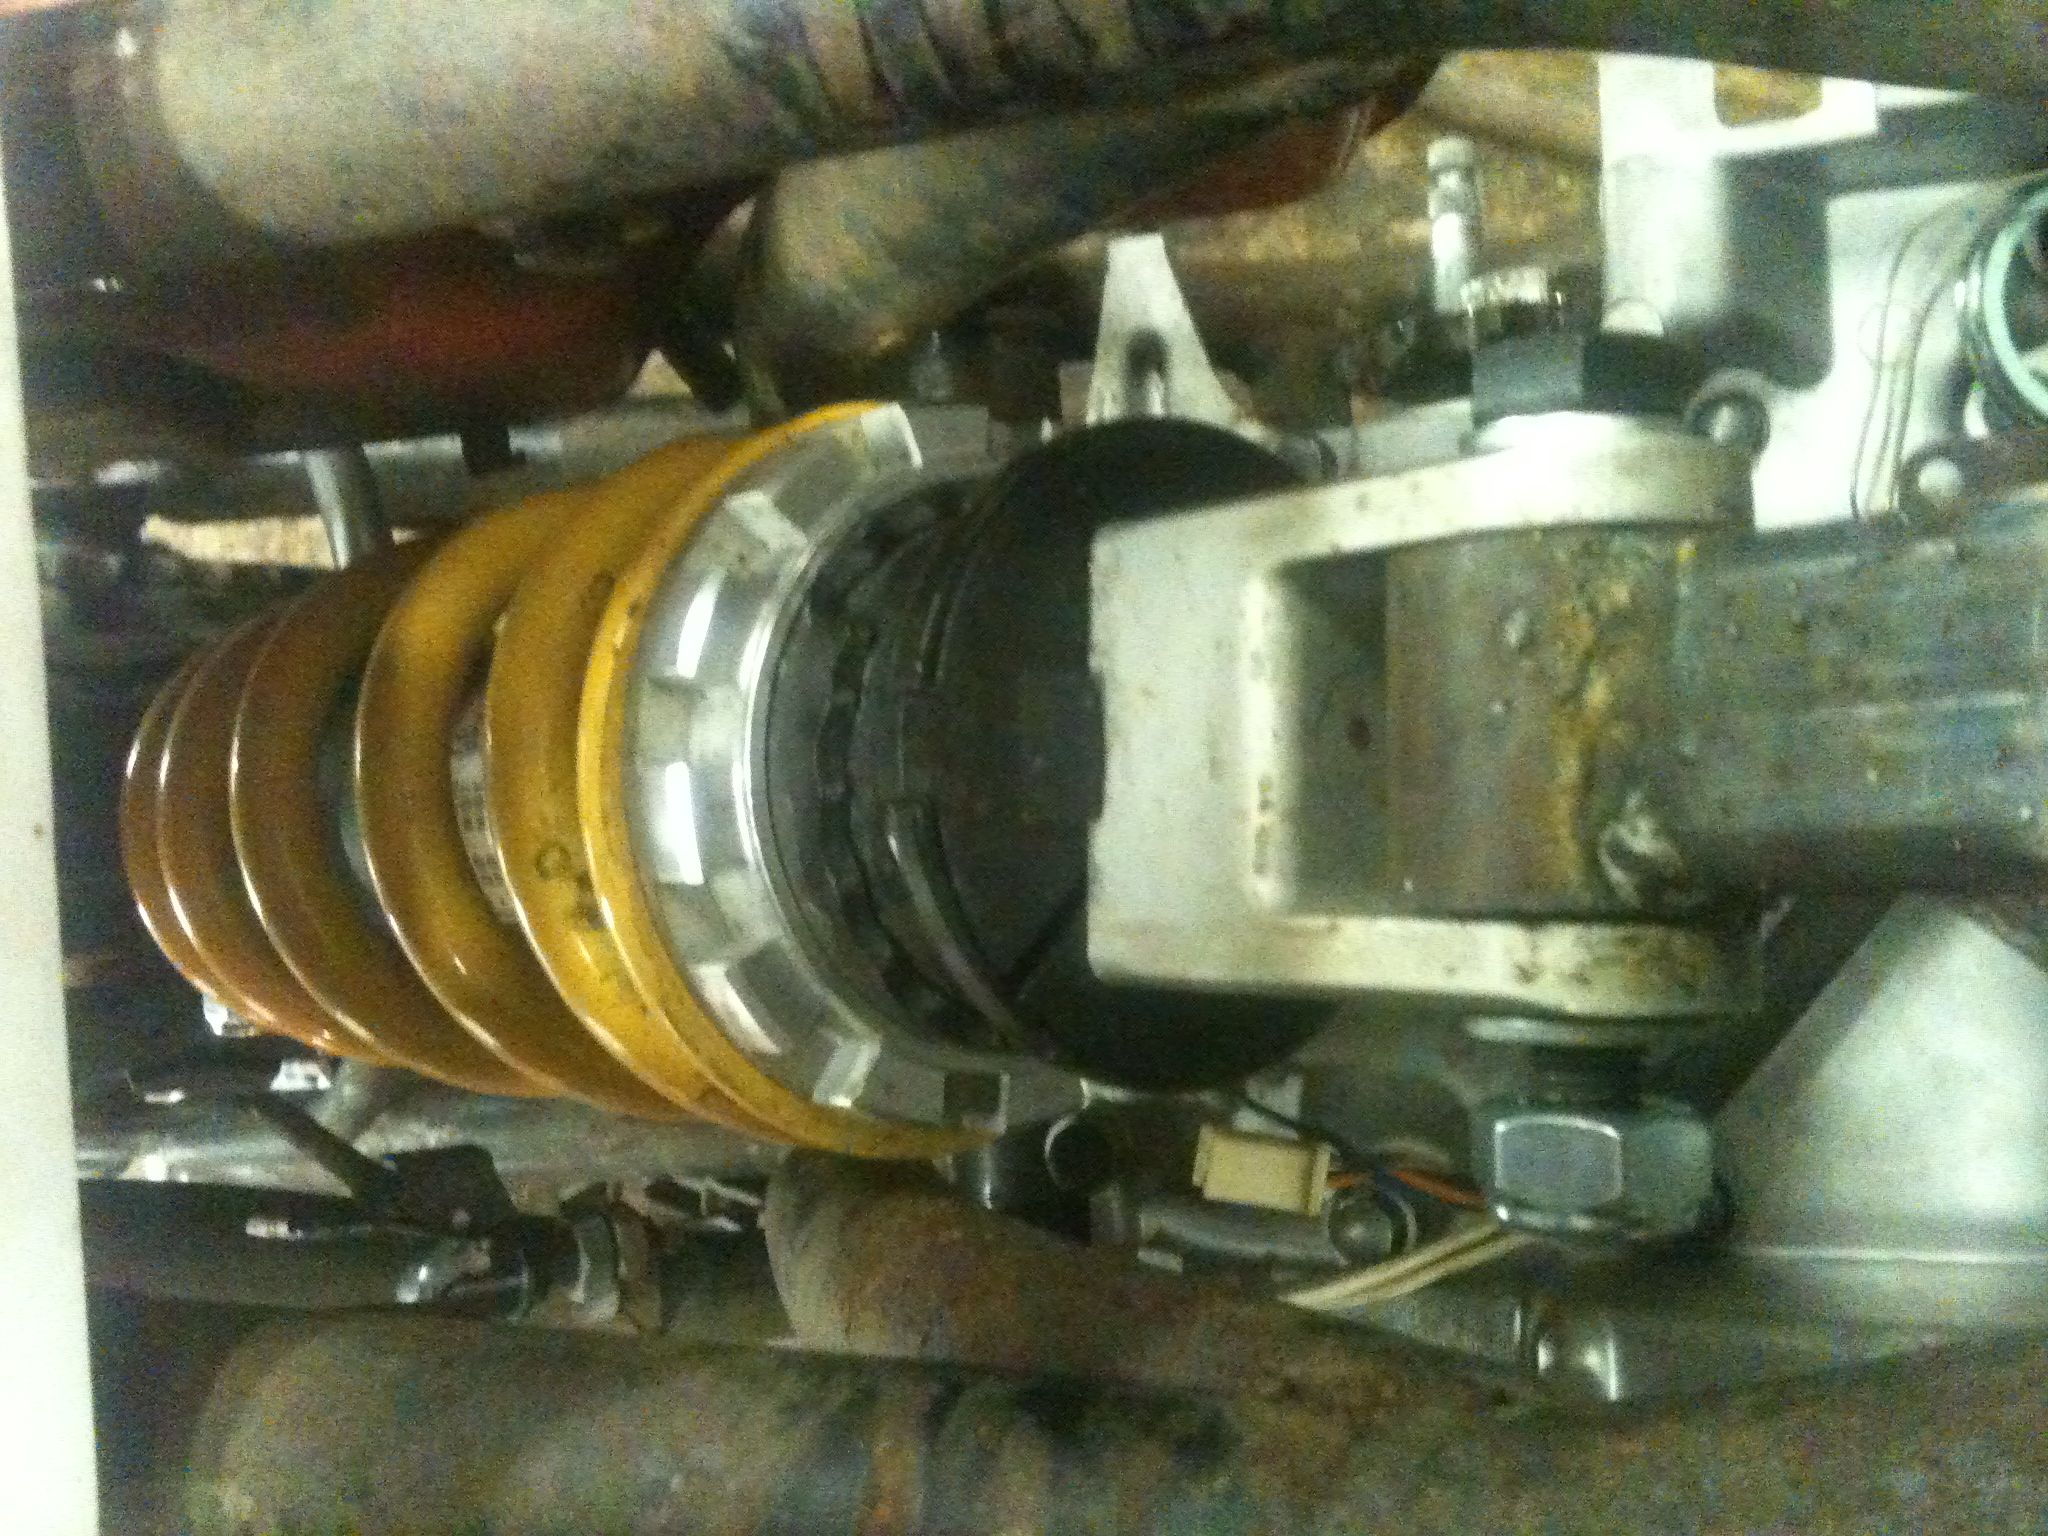
So from the beginning of building this bike I knew I wanted a bike that handled like a brand new sport bike. Rd’s wernt know for their stellar rear suspension when new and the 40 years of sitting in upstate NY made these ones good paperweights. I had looked into a few different options like Progressive and Koni and was not siked on spending the $400+ on them.

Scrap metal

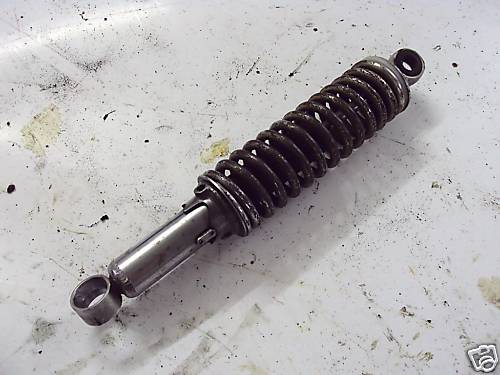
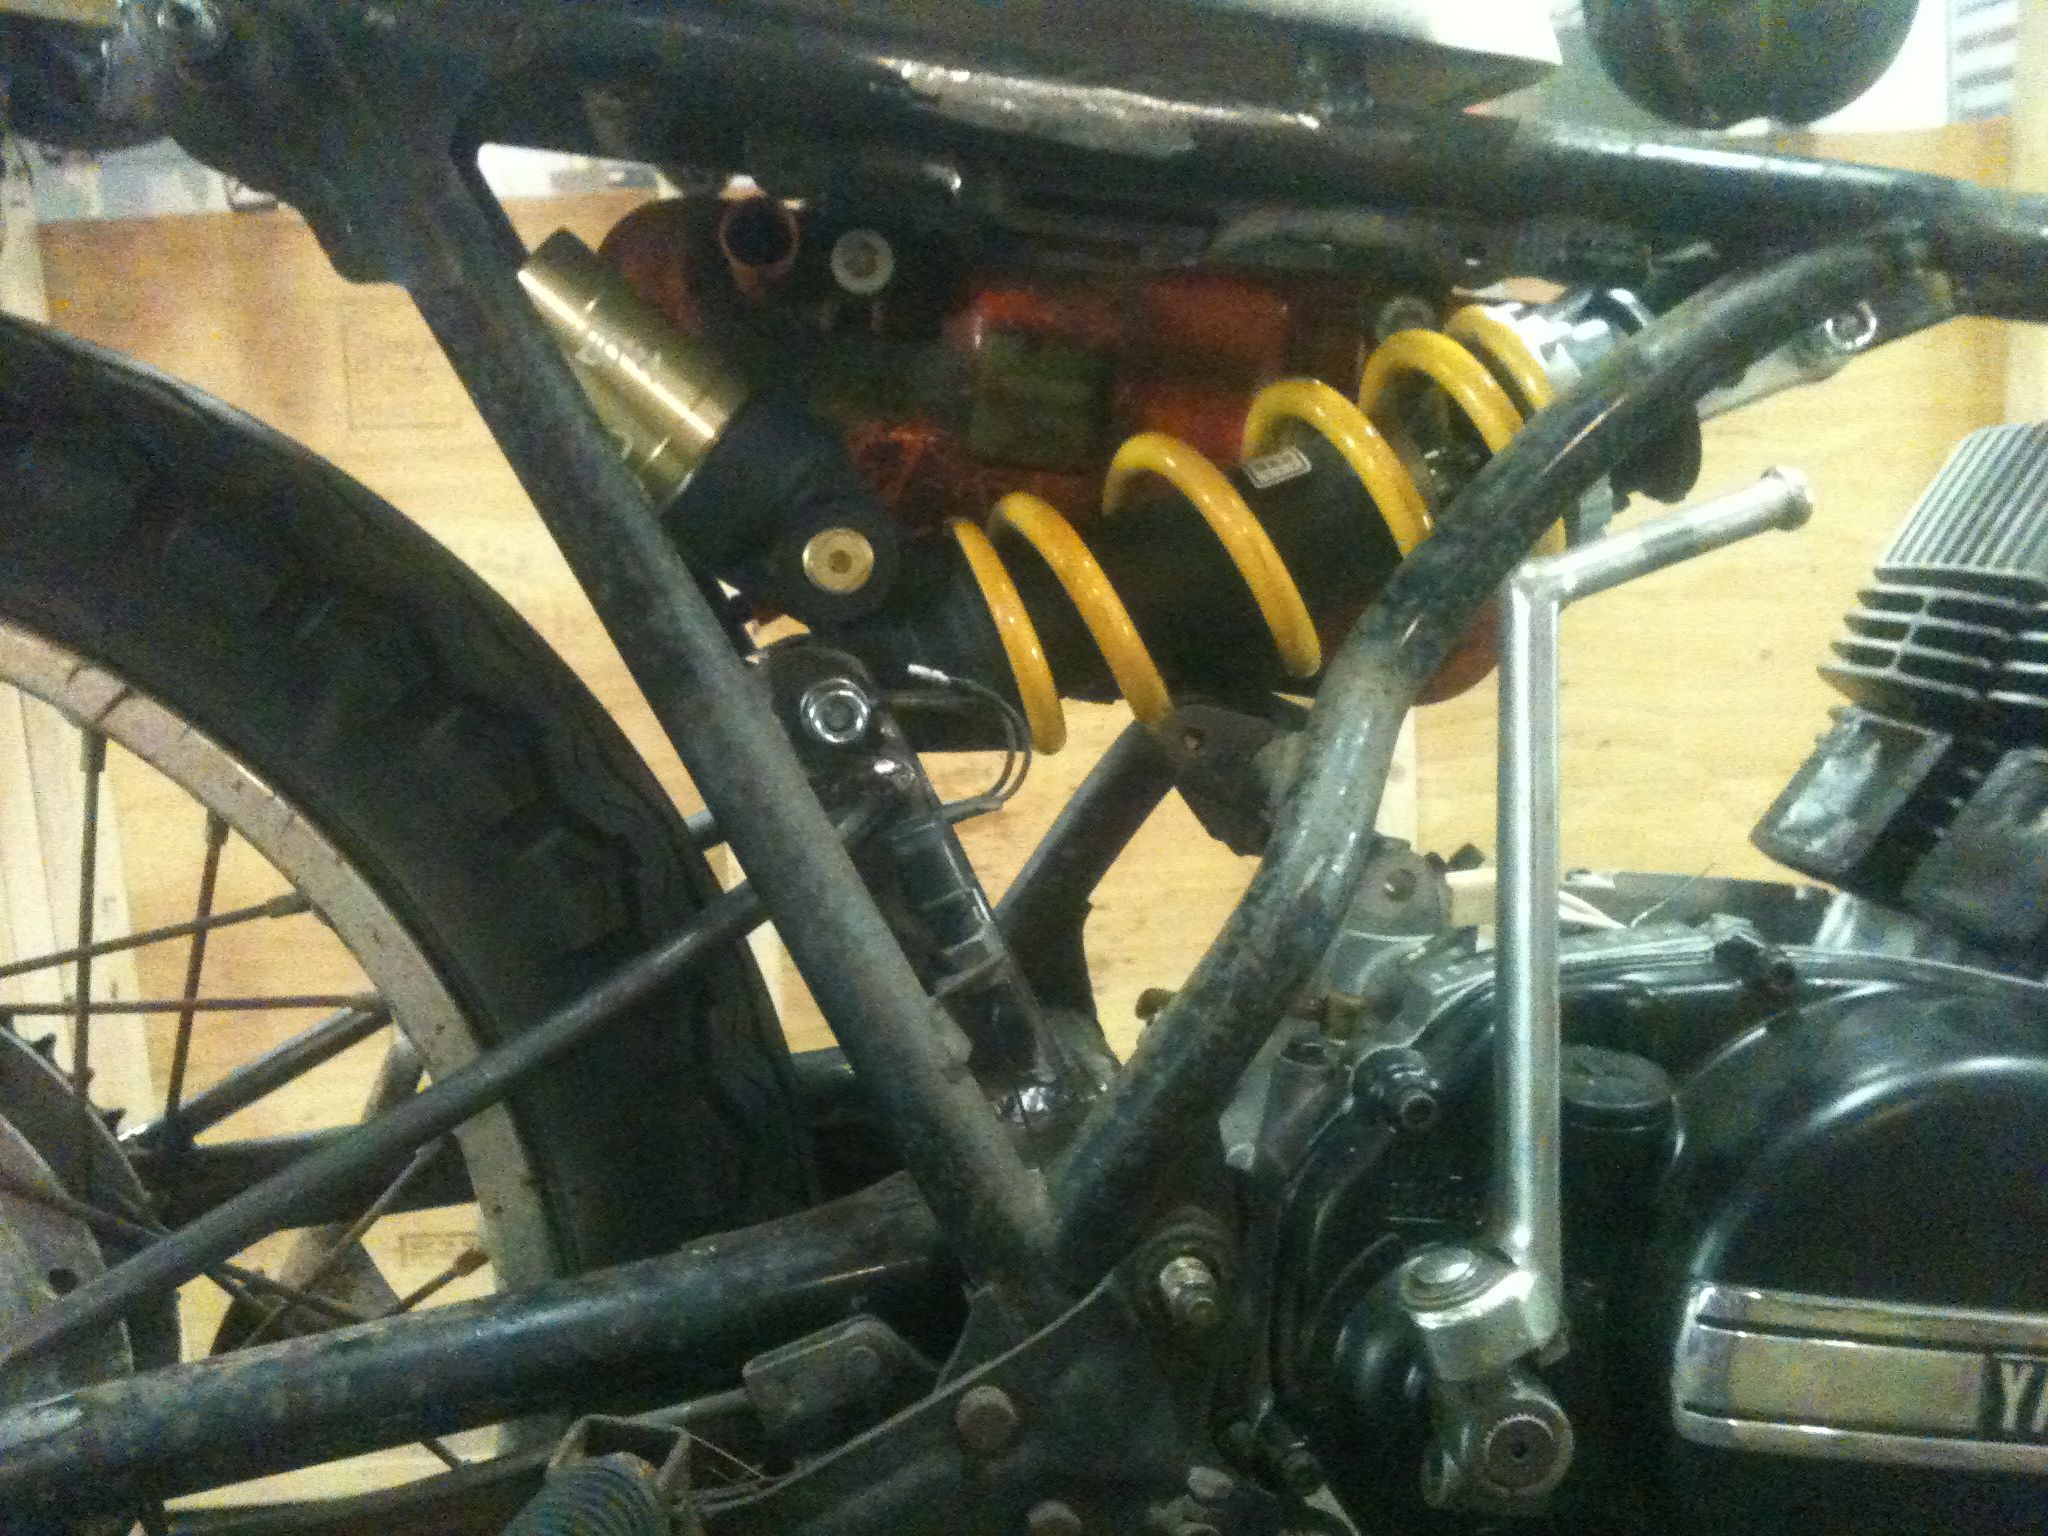
My wife had been out of town for work a few weeks and I spent lot of nights laying in bed thinking of options. What better way to get modern sport bike handling than with sport bike parts. Did a bunch of research on spring rates using the Racetech.com site and settled on a 07 Honda CBR1000rr showa unit. Its a nice unit with adjustable dampening and rebound and spring preload, plus a healthy aftermarket of parts as well. The spring rate is 11.5kg per mm and with the rd’s feather weight and my 195 lb self this puts me a bit stiffer than stock with tons of adjustments. A quick search of ebay yielded one from a low mileage bike for $25 with free shipping. I find its better to let the big bike mfg’s spend millions on R&D for their new machines and I’ll reap the benefits for my old junk.

New jawn off a 07 CBR1000rr

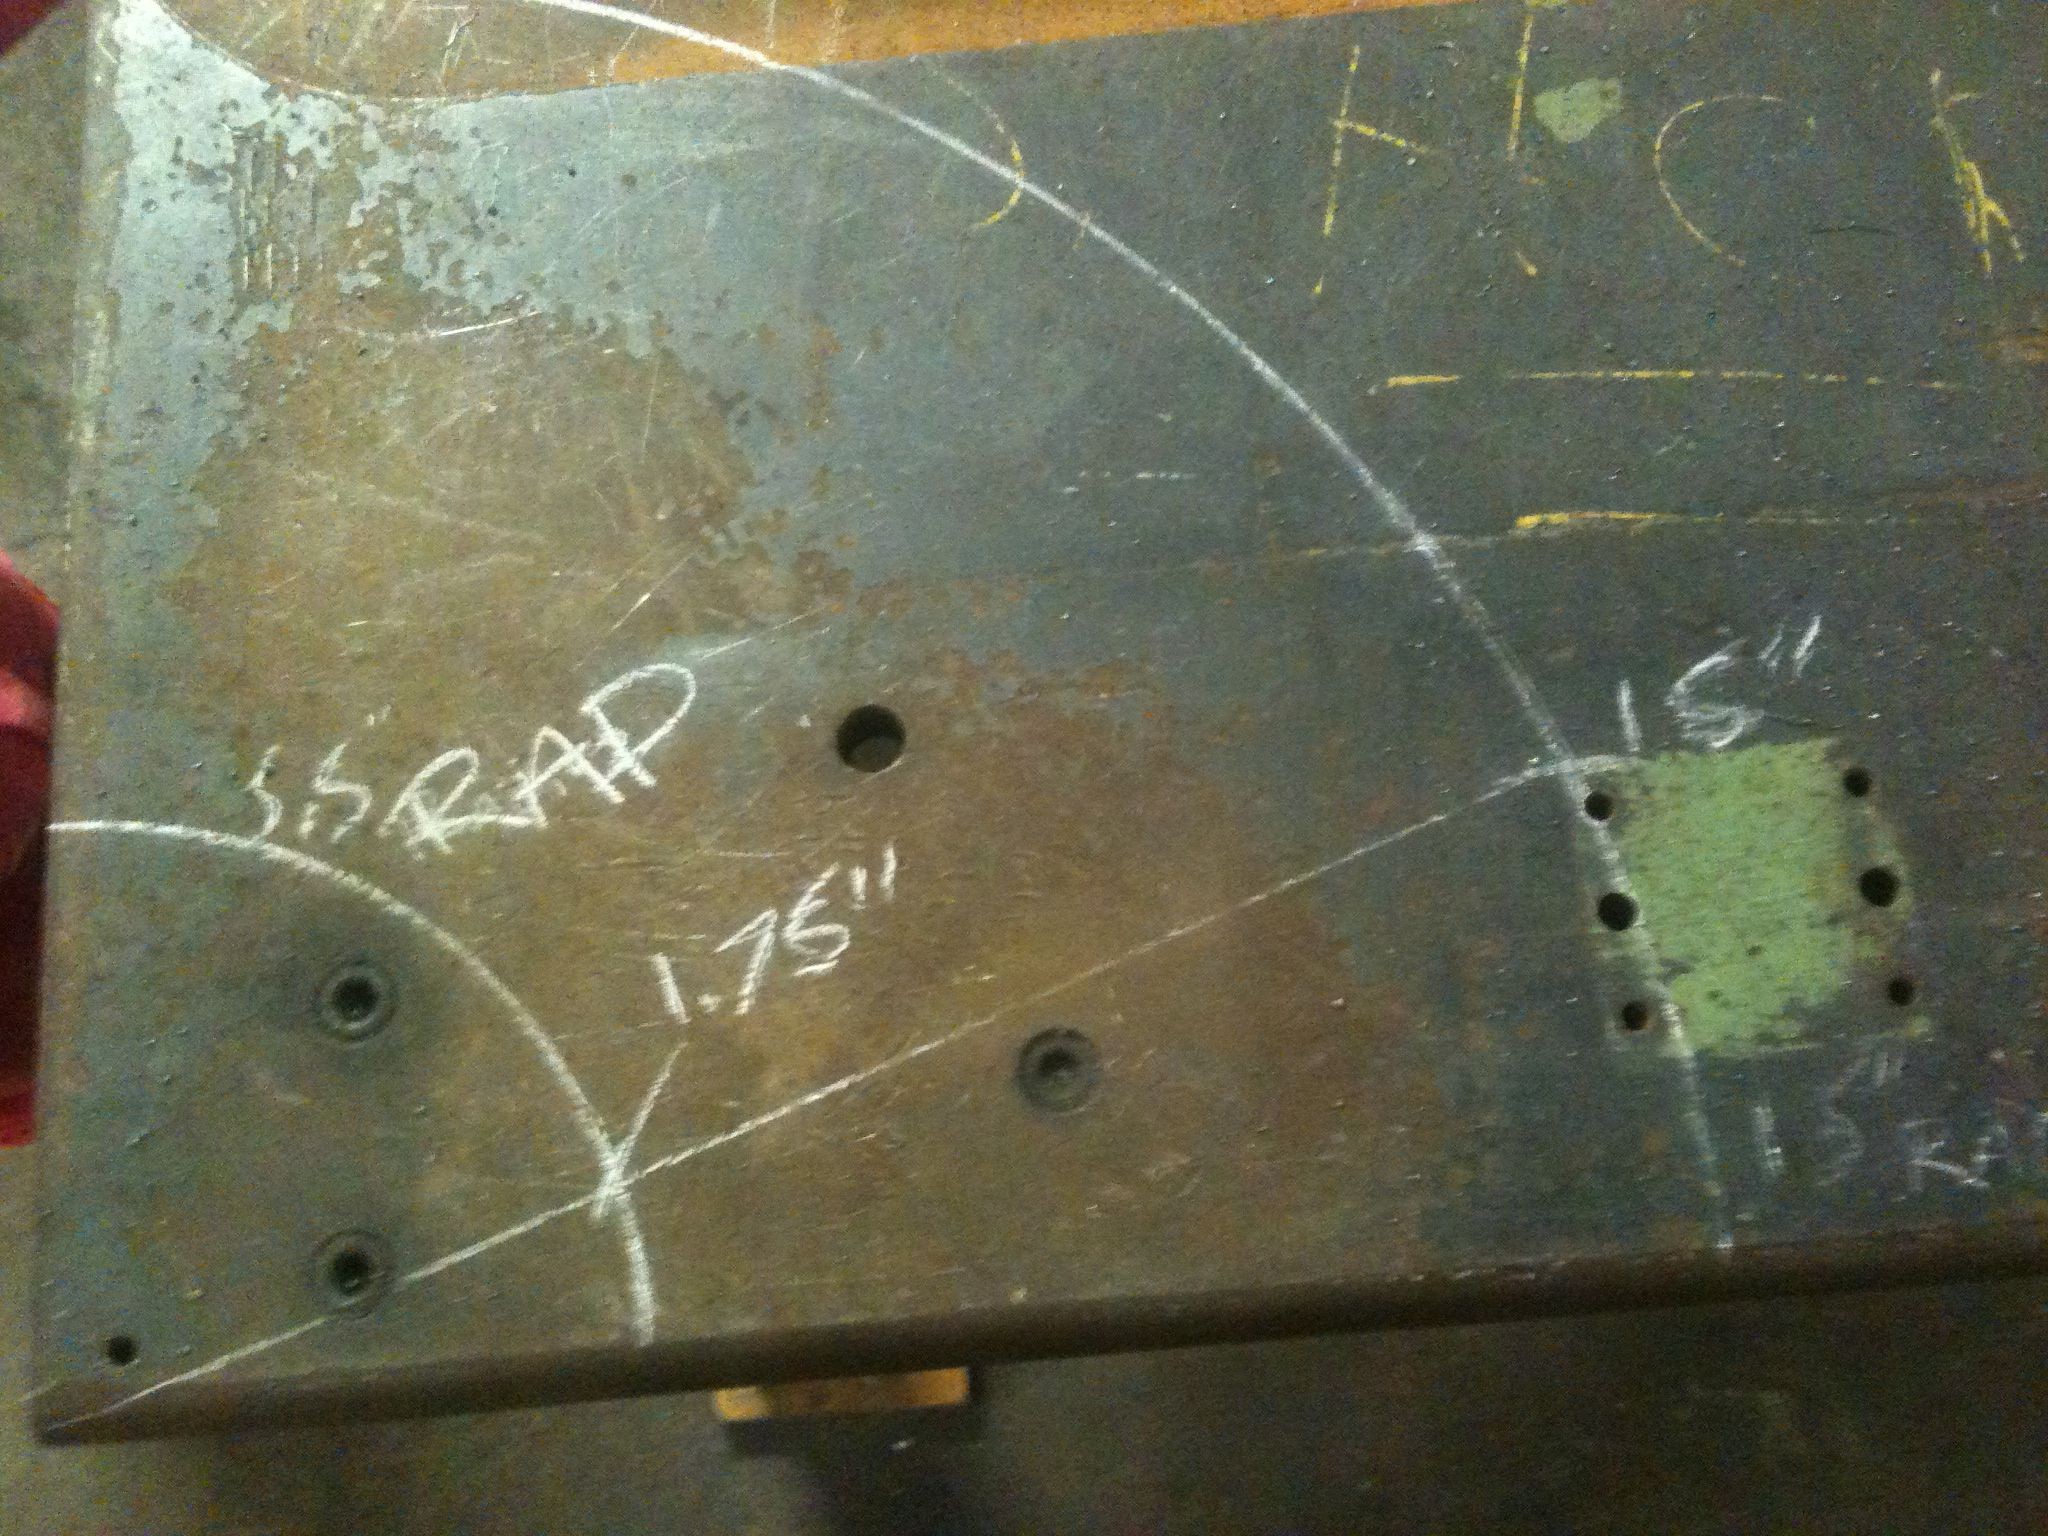
The next problem was how to make a shock with only 1.75 inches travel work in an application that needs about 5″ total with sag and not use all the fancy linkages that honda uses on there bikes. After much thought my solution was to make second arm attached to the swingarm but shorter to reduce the radius. After a lot of math I hadn’t used in years on paper I settled on needing a 5.5 inch radius from the swingarm pivot to give the proper travel when the 15″ arm moves. I decided to draw it to scale on the welding table to check the math. It worked in practice too.

Drawn out to SCALE

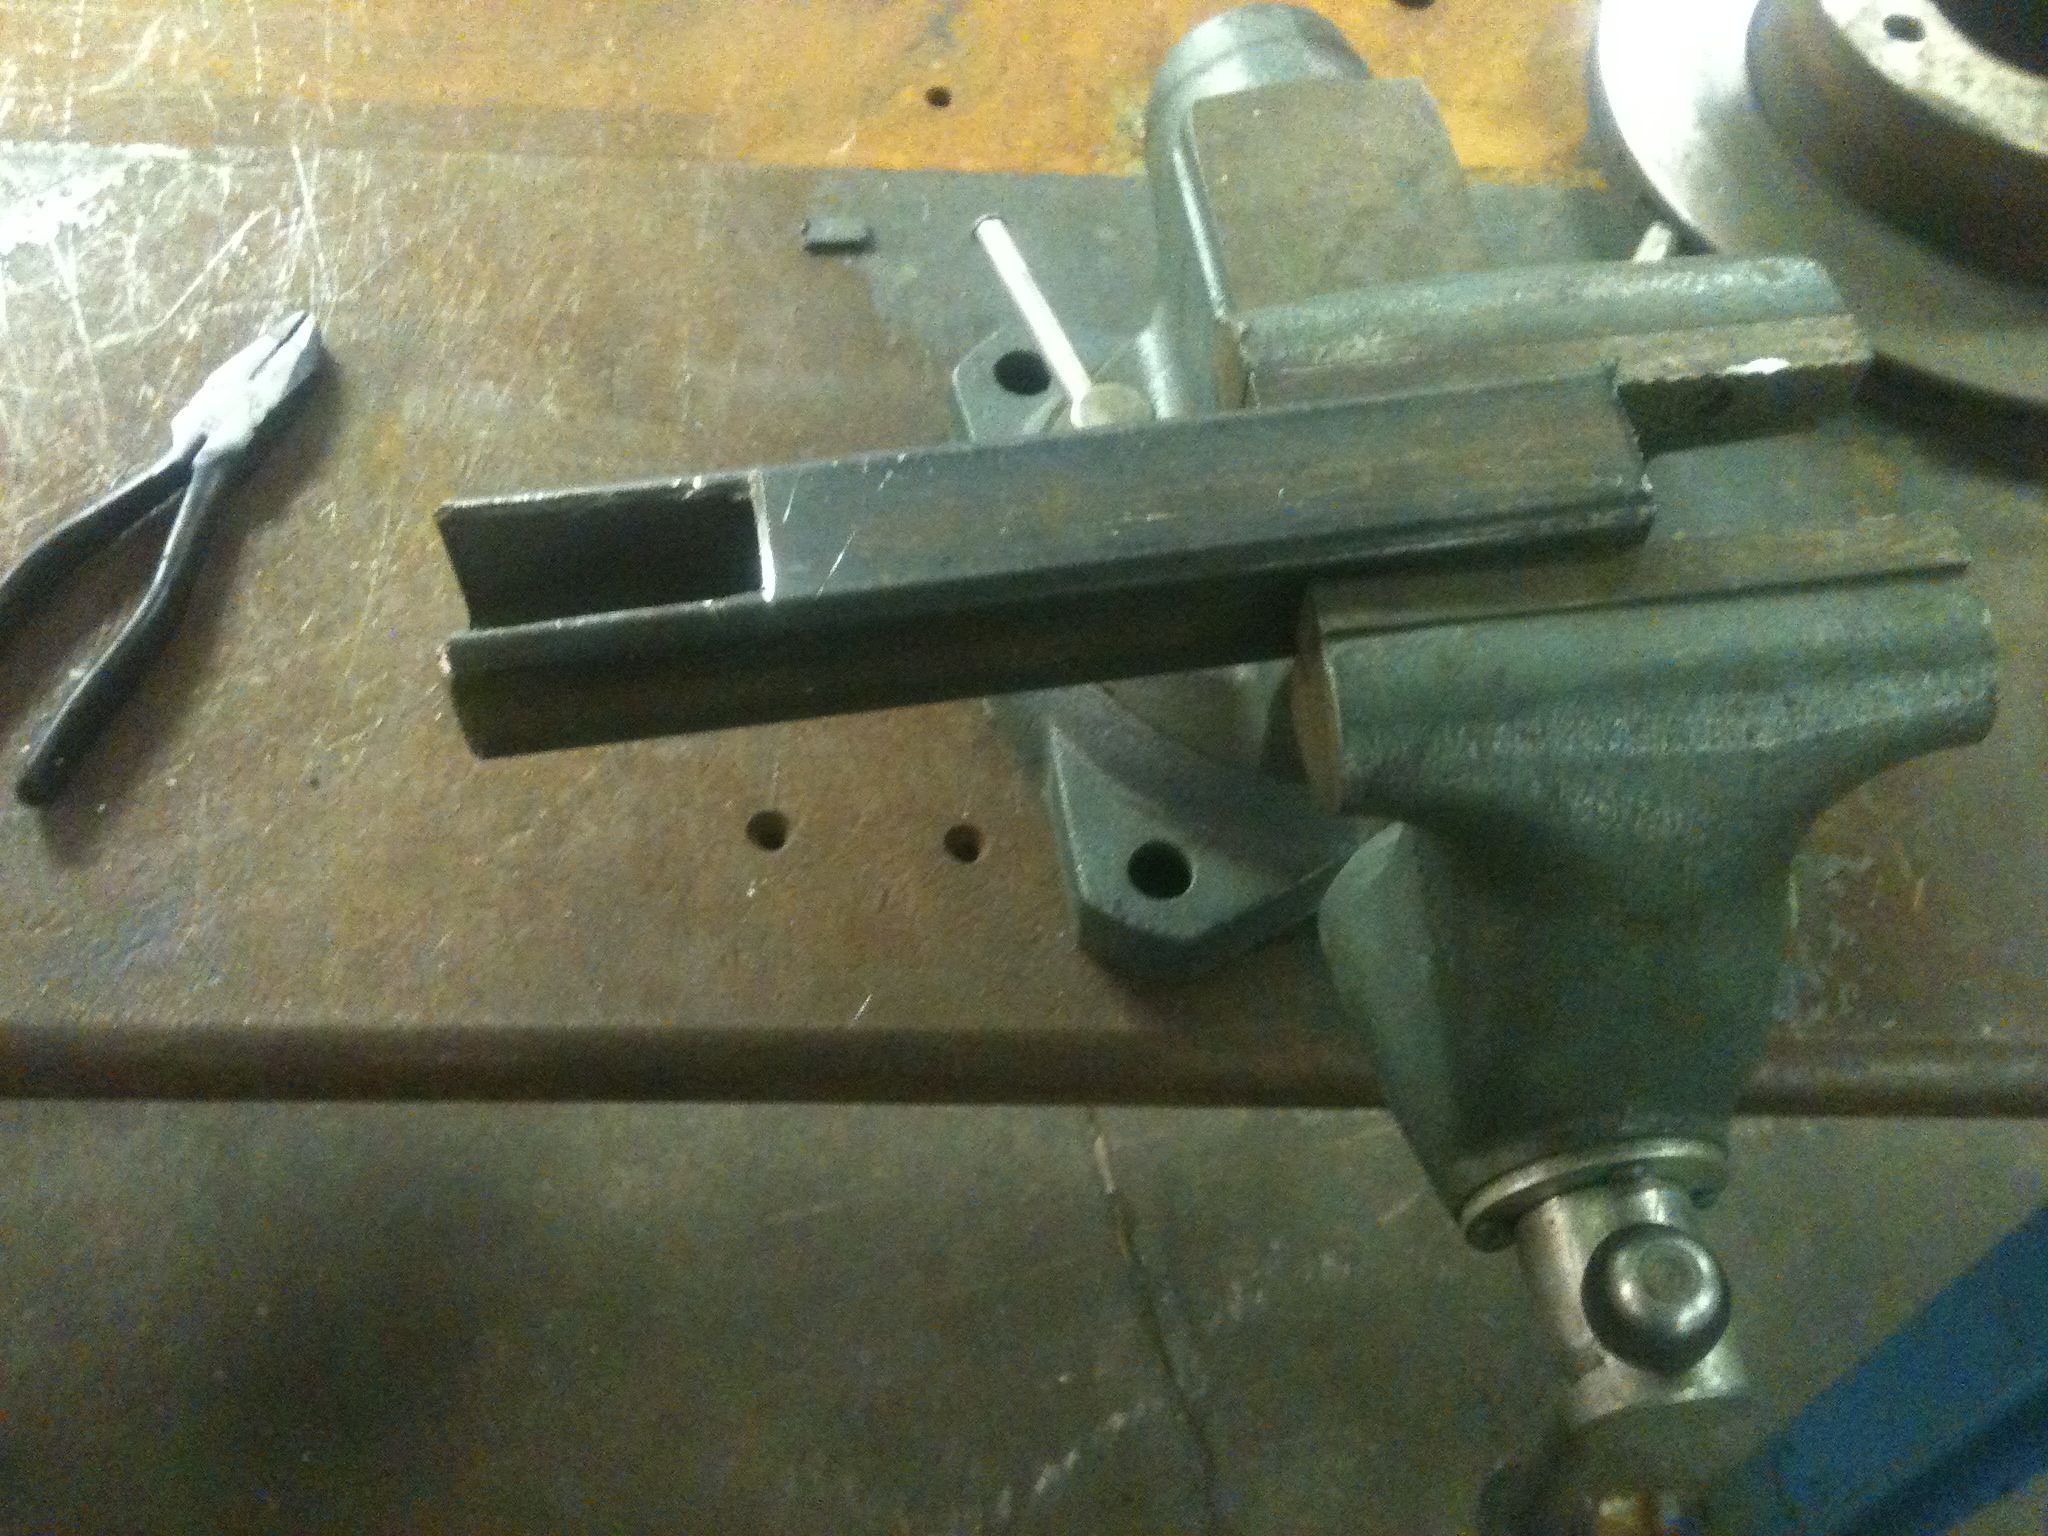
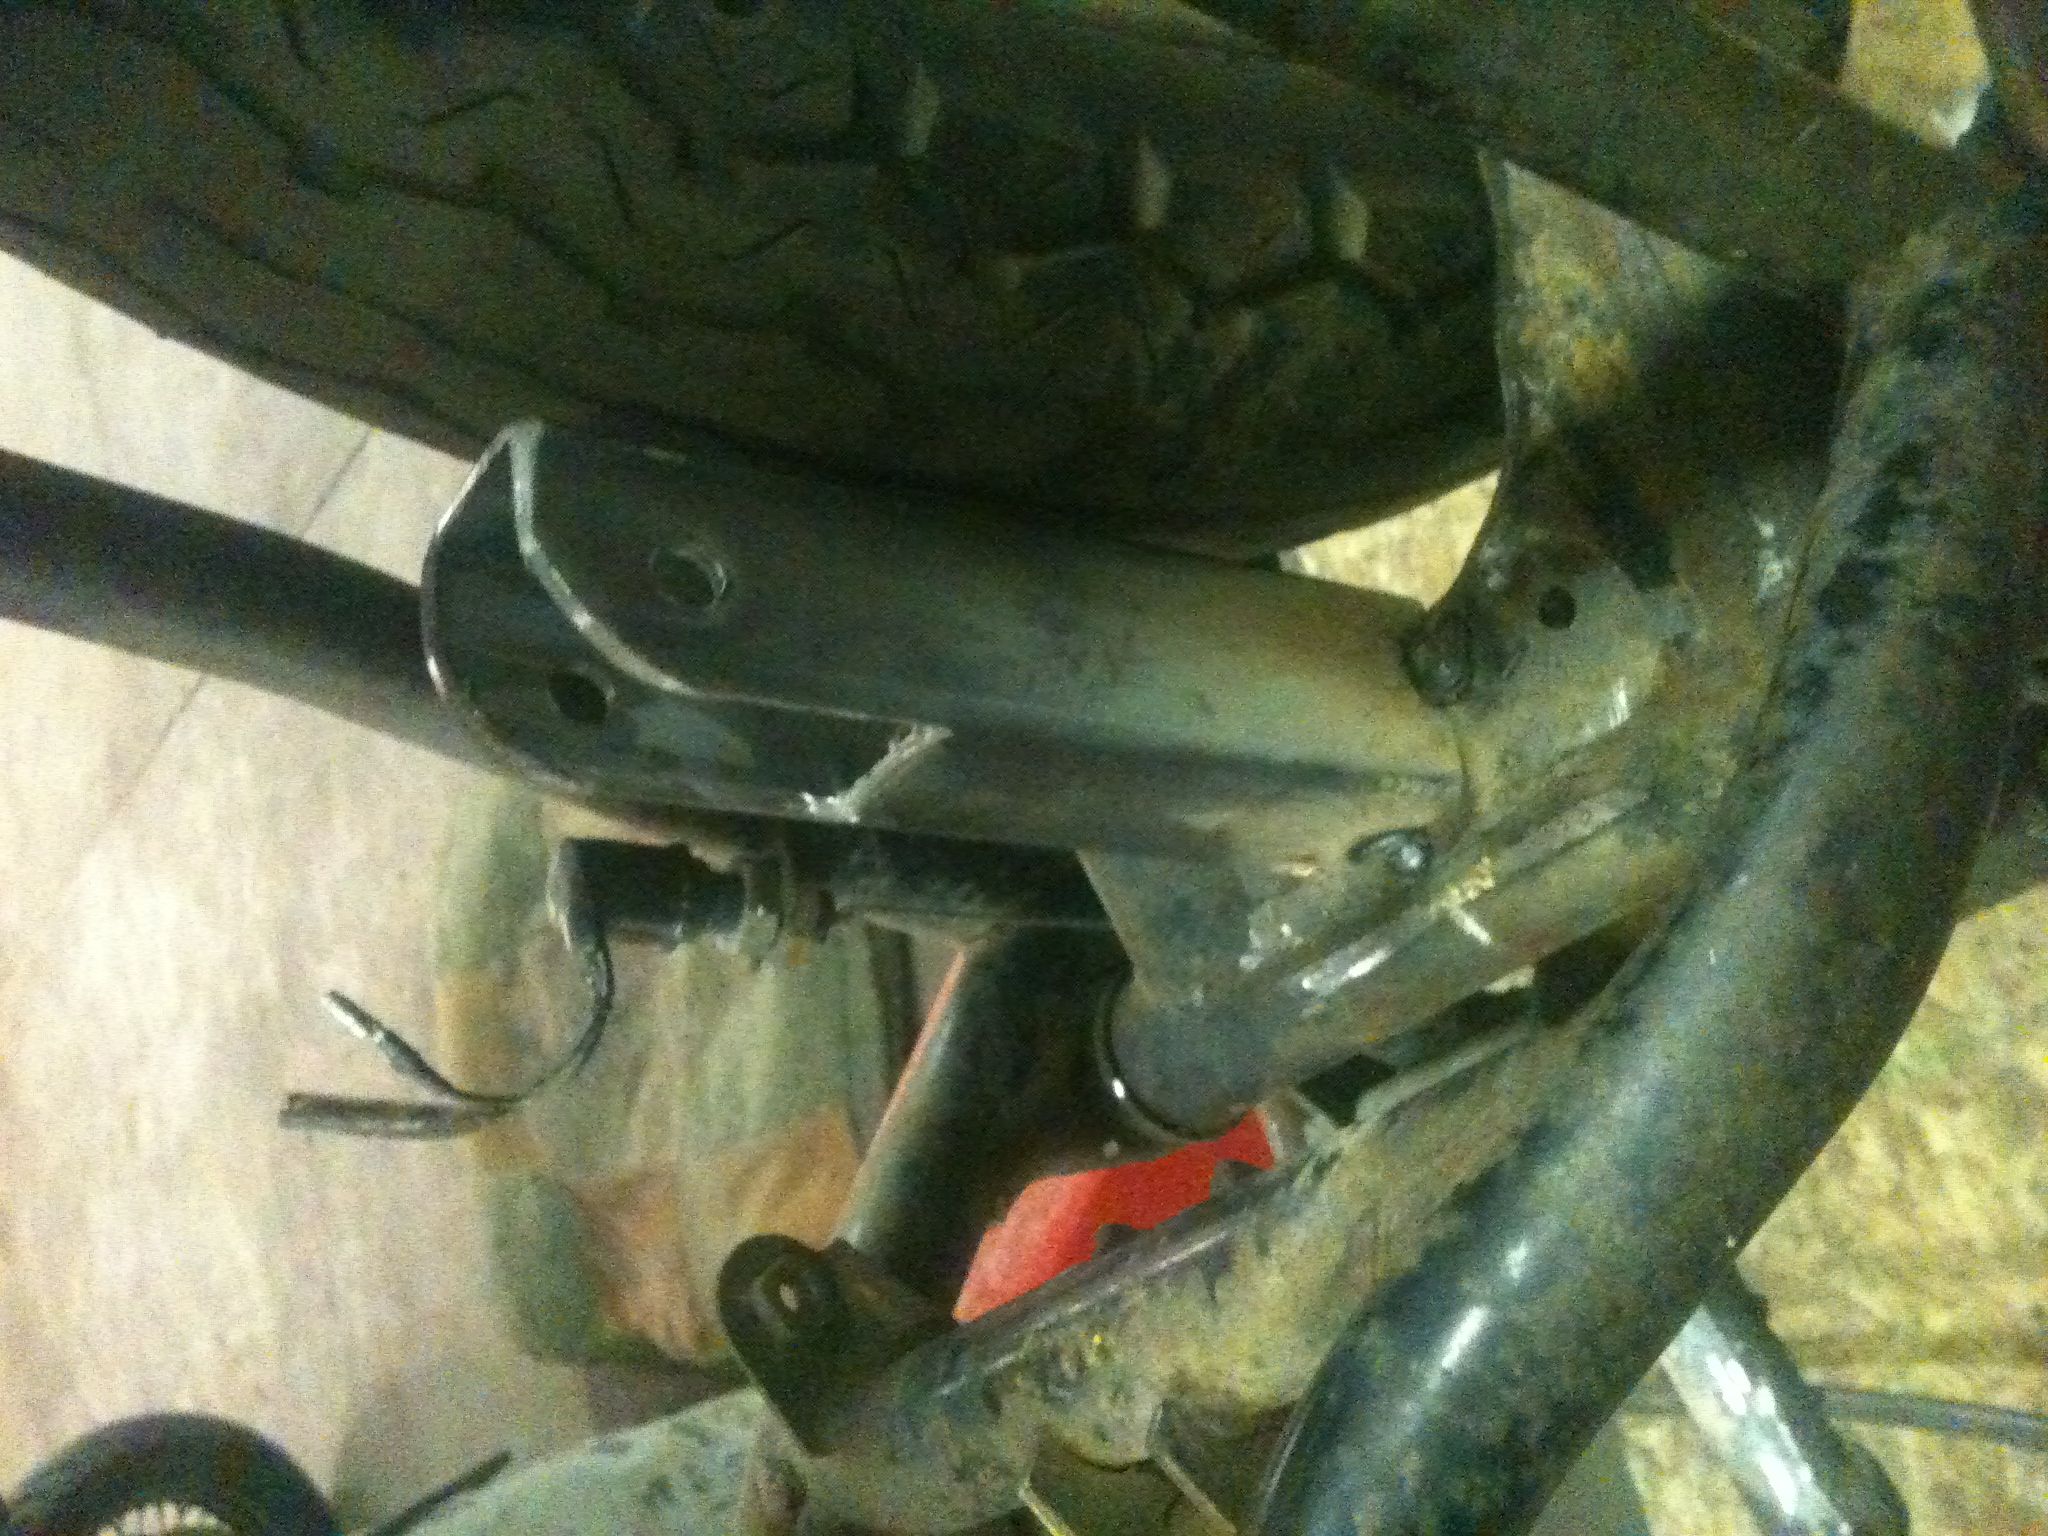
Now was the easy part of tabbing up the mounts. The rear is made out of 1.5″ square stock and the front that I forgot to take pics of is a 660 bronze bush I made on the lathe pressed into some round steel stock with a shoulder on it for the shock mount to ride on.

The start of the rear mount

Tacked in place

I also bent some round stock to act as a gusset for the rear mount and brace the swingarm. This should help with the torsional stiffness af the old arm as well.

Ready for finish welding

Really cleans up the lines without the rear shocks on there


So final verdict is that it feels like a new bike when you sit on it, It only cost $25 and the rest of the stuff I had at the shop or could be had for short money and the fab work wasn’t crazy. Ill take it. Thanks Honda
-DAN

Using Banshee pistons in your air cooled RD350/400

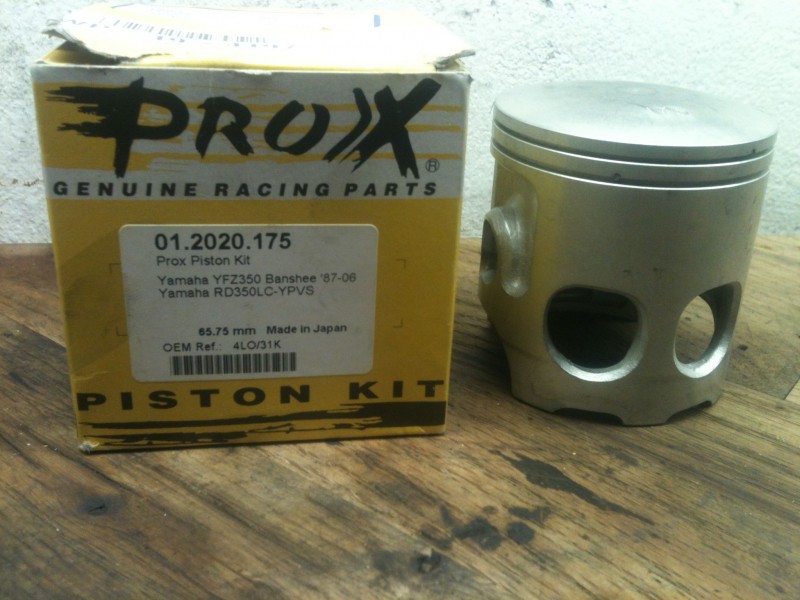
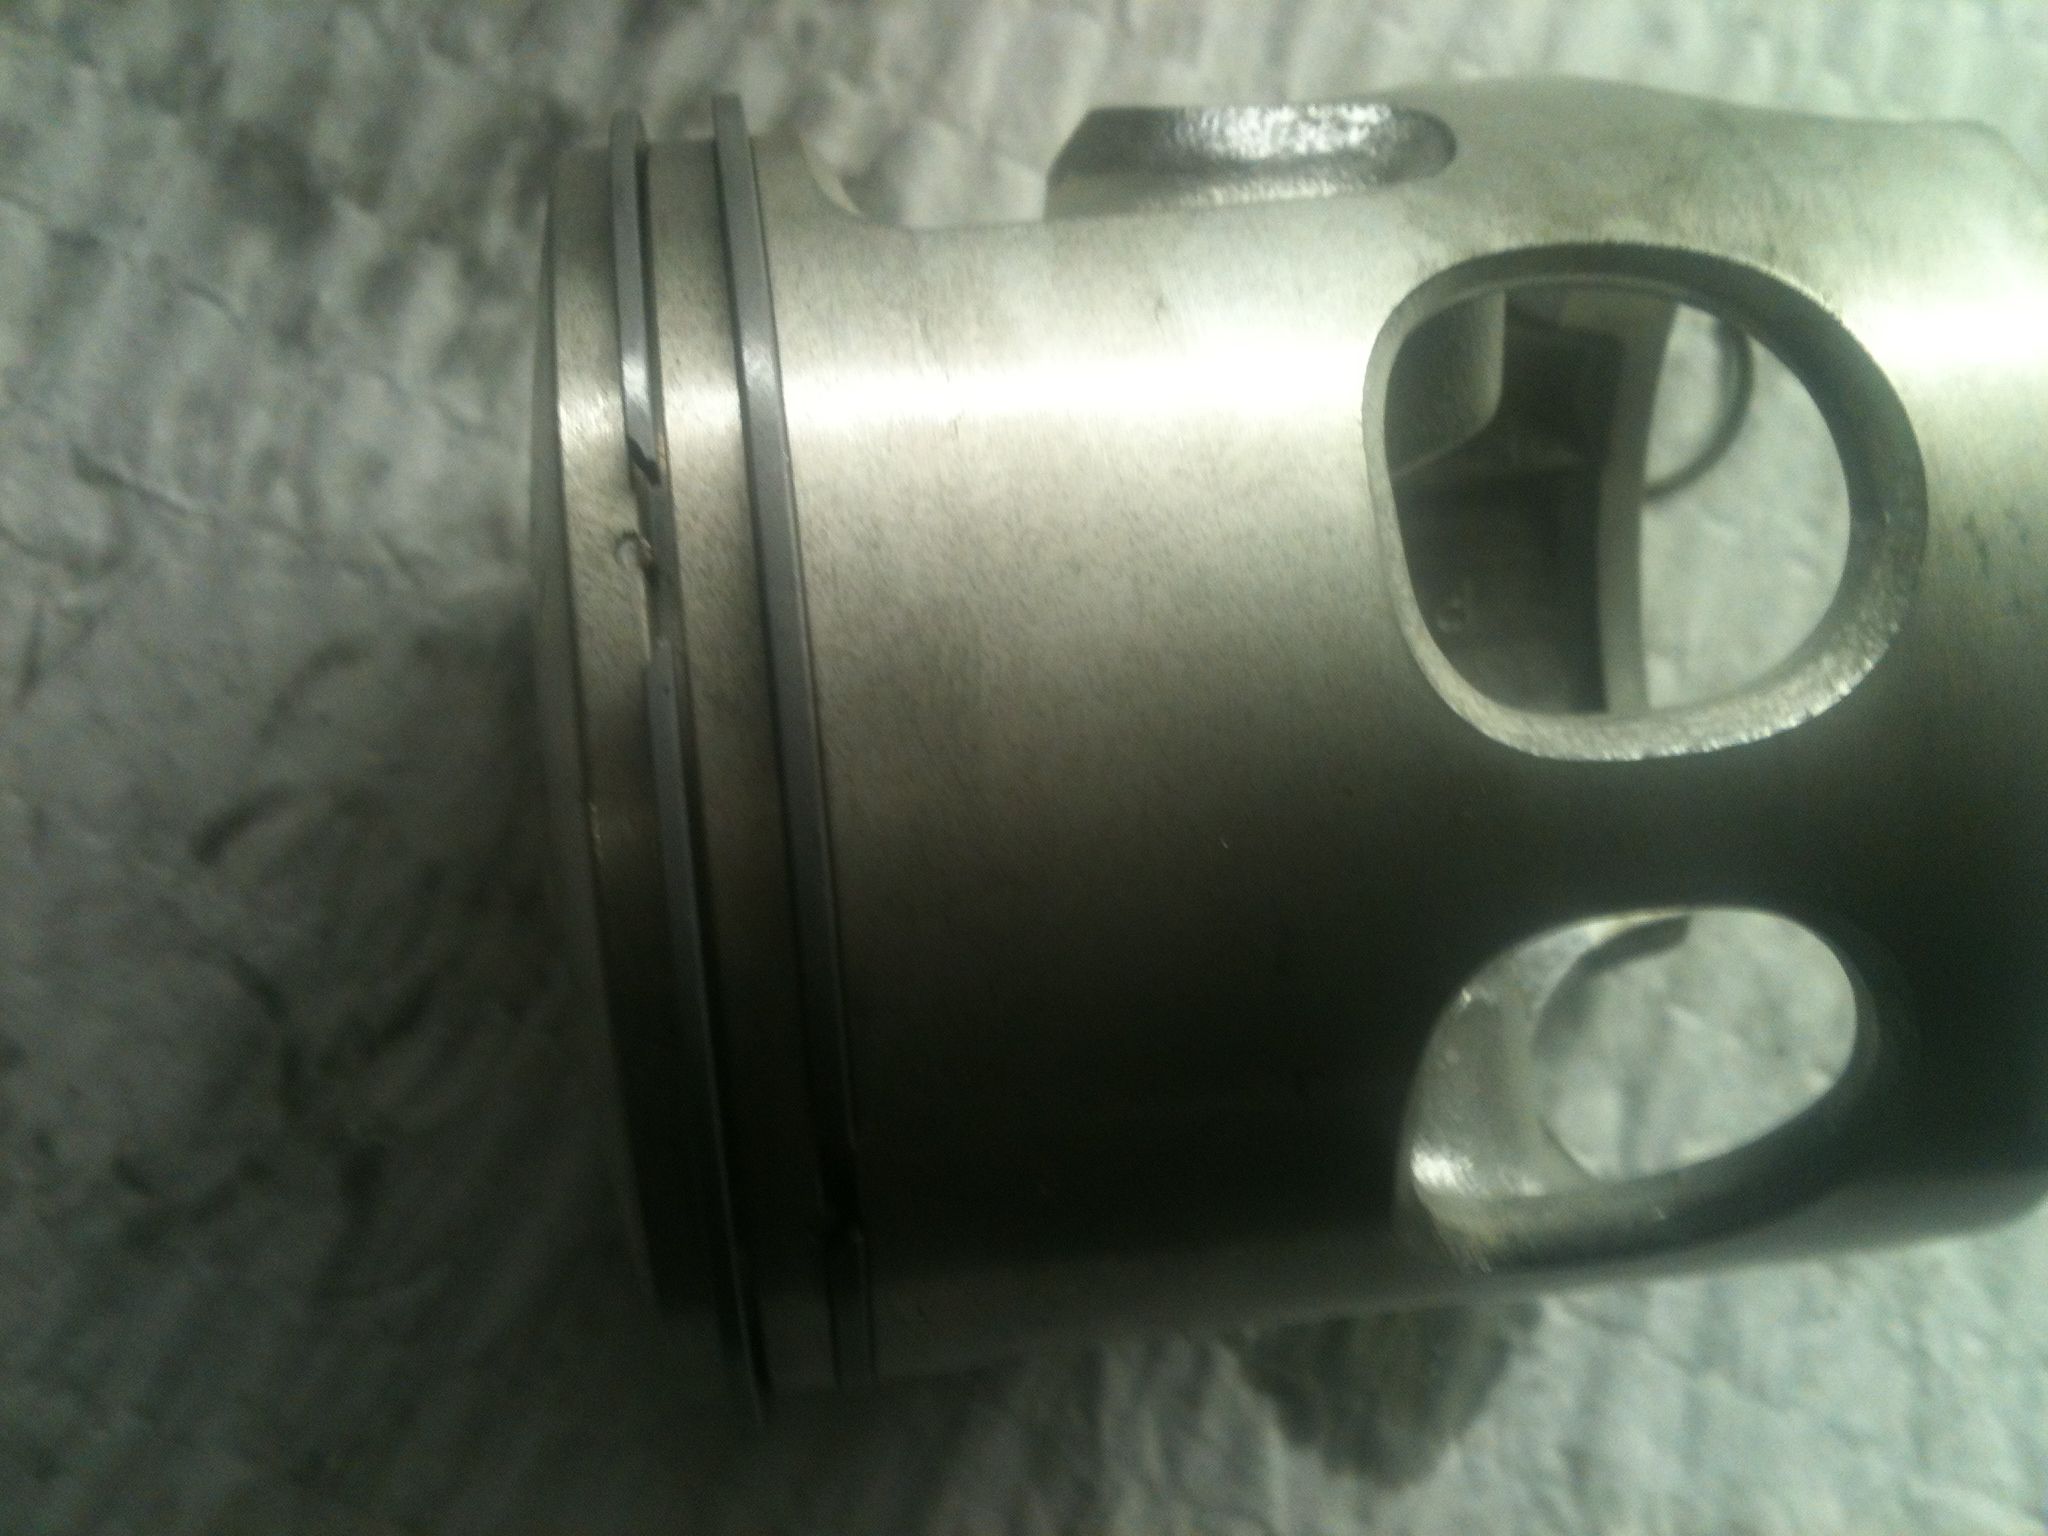
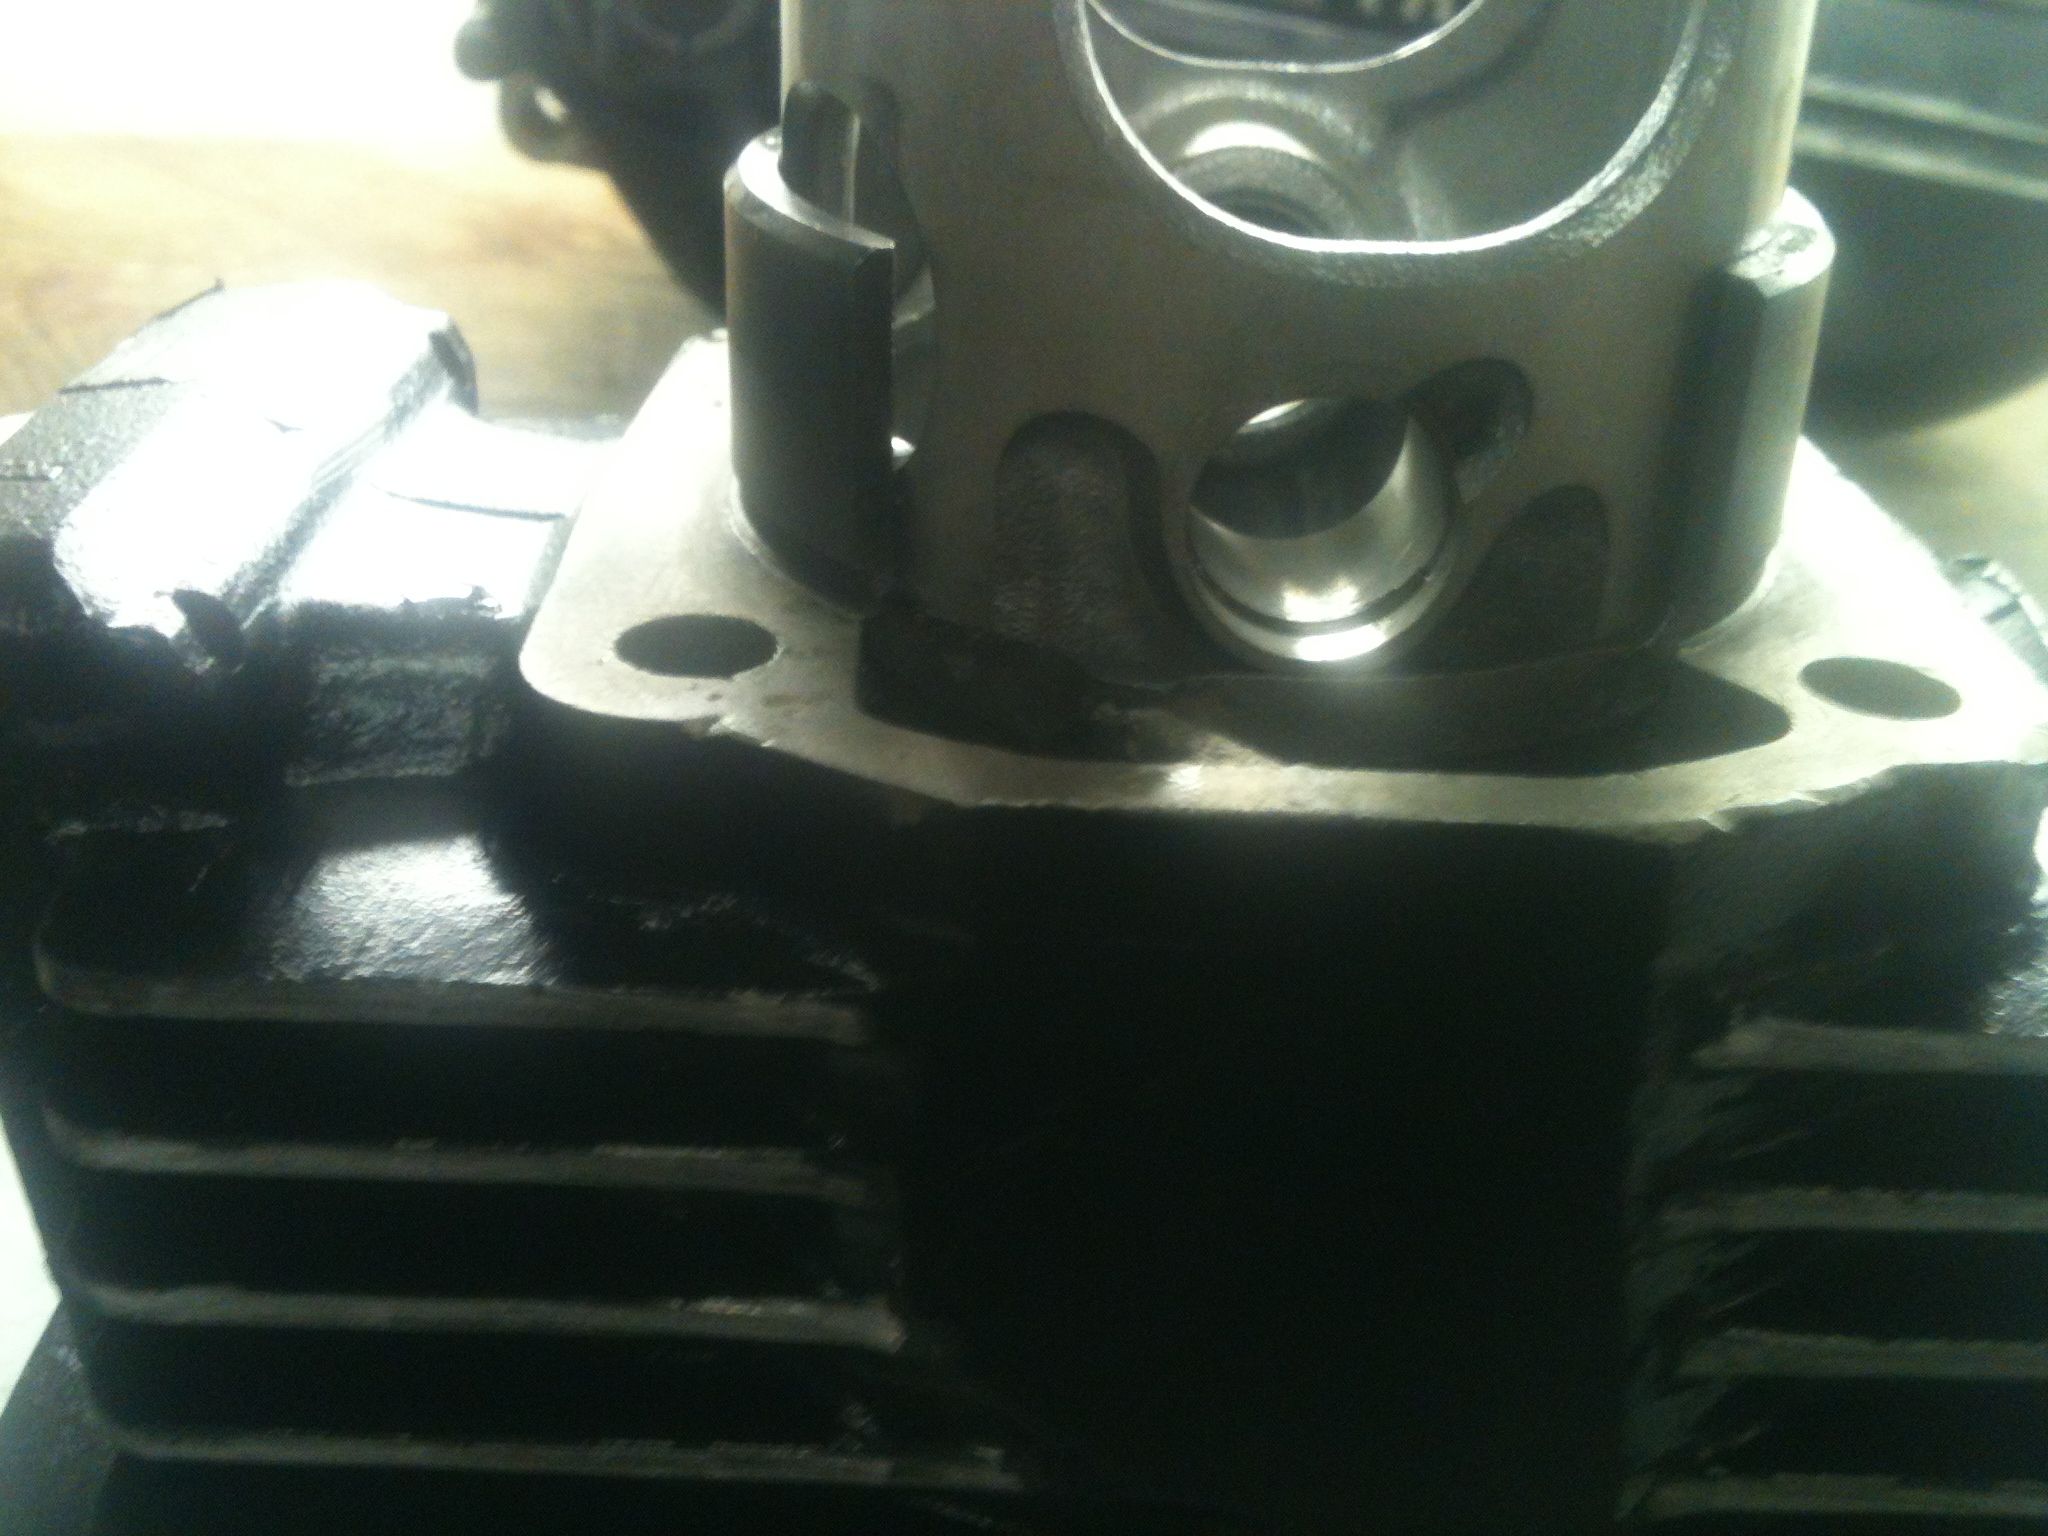
A few days ago my pistons and cylinders came back from the machine shop. Here is how they went together. The only company making true rd350 pistons now is wiesco big $$. Banshee pistons on the other hand are a dime a dozen and are available in a wider range of oversizes. With a small mod you can use the more plentiful banshee piston in the rd motor. Most places are charging $12-25 to modify this piston for your air cooled. Here were going to do it with no more than a few sharp jewelers files and some patience. There is a small tang under the piston ports you must remove. In the banshee intake there is a bridge in the center to allows this tang to ride. The rd has an open area here and the tang will catch on the bottom of the intake runner, break off and cause all sorts of damage  to the top end. I started by marking with a sharp pencil where I wanted to file off to. I CAREFULLY filed down to this mark just making contact with the scalloped areas to ensure it was flat. When you have it smooth all the way across, use a fine file to bevel the edge as not to catch on anything. As a side note I held this in my hand to do this NOT in a vise. It probably took me longer to write this post than modify both pistons. Make sure to thoroughly wash the pistons with hot soapy water to remove any contamination.

This is how the pistons come stock, notice the small tang on the bottom of the piston under the intake ports

Now with the tang removed

Now to install the rings, there are 2 pins in the ring lands to capture the rings and keep them from rotating into the ports. Look at the rings, notice that the end gaps have a section to correspond with the pins in the pistons. Install them this way. I should also mention you should check the end gaps by installing the rings only in the cylinders and checking the gaps according to the specs listed in your shop manual.

Notice the small pin in the ring land, this is to keep the rings from turning and catching the ports in the cylinders

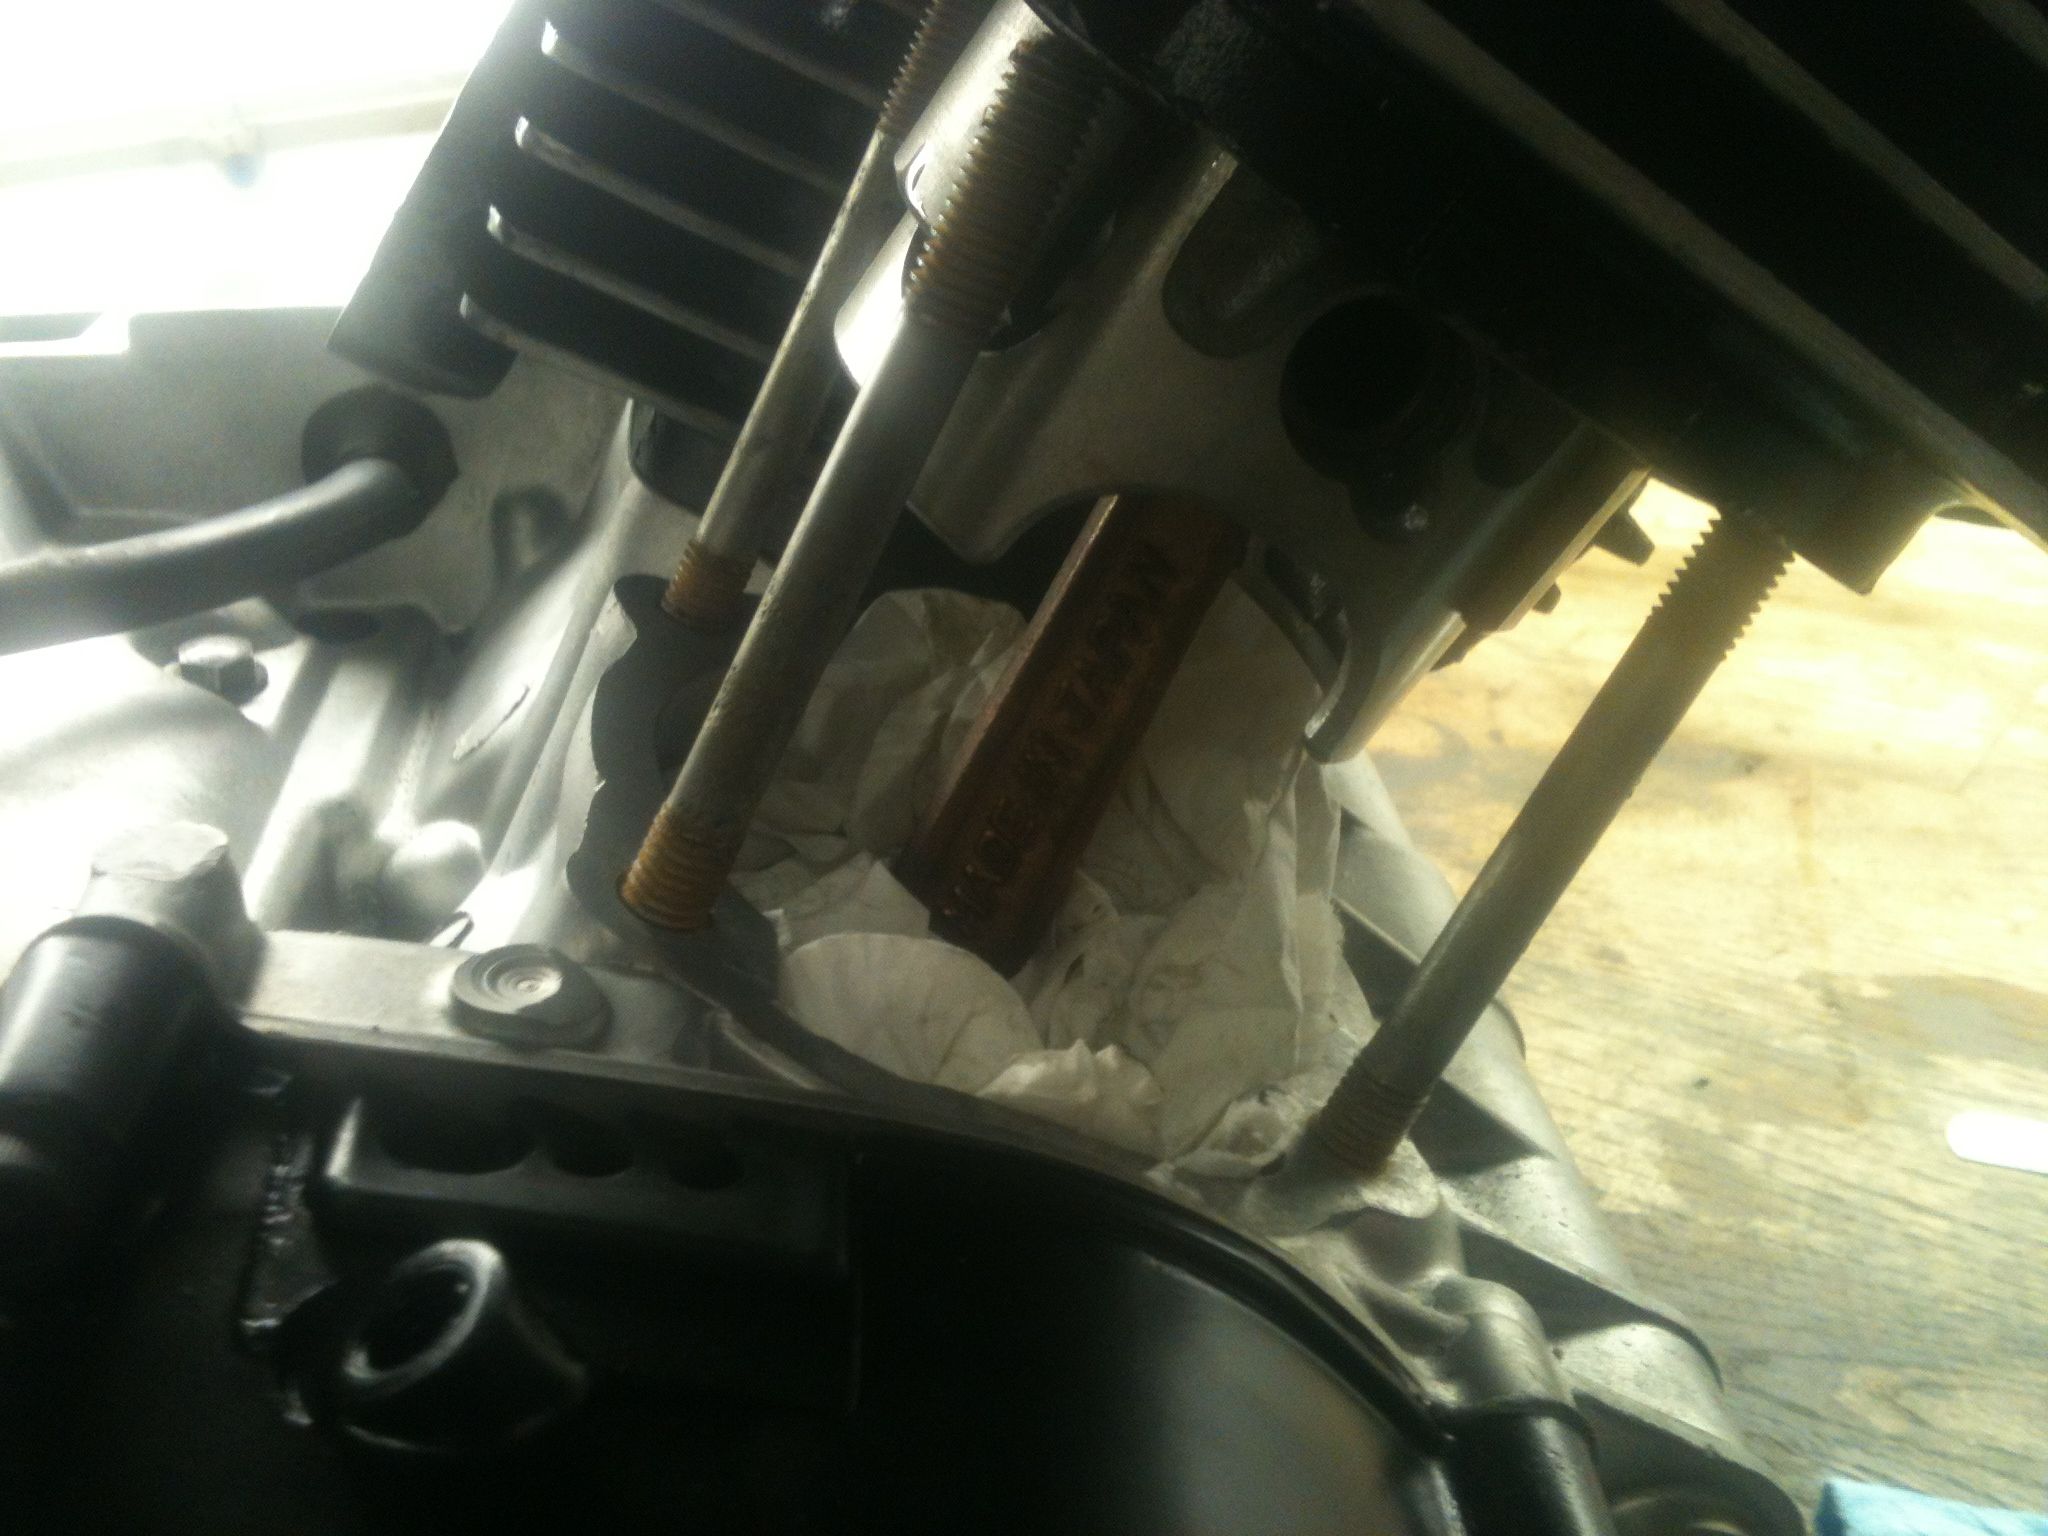
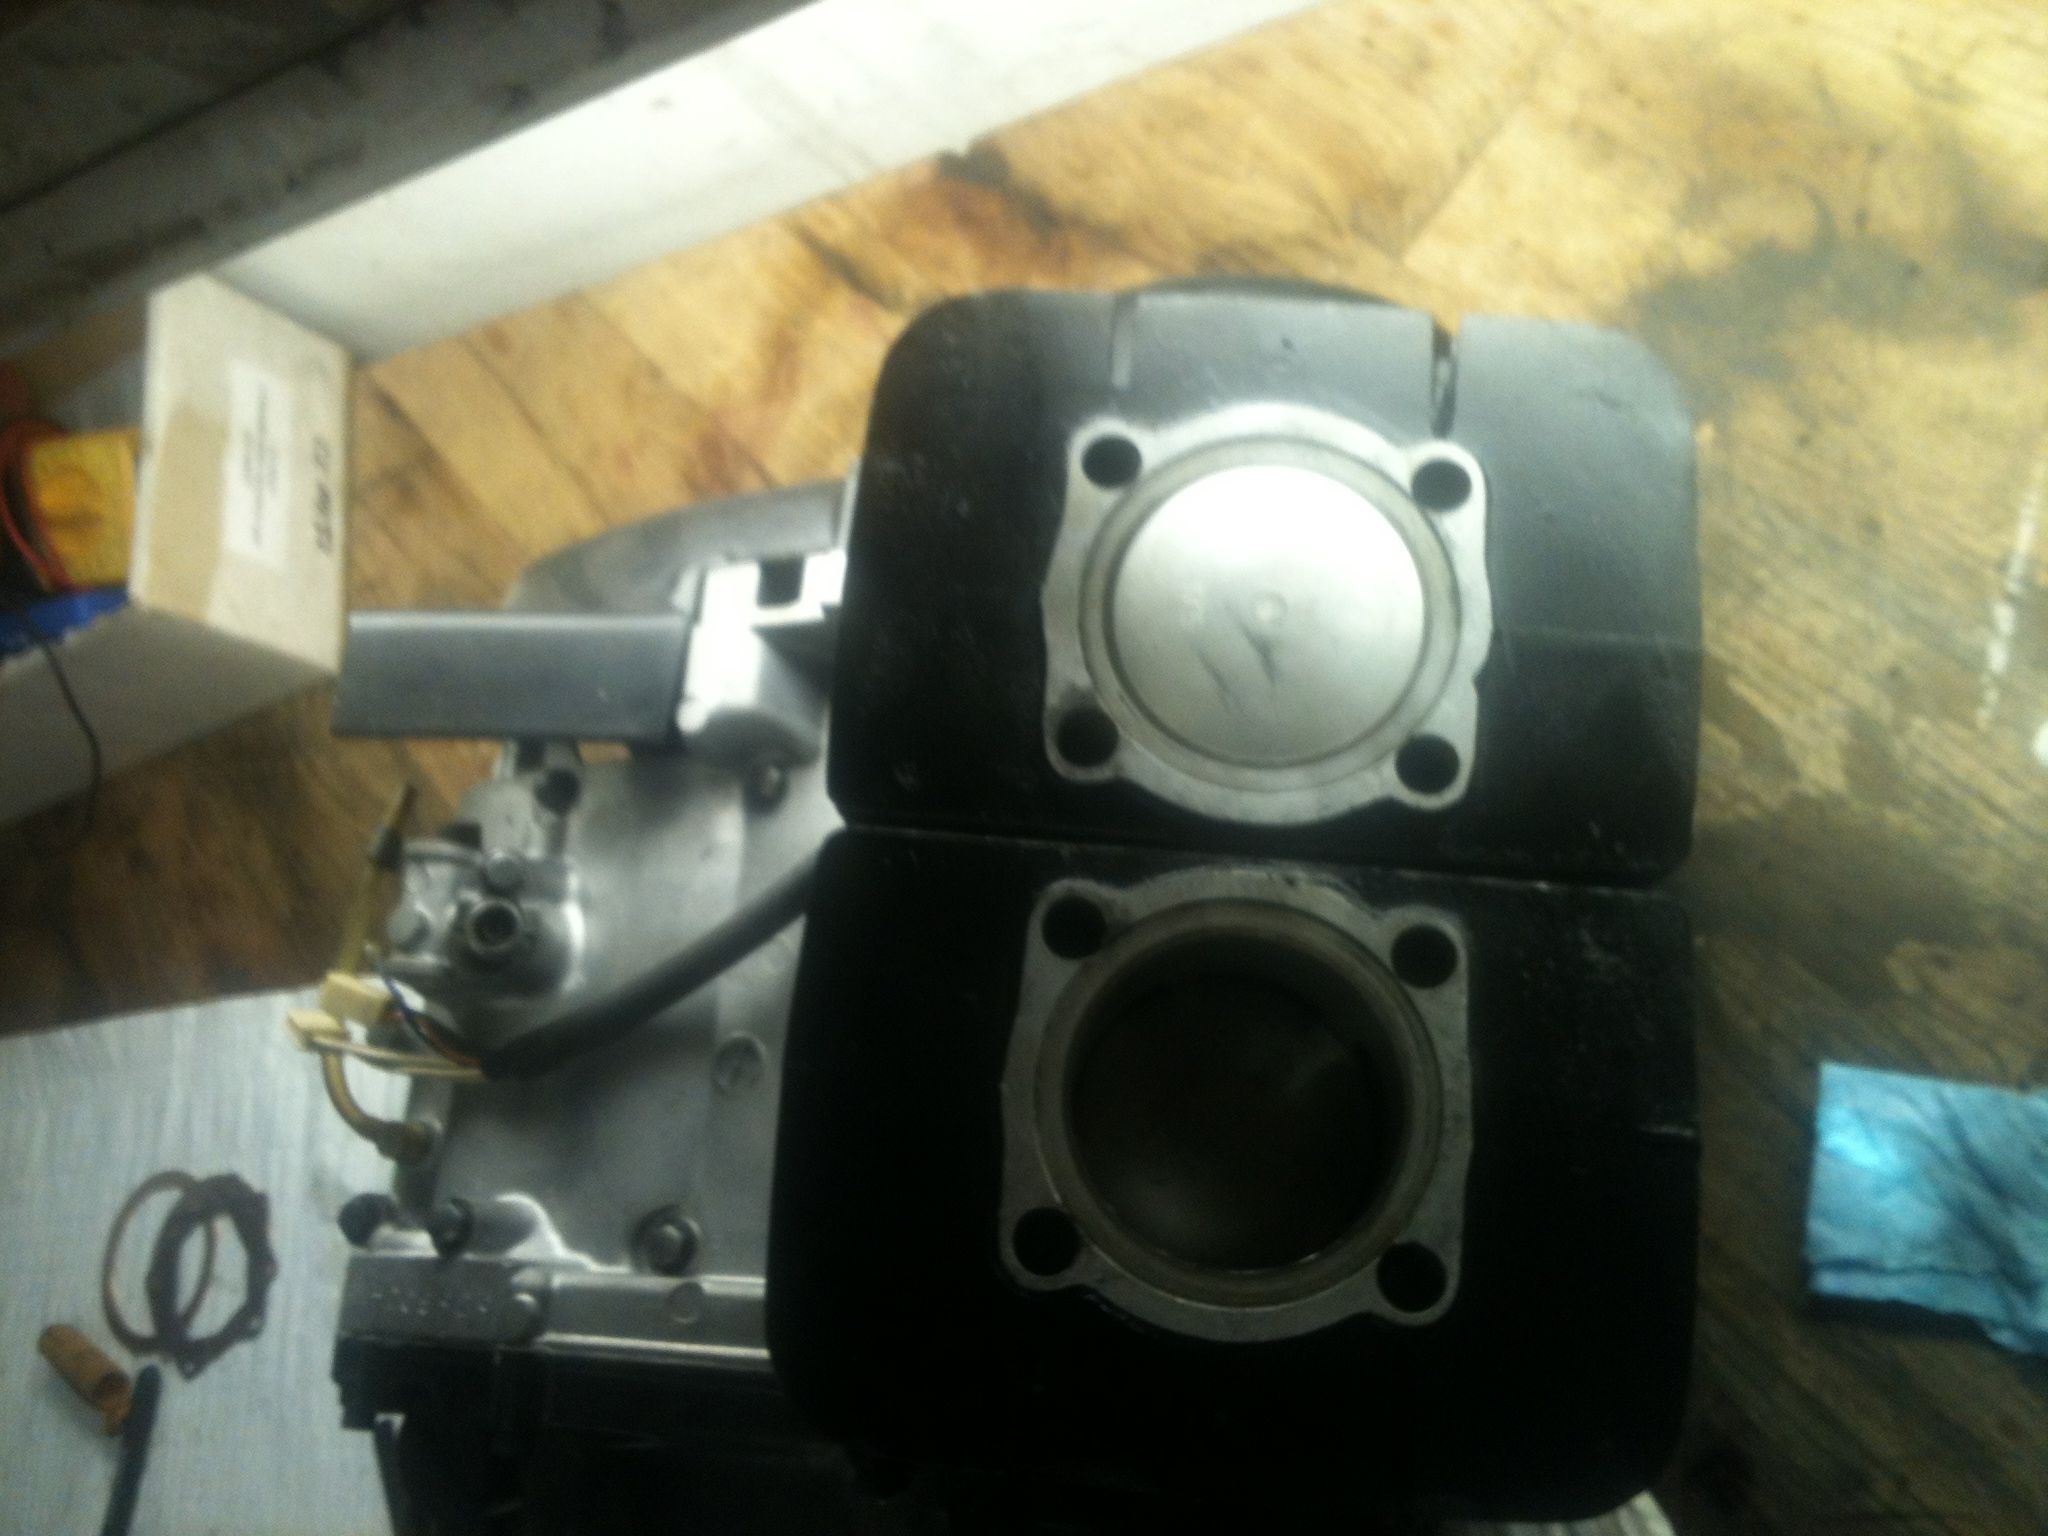
Since I was working alone this night I decided to try something to install the jugs more easily. It can often be hard to hold the jug and try to compress the rings and assemble it all even with a helper. I know some of you know what I’m talking about. This time I put the pistons in the jugs while they rested on the bench. This allowed me to only have to push the wrist pin in while suspending the jug with one hand, worked pretty well I thought.

Piston in just past the rings.

Paper towel to keep the circlip from falling into the case when I drop it

All together and at TDC

Later that night I put the heads on and did some measuring of the squish band, and started on some major rear suspension upgrades. Come back later in the week for more on that, promise you’ll be impressed.
-DAN

RD motor build

Went down to the shop on christmas day eve for some motor building fun. I have been collecting the parts and I needed over the last few weeks. Here it is to enjoy

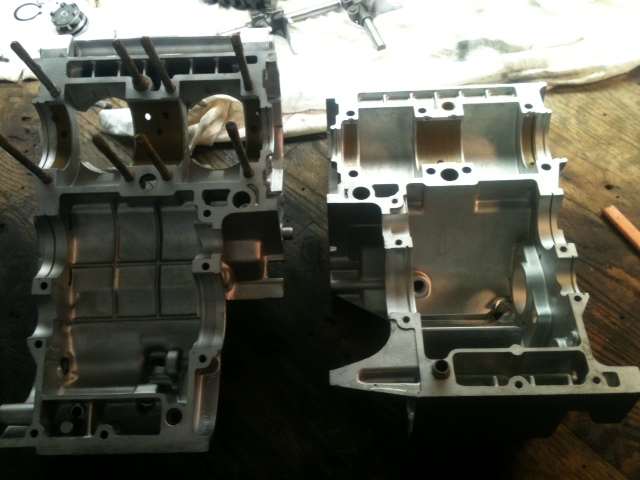
Cases back and bare from getting the "treatment"

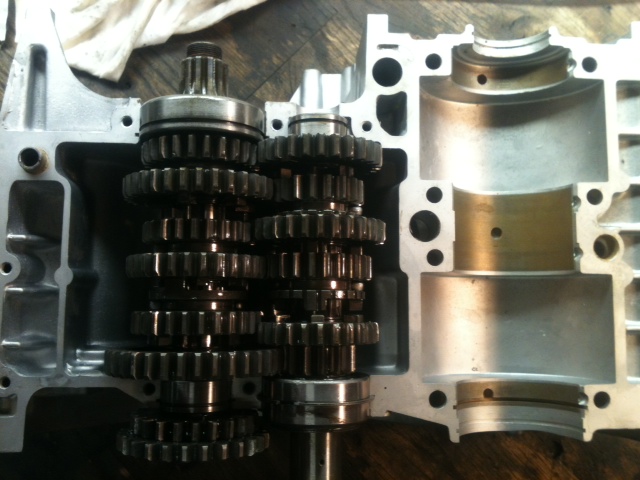
Trans in and endplays checked and set

Clutch side

Bearings on crank and seals installed

All together now

Removing A broken bolt

If you turn a wrench on an old bike for more than 5 min you bound to find a broken bolt, stripped threads, or rounded fasteners. We’ll be removing a broken spark plug from a head. A few of the things working against us here are: Dissimiler metal corrosion with the plug being steel and the head aluminum,the fact that this head hasn’t been on a running bike since 81′  and was sitting in upstate ny it’s whole life.

As you know my cases and heads are out in Oregon getting vapor blasted. Guy sent me some pics and they look great. Bad thing is the $6.50/hr truck unloader at fedex doesn’t give a shit about my parts and they arrived In Oregon with a broken fin. I had an extra head but it still had this broken plug in it and I had tried simpler methods of removing it weeks before to no avail.

Theres lots of ways to remove a broken bolt, but my favorite is to weld a new bolt to it to allow use of a socket and the bonus of this method is the added heat cycling from the welding itself. First I drilled the old plug out to the same size as a junk bolt I had, this case it was 3/8. This allowed me to put the bolt in and get a good weld on the freshly drilled metal.

Underside of head with bolt welded to offending plug

Top of new "spark plug remover tool"

At This point I heat cycled the head a few more times with a propane torch for extra piece of mind and went ahead with the removing. As you can see It came right out first try.

Plug remover with the threads of the old plug visible on the end

I was  pretty pleased that it came out easily without damaging the threads badly. Since my tap and die selection is pretty weak right now and I didn’t have the correct plug thread tap I did the next best thing. This works especially well for the CEI and WHITWORTH fasteners because I don’t have ANY of those taps. I found an old spark plug and coated the threads with valve lapping compound. Slowly I threaded the plug in by hand working it in and out. Removing all the crud and corrosion out of the threads from 30 years of sitting. Plug now goes in and out freely.

All that's needed for the trick

If you are ever in going to get some Vapor Blasting done. I HIGHLY recommend Jeff. First class dude

Truing The RD Crank

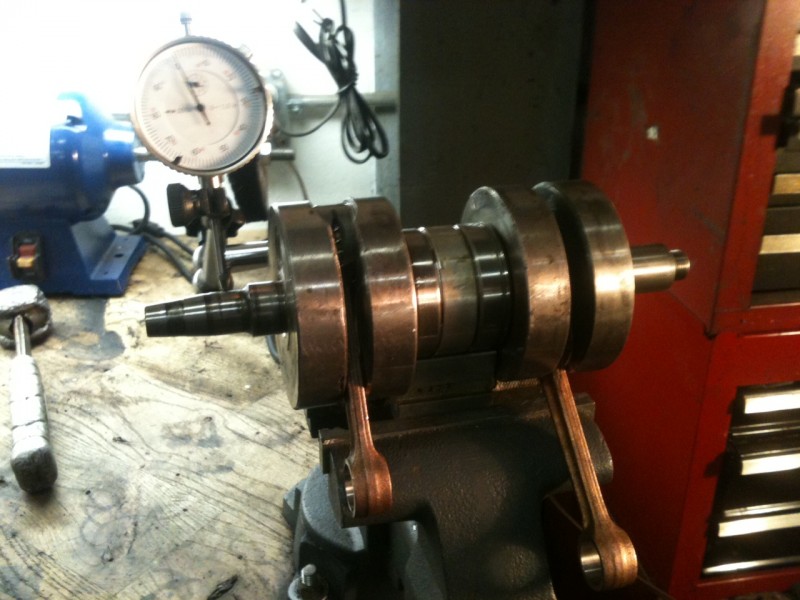
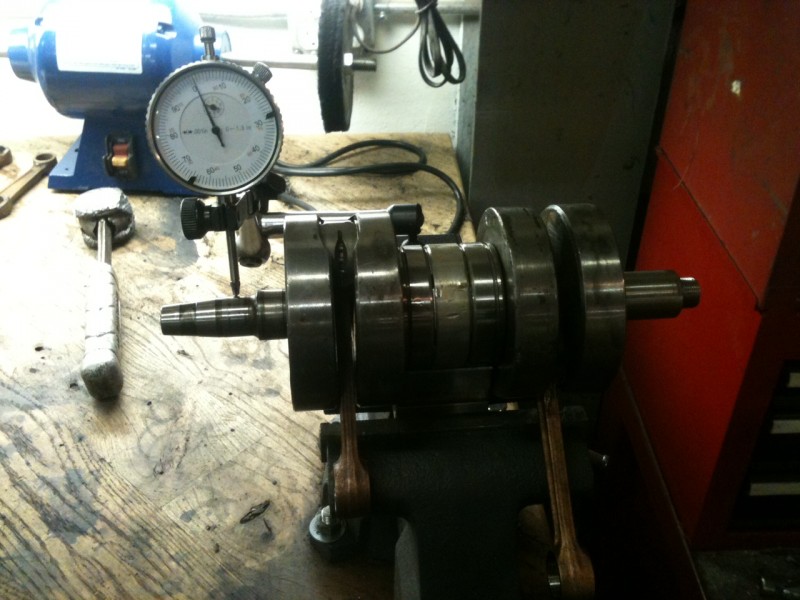
By now Im sure all of you are banshee and Rd built up crank experts. This week we will be truing the crank. With the assembly being built up of 6 parts there are plenty of places for it to be out. The spec we will be shooting for is .02mm or .000787 in, thats seven hundred eighty seven ten thousandths. There are three places to check this “trueness”, on the two ends of the crank and in the center bearings. If you paid someone to do this this is where money all went. We will support the crank on the center bearings and take our measurements with a .0005 dial indicator mounted on a magnetic base.First we set the crank on the V block and spin it through supporting the rods and making sure there are no hang ups. After you establish that you spinning free its time to put the indicator on it and establish a baseline as to where its out . As you can see from the drawing below there are 4 planes we are checking in. We’ll call the crankpin 0 then 90 degrees going around the crank, 180, and 270 respectively. Rotate the crank checking all these and see the chart as to where you should hit to correct it. Don’t be shy at first, my crank was over .040 out when I started and it took a good while to get my arm calibrated on how hard to hit it. Check all points after each time you adjust he alignment. As you get close you will want ease up and just lightly tap it to bring it home. It took me about 45 min to get it within .001 and an additional 30 min to get it to .0005 where I left it. Well within spec and at this point Don’t breathe around it as you might just throw it off a few 10 thousandths. -DAN

Rd350 built up crank assembly

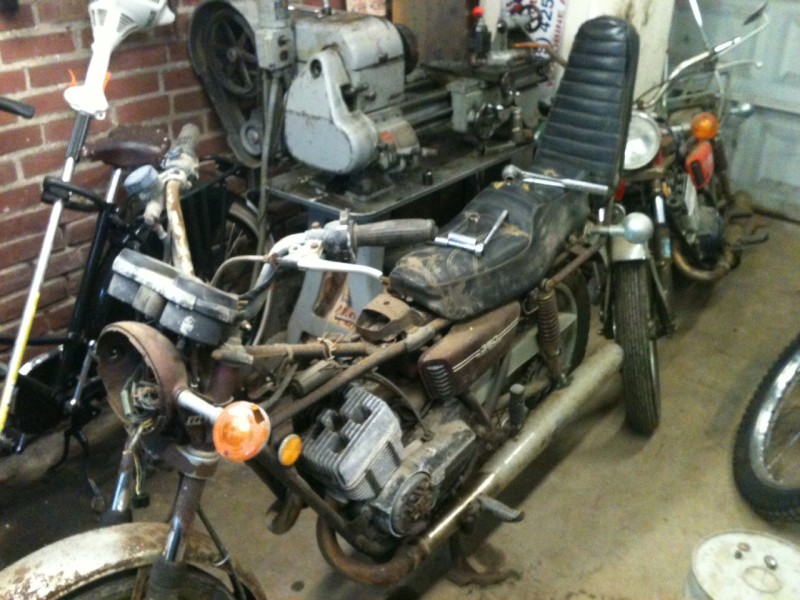
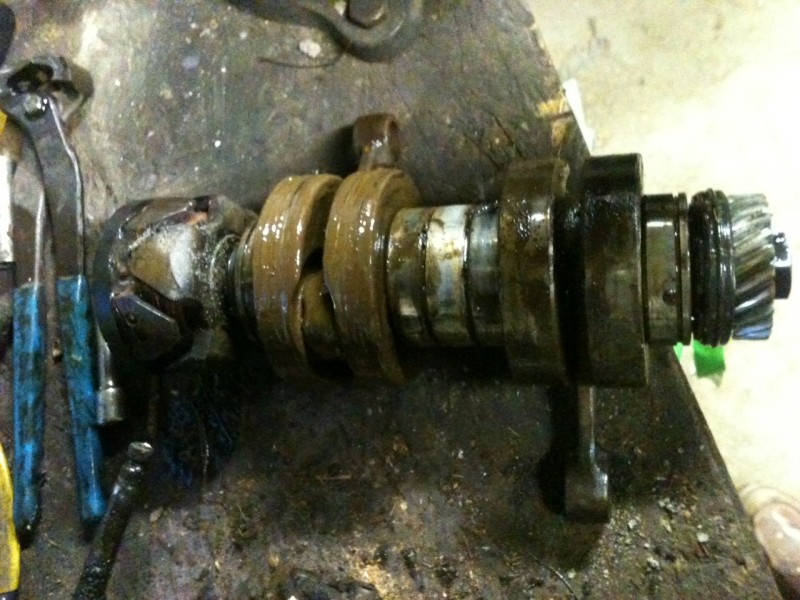
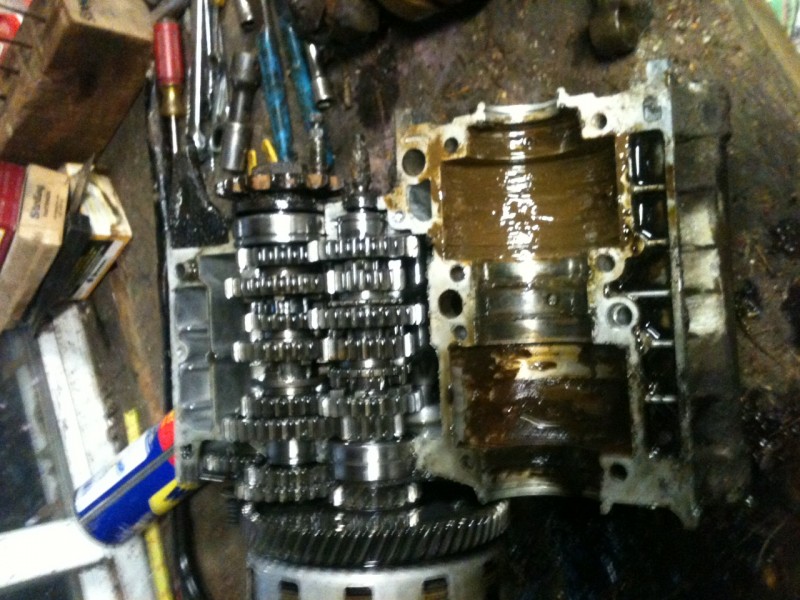
A few of you may of seen the pair of RD350’s I picked up a few weeks ago and there subsequent tear down. This will document the rebuild of the crankshaft. As I type the cases are out in Oregon being vapor blasted HERE, a process similar to glass beading except that its done with a slurry and produces a superior finish that doesn’t stain as easily and looks like the day the part was cast. In the meantime I have been sussing out different things on the bike and gearbox, removing unesscary tabs on the frame and collecting parts for the rebuild.

Having dissembled the the crank to inspect,I found out I would need new connecting rods and bearings in addition to the 4 main bearings that support the crank.
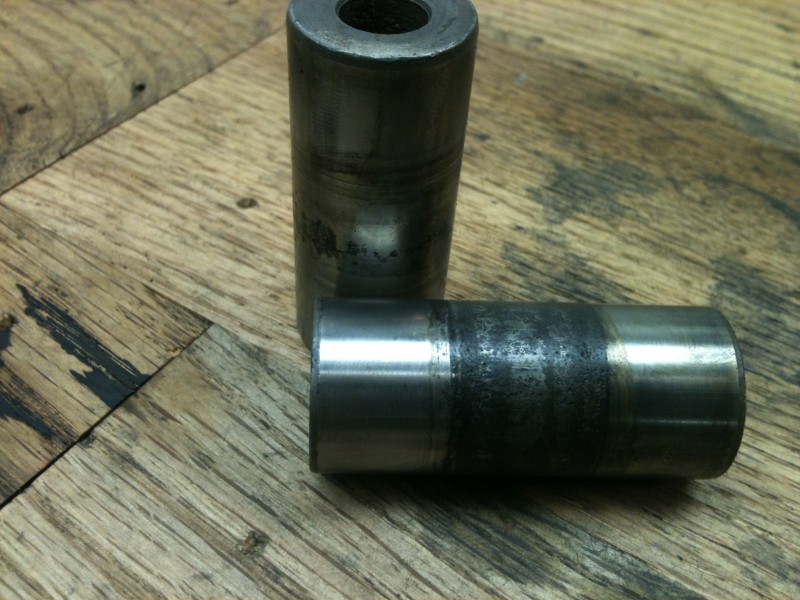
CRANKPINS, the big ends of the rods were just as trashed as well as some bluing form heat


While I neglected to take photos of pressing the crank apart it is almost the same as reassembly.
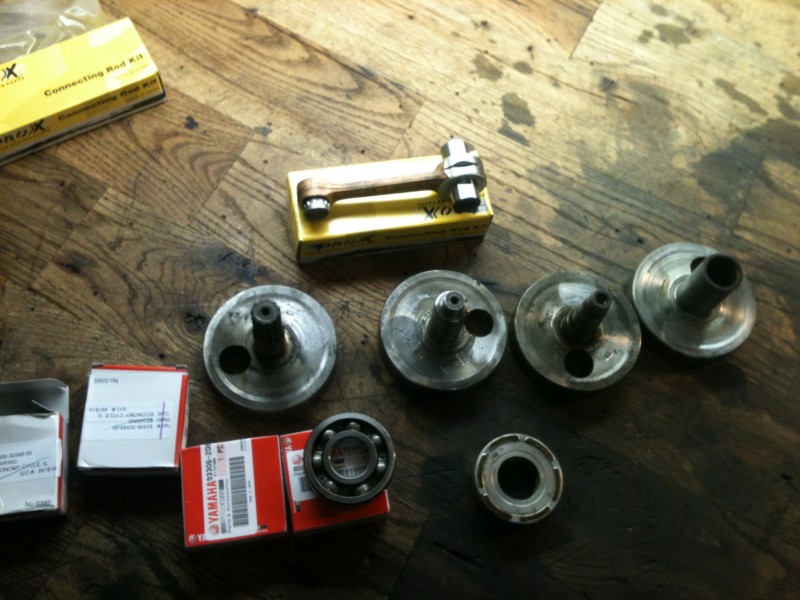
All apart with the pieces that will make it new again, also note the slotted con rod for better oiling

objectives are: Make special fixture to support the crank while pressing it apart and not bend the rods.

Almost fold the press and or explode my push bar to sepiarate the center webs that have been married for 40 years.

Catch crank halves as they fire out the bottom of the press.

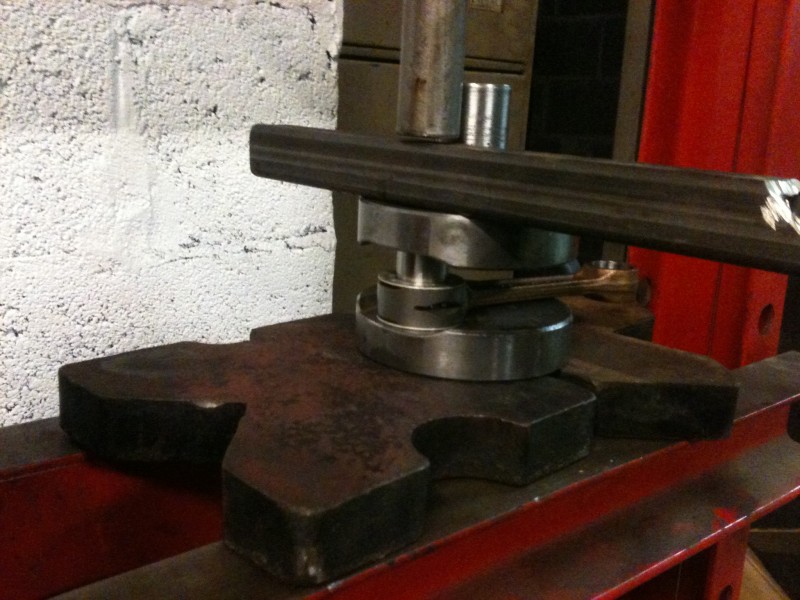
All this has been accomplished by the simple fixture I made out of some large square tube with a half a dozen rags stuffed in the end and a plate with an notch cut out for the crank pin to sit.Crank pin in, rod and bearings and thrust washers on
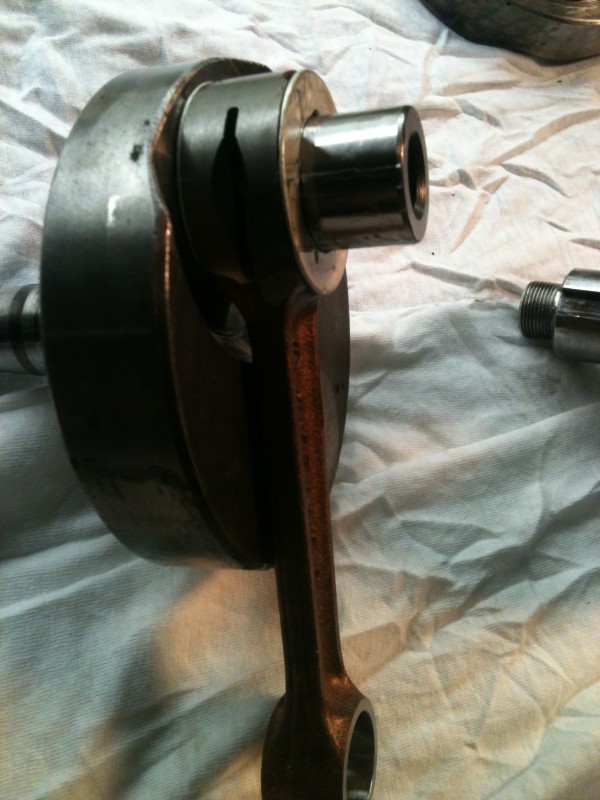
The most difficult part of reassembly is pressing the two sub-assembles together while maintaining the rod side clearance at .001-.003 You can’t see from the pictures how I accomplished this with two pieces of bar between the crank webs. This proved difficult as the clearance I wanted to maintain went away to almost nothing, at least it prevented me from bending the crank pins! Because of this I had to reset the side clearances, not  big deal but a little harder than while it was still the sub-assemblys.  This is the point where I began to get frustrated and stopped with the photography class. After a bit more futzing around I was left with an assembled crank. Next installment will be truing the crank, STAY TUNED!

Im Turning Japanese

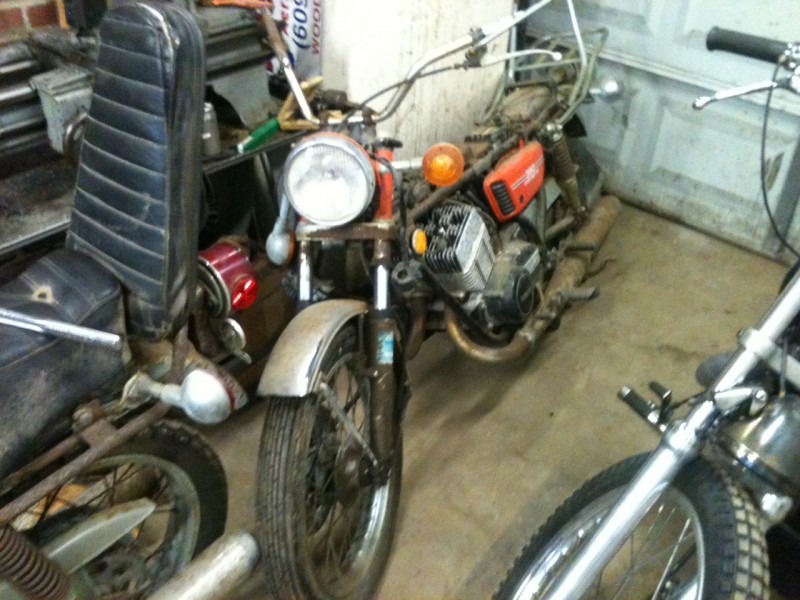
For a long time now Ive been wanting a Yamaha RD350-400 but just couldn’t justify the cost of buying one with all my there current projects. I bought a fancy app for my phone that searches craigslist for you under the search criteria you want. It cost the same as a good cup of coffee, best 2.99 I HAVE EVER SPENT! At work this past week this modern marvel of technology lets me know that there a pair of rd’s for sale in upstate NY for $100 with title. Called guy and he gave me the story, been sitting since 81′ was the fastest bike he has ever ridden etc. After getting off the phone I felt an immeadate call outta work sickness coming on. Me and Cleo Dog took the 10 hour ride there and back through the fall leaves and countryside.Lately Ive been rather disapointed in the amount of time I’ve been getting at the shop. This project will be done at my house only like old times. Get to put a few hours in after the kids go to bed. 


So Simple and well designed, no wonder the brit's went out of business

This will be kind of a super bike build. Lots of fiberglass, the bike stock weighs in at 351 lbs dry, pretty light to begin with. Im going to try to shave at about 50 lbs off it. I split cases and crank the other night, The build sheet will include new bearings throughout, rods, pistons, banshee reed cages, yz125 reeds, boost bottle, updated brakes and shocks, and aluminum rims. Stay tuned.