BSA Land Speed Motor Build Part 1

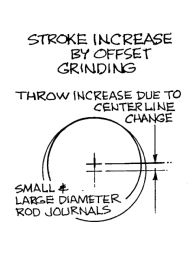
Most of you that know me know I have slowly been putting a Land speed bike together for the last few years. One of the only major things left to do on it was build the motor. I had been putting this off for a while for any number of financial reasons, (racing is expensive!) and collecting parts when they popped up for not two many clams. This is no ordinary call you local supplier and buy the parts then assemble job. Almost all internal parts need some kind of fitment and machining to work in harmony at 7500 rpm. A brief description of the internals would be 51 BSA A7 500CC cases to fit into the vintage class, I am using a late model A65 bsa crank for its increased journal size for added strength over the stock unit. Its a great idea except it shares almost nothing in common with the early one it will replace, furthermore class rules dictate you can not change the stroke of the motor. Stock small journal crank has a 72.4m stroke and the replacement has a 74mm stroke. Hmmm, this required a rather expensive offset grind to the main journals to reduce the stroke to the stock A7 throw. The BSA has a bushing on the timing side instead of a ball or roller bearing, this needed to be ground down as well to fit the STD bsa case.
The most dreaded part of this all is a bearing adapter needed to be made to mate the drive side bearing to the crank as the A7’s has a larger ID than the A65’s. I ordered a piece of steel from mcmaster in the approximate ID to use for this.

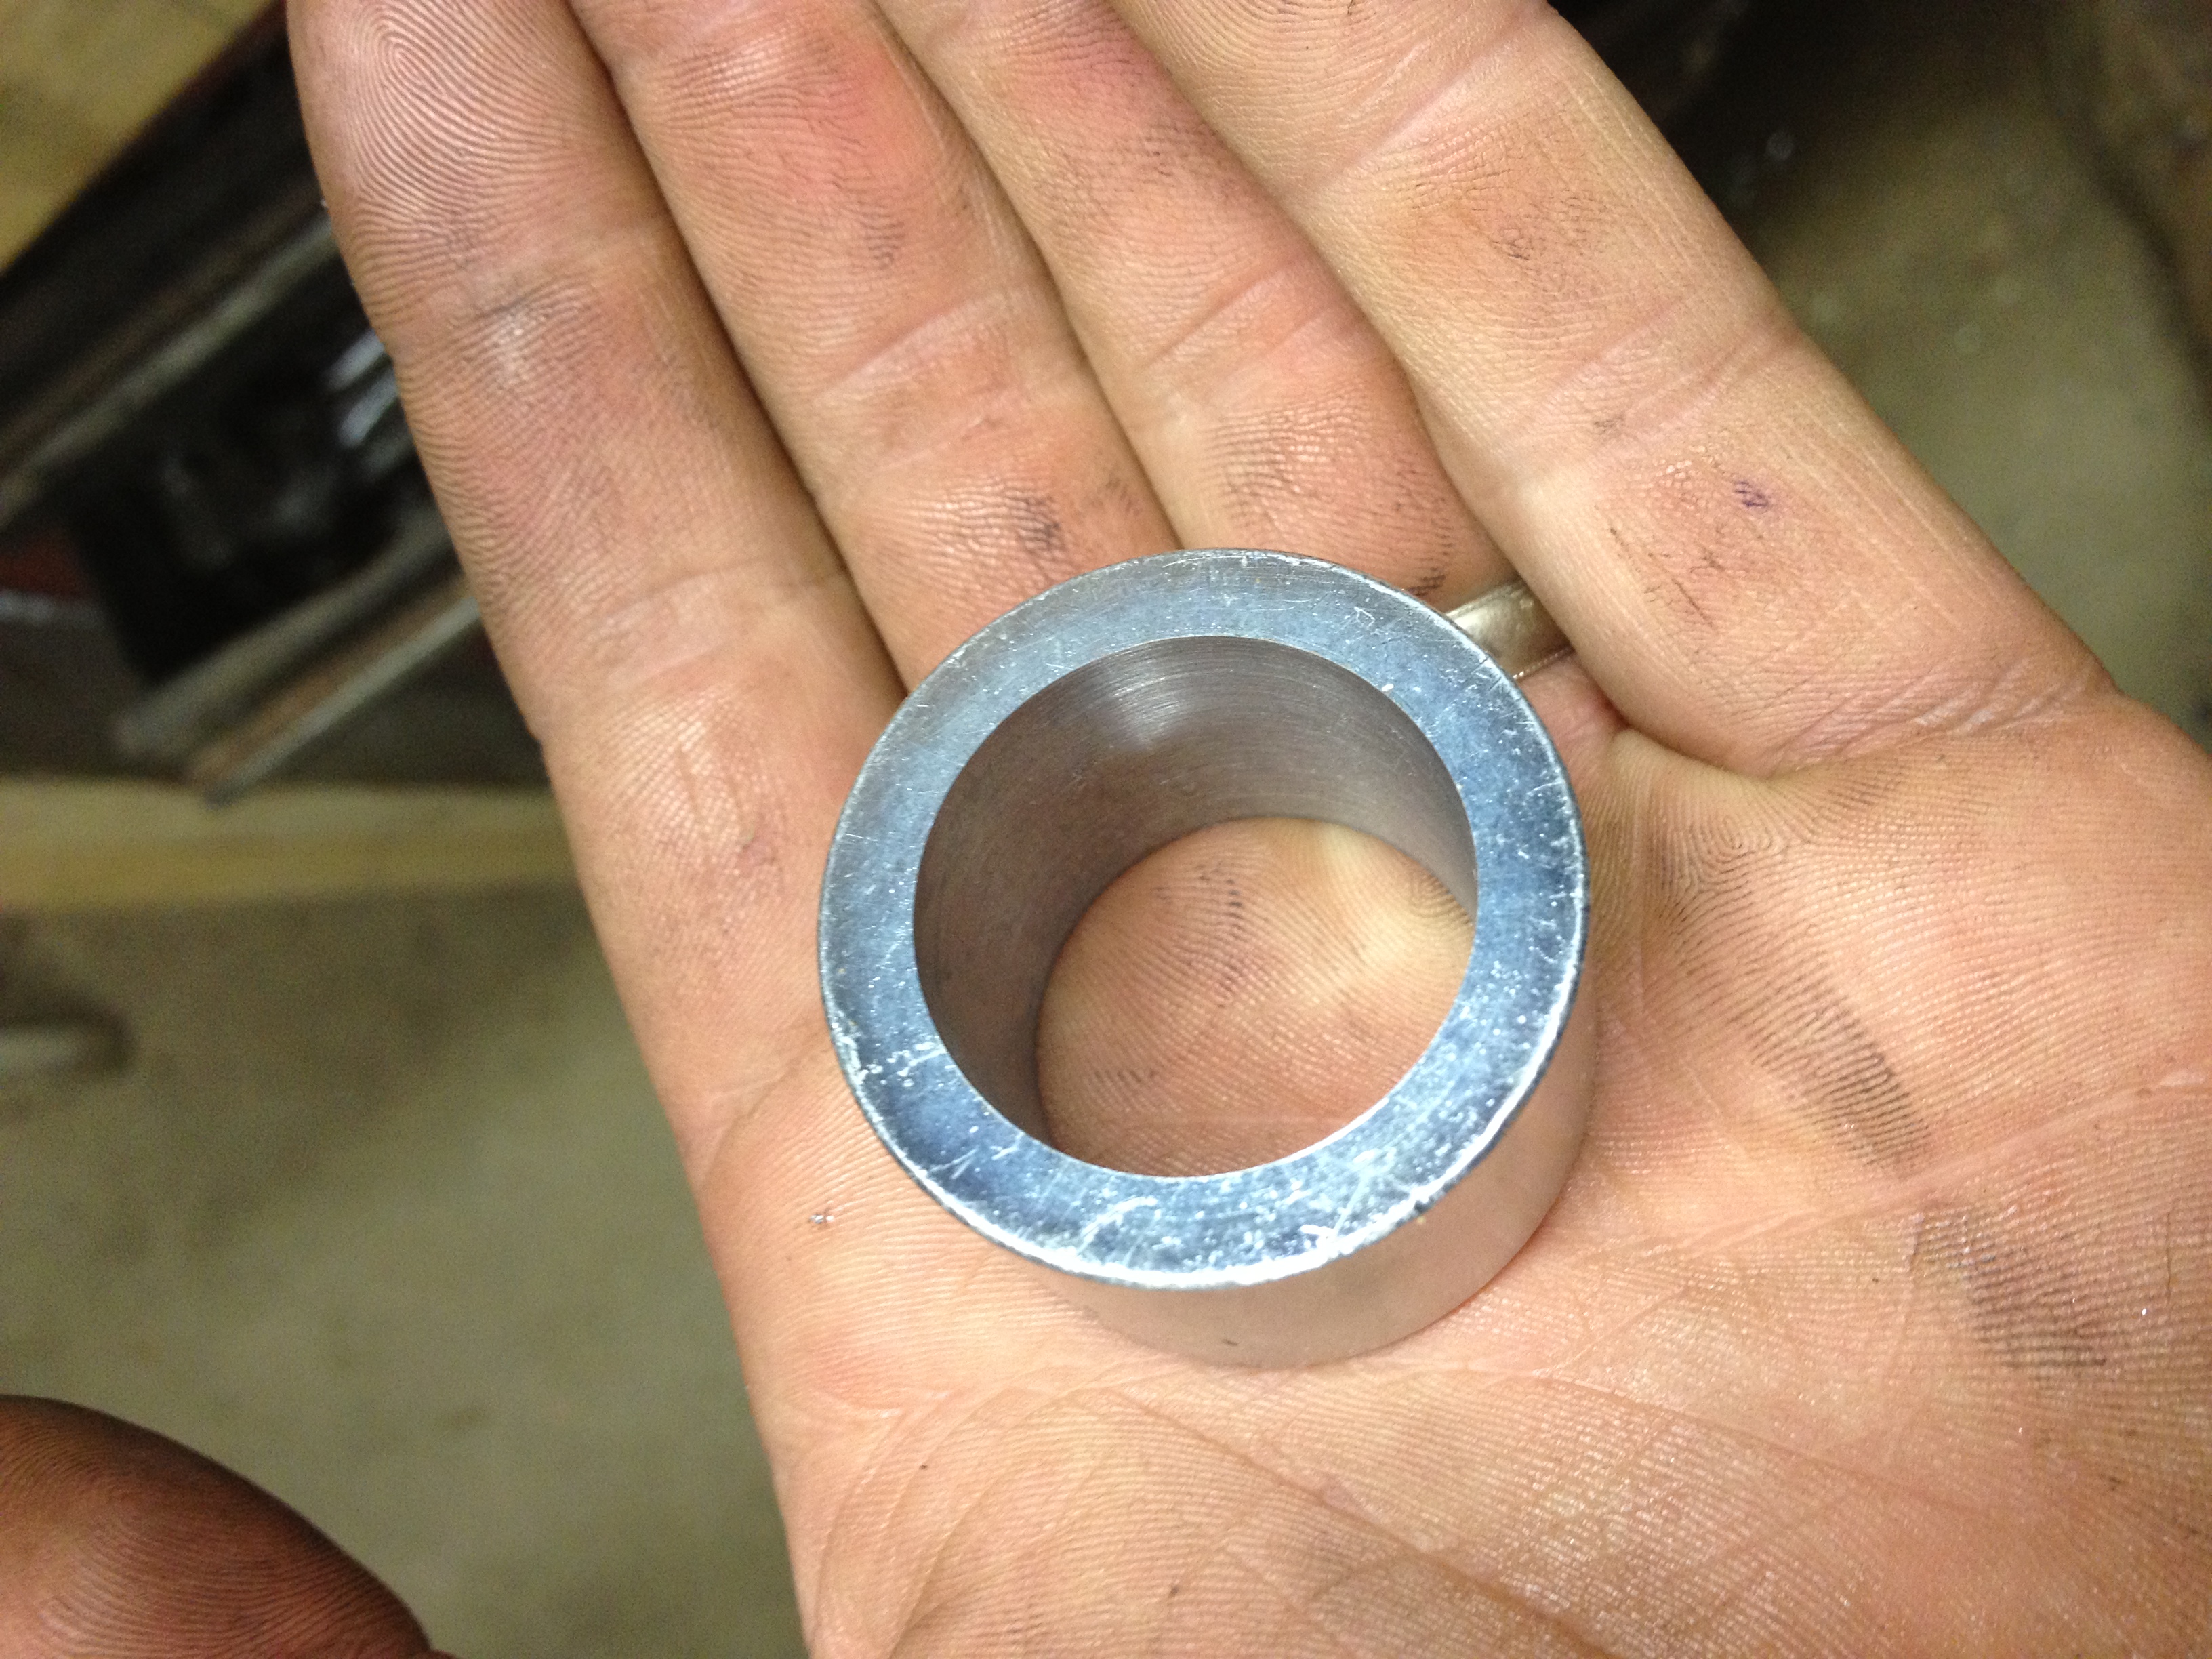
Bushing with the ID bored to size

This was by far the most difficult machinist operation I have performed not because it was complex in steps but the tolerences I was working in were in the .001 range, going to be subjected to high load and my machining equipment is 75 years old.

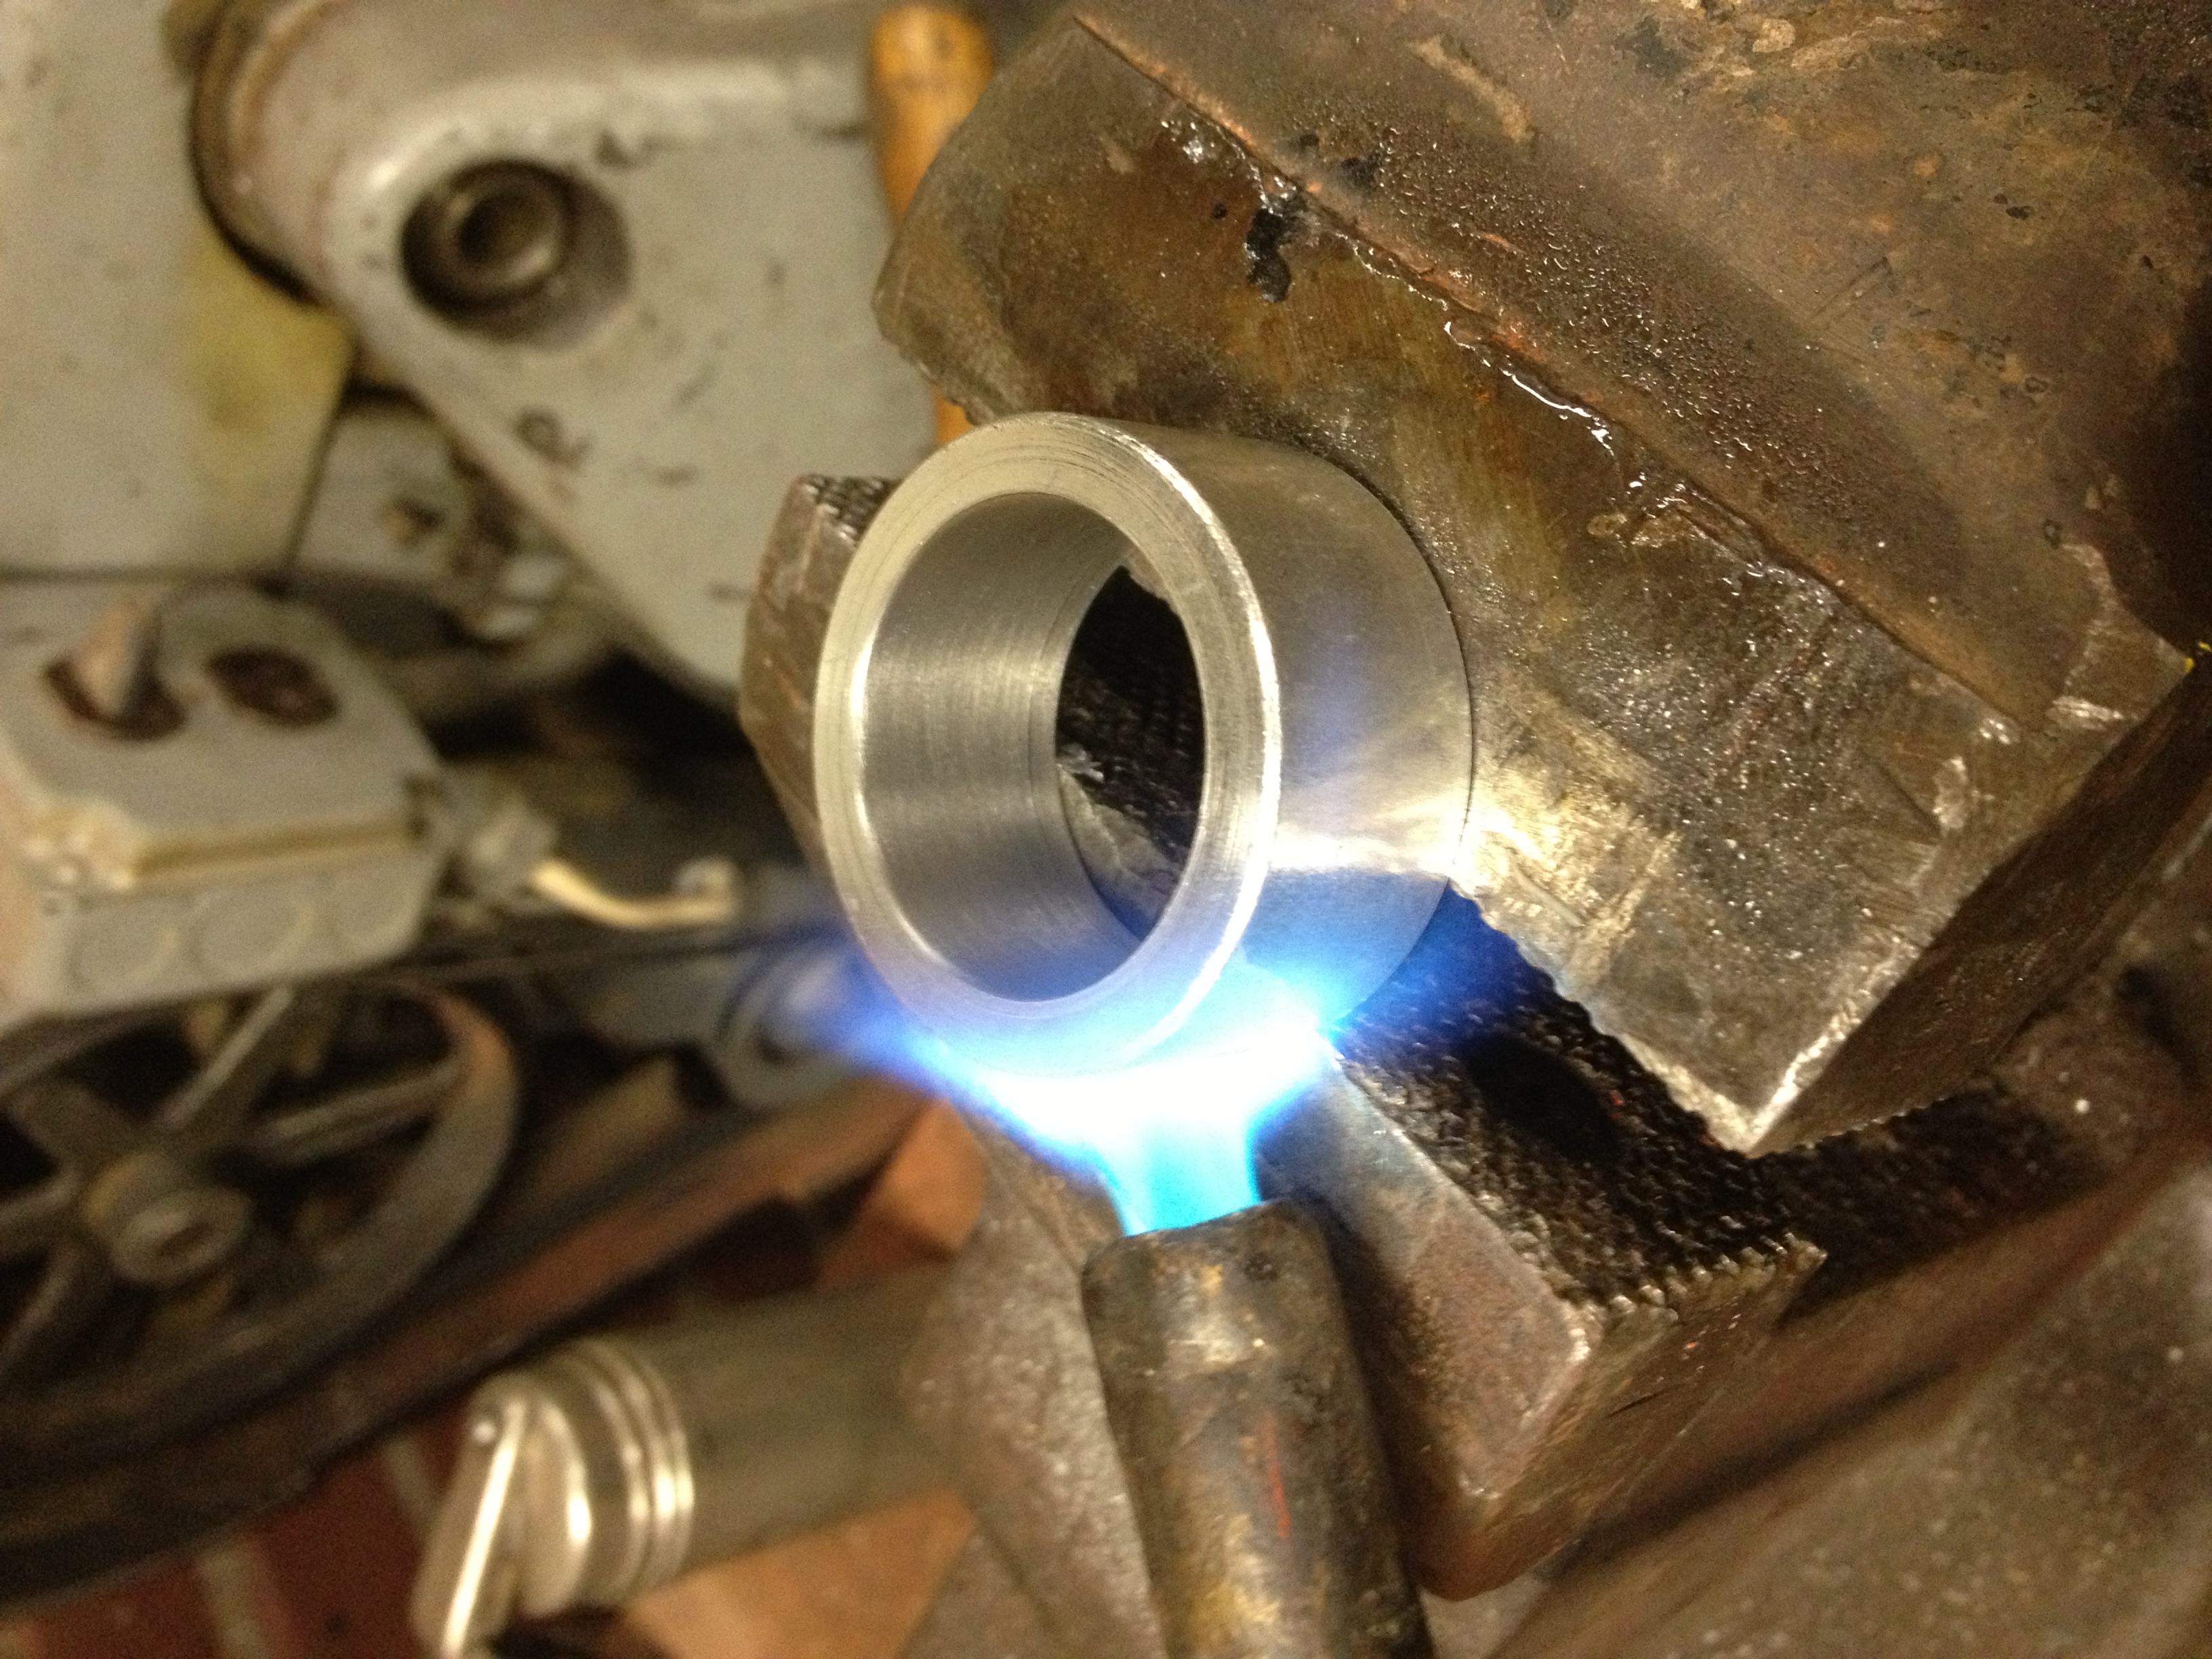
After boring the ID to size the bushing was heated to expand it before fitting on the crank

Before starting all this I put the crank in the freezer to shrink it down for the new adapter

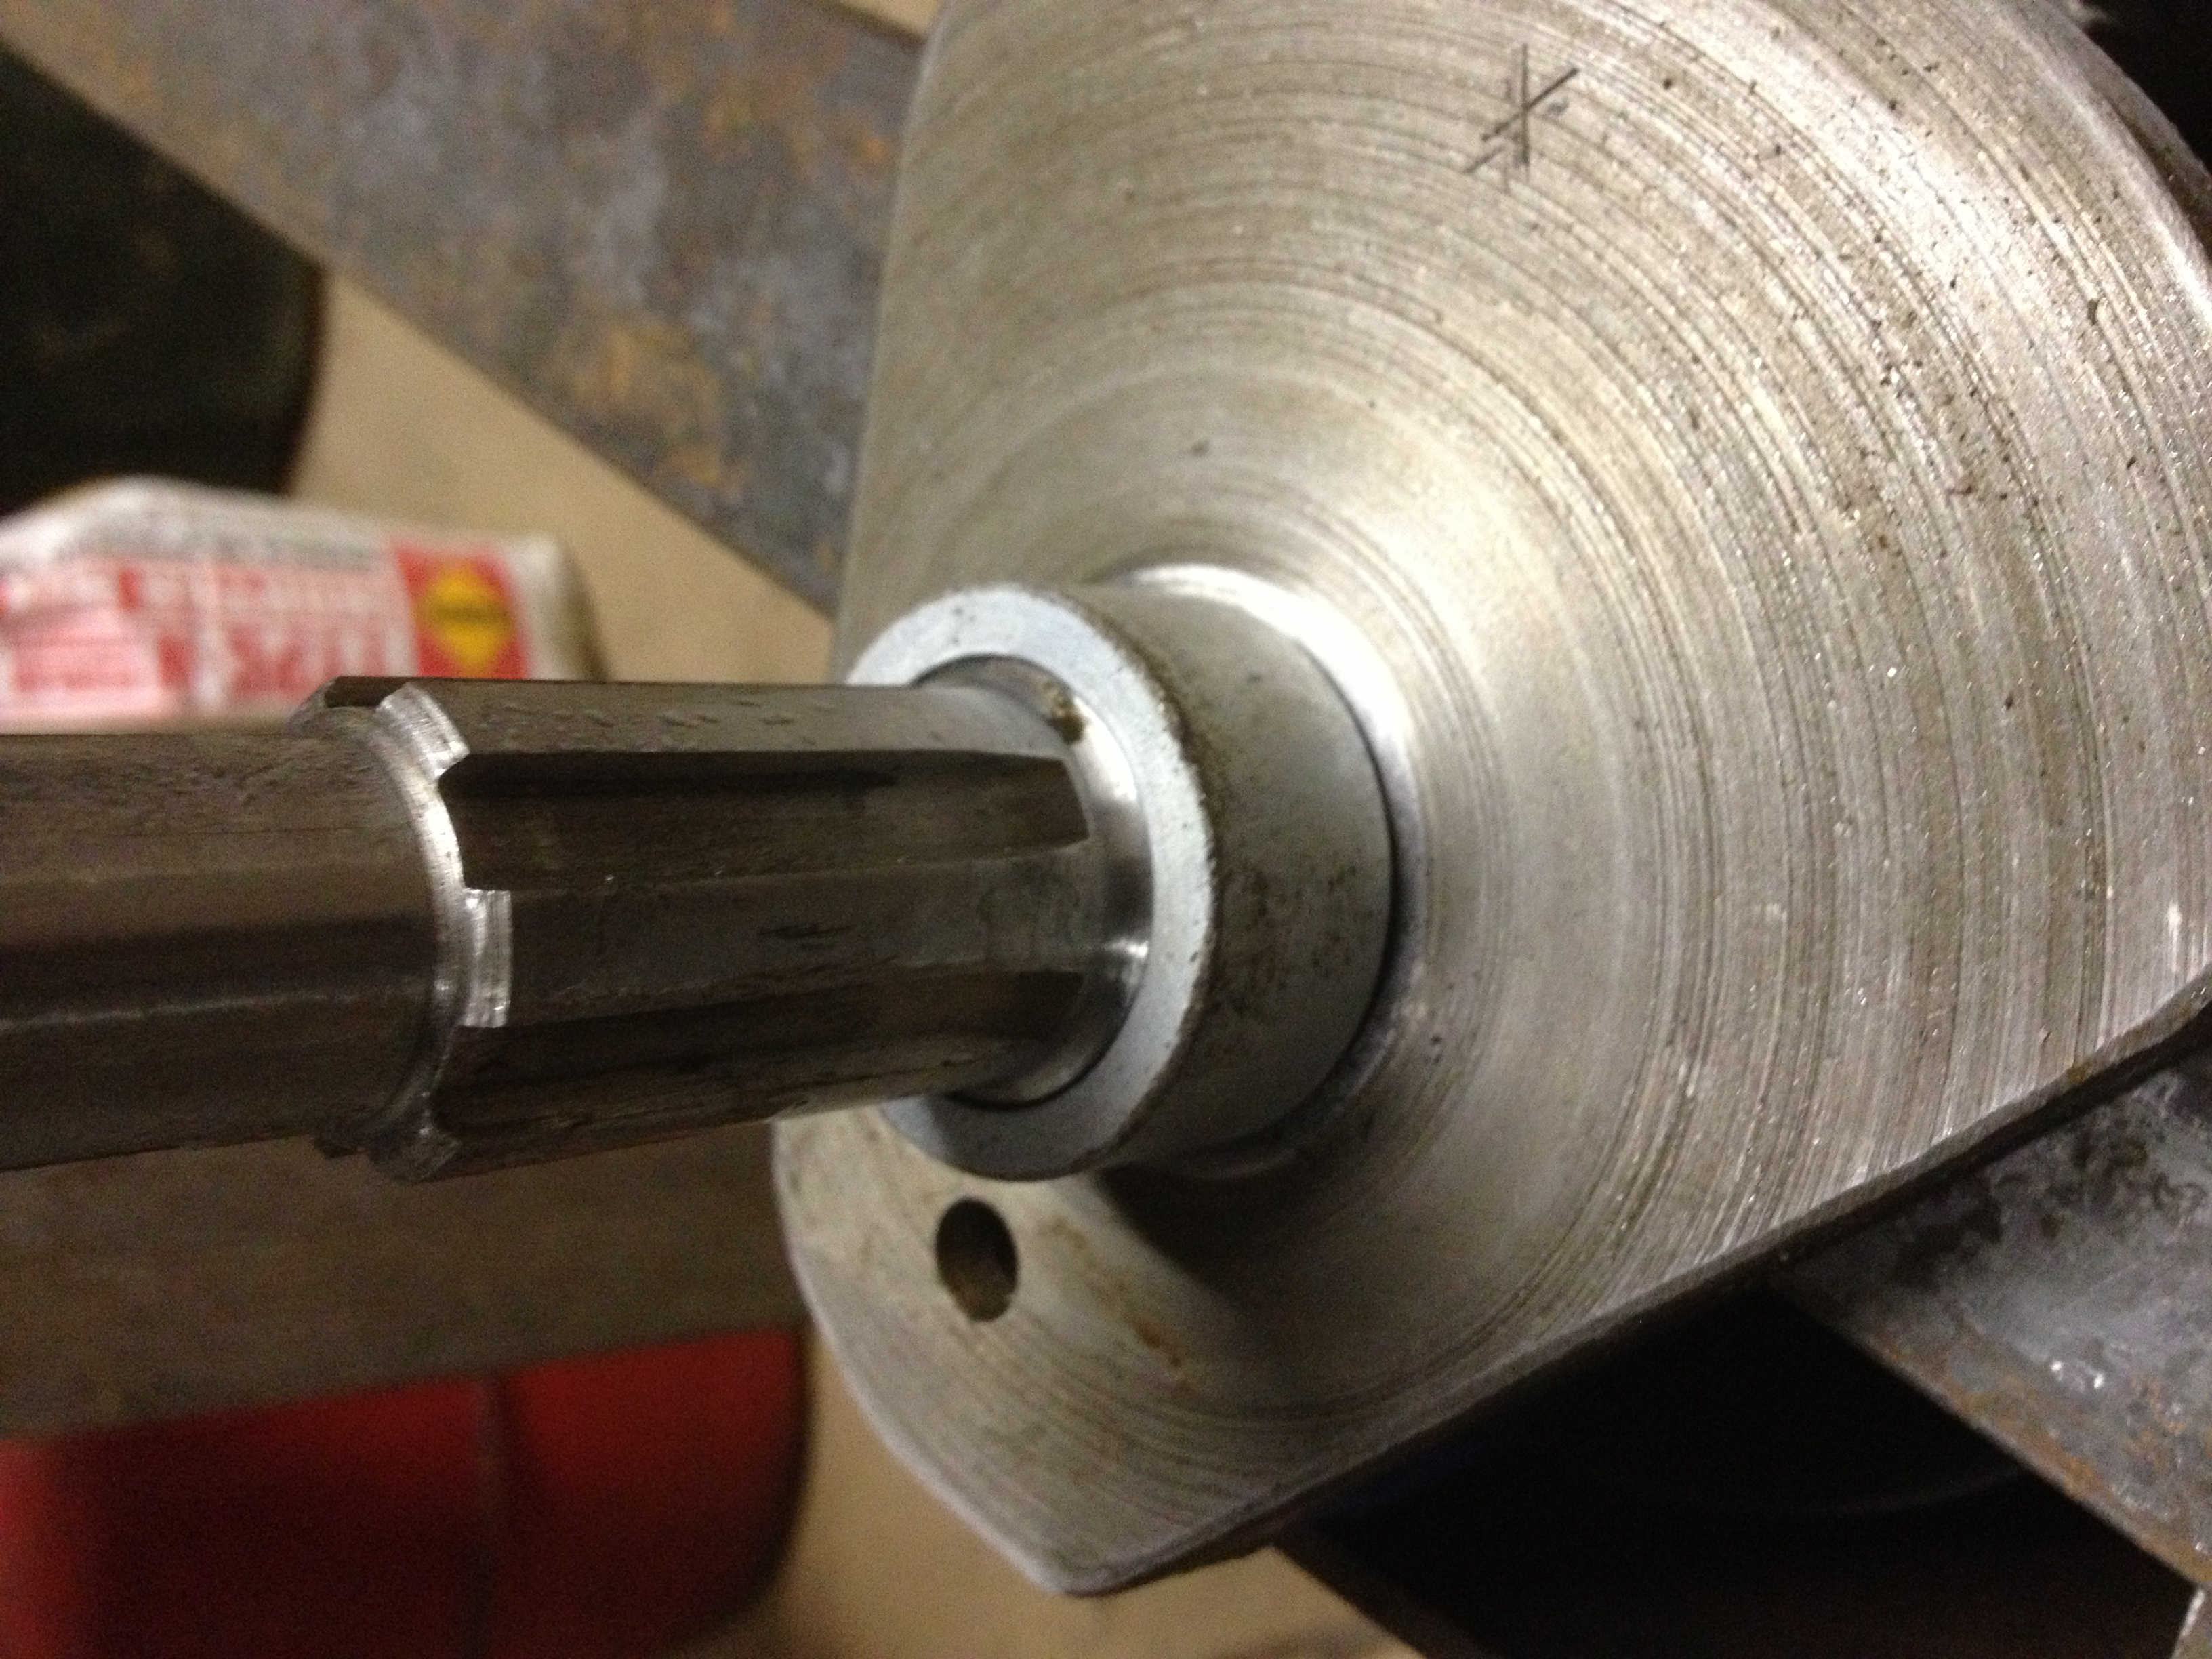
Bushing on, with the differences in temp it just dropped right on

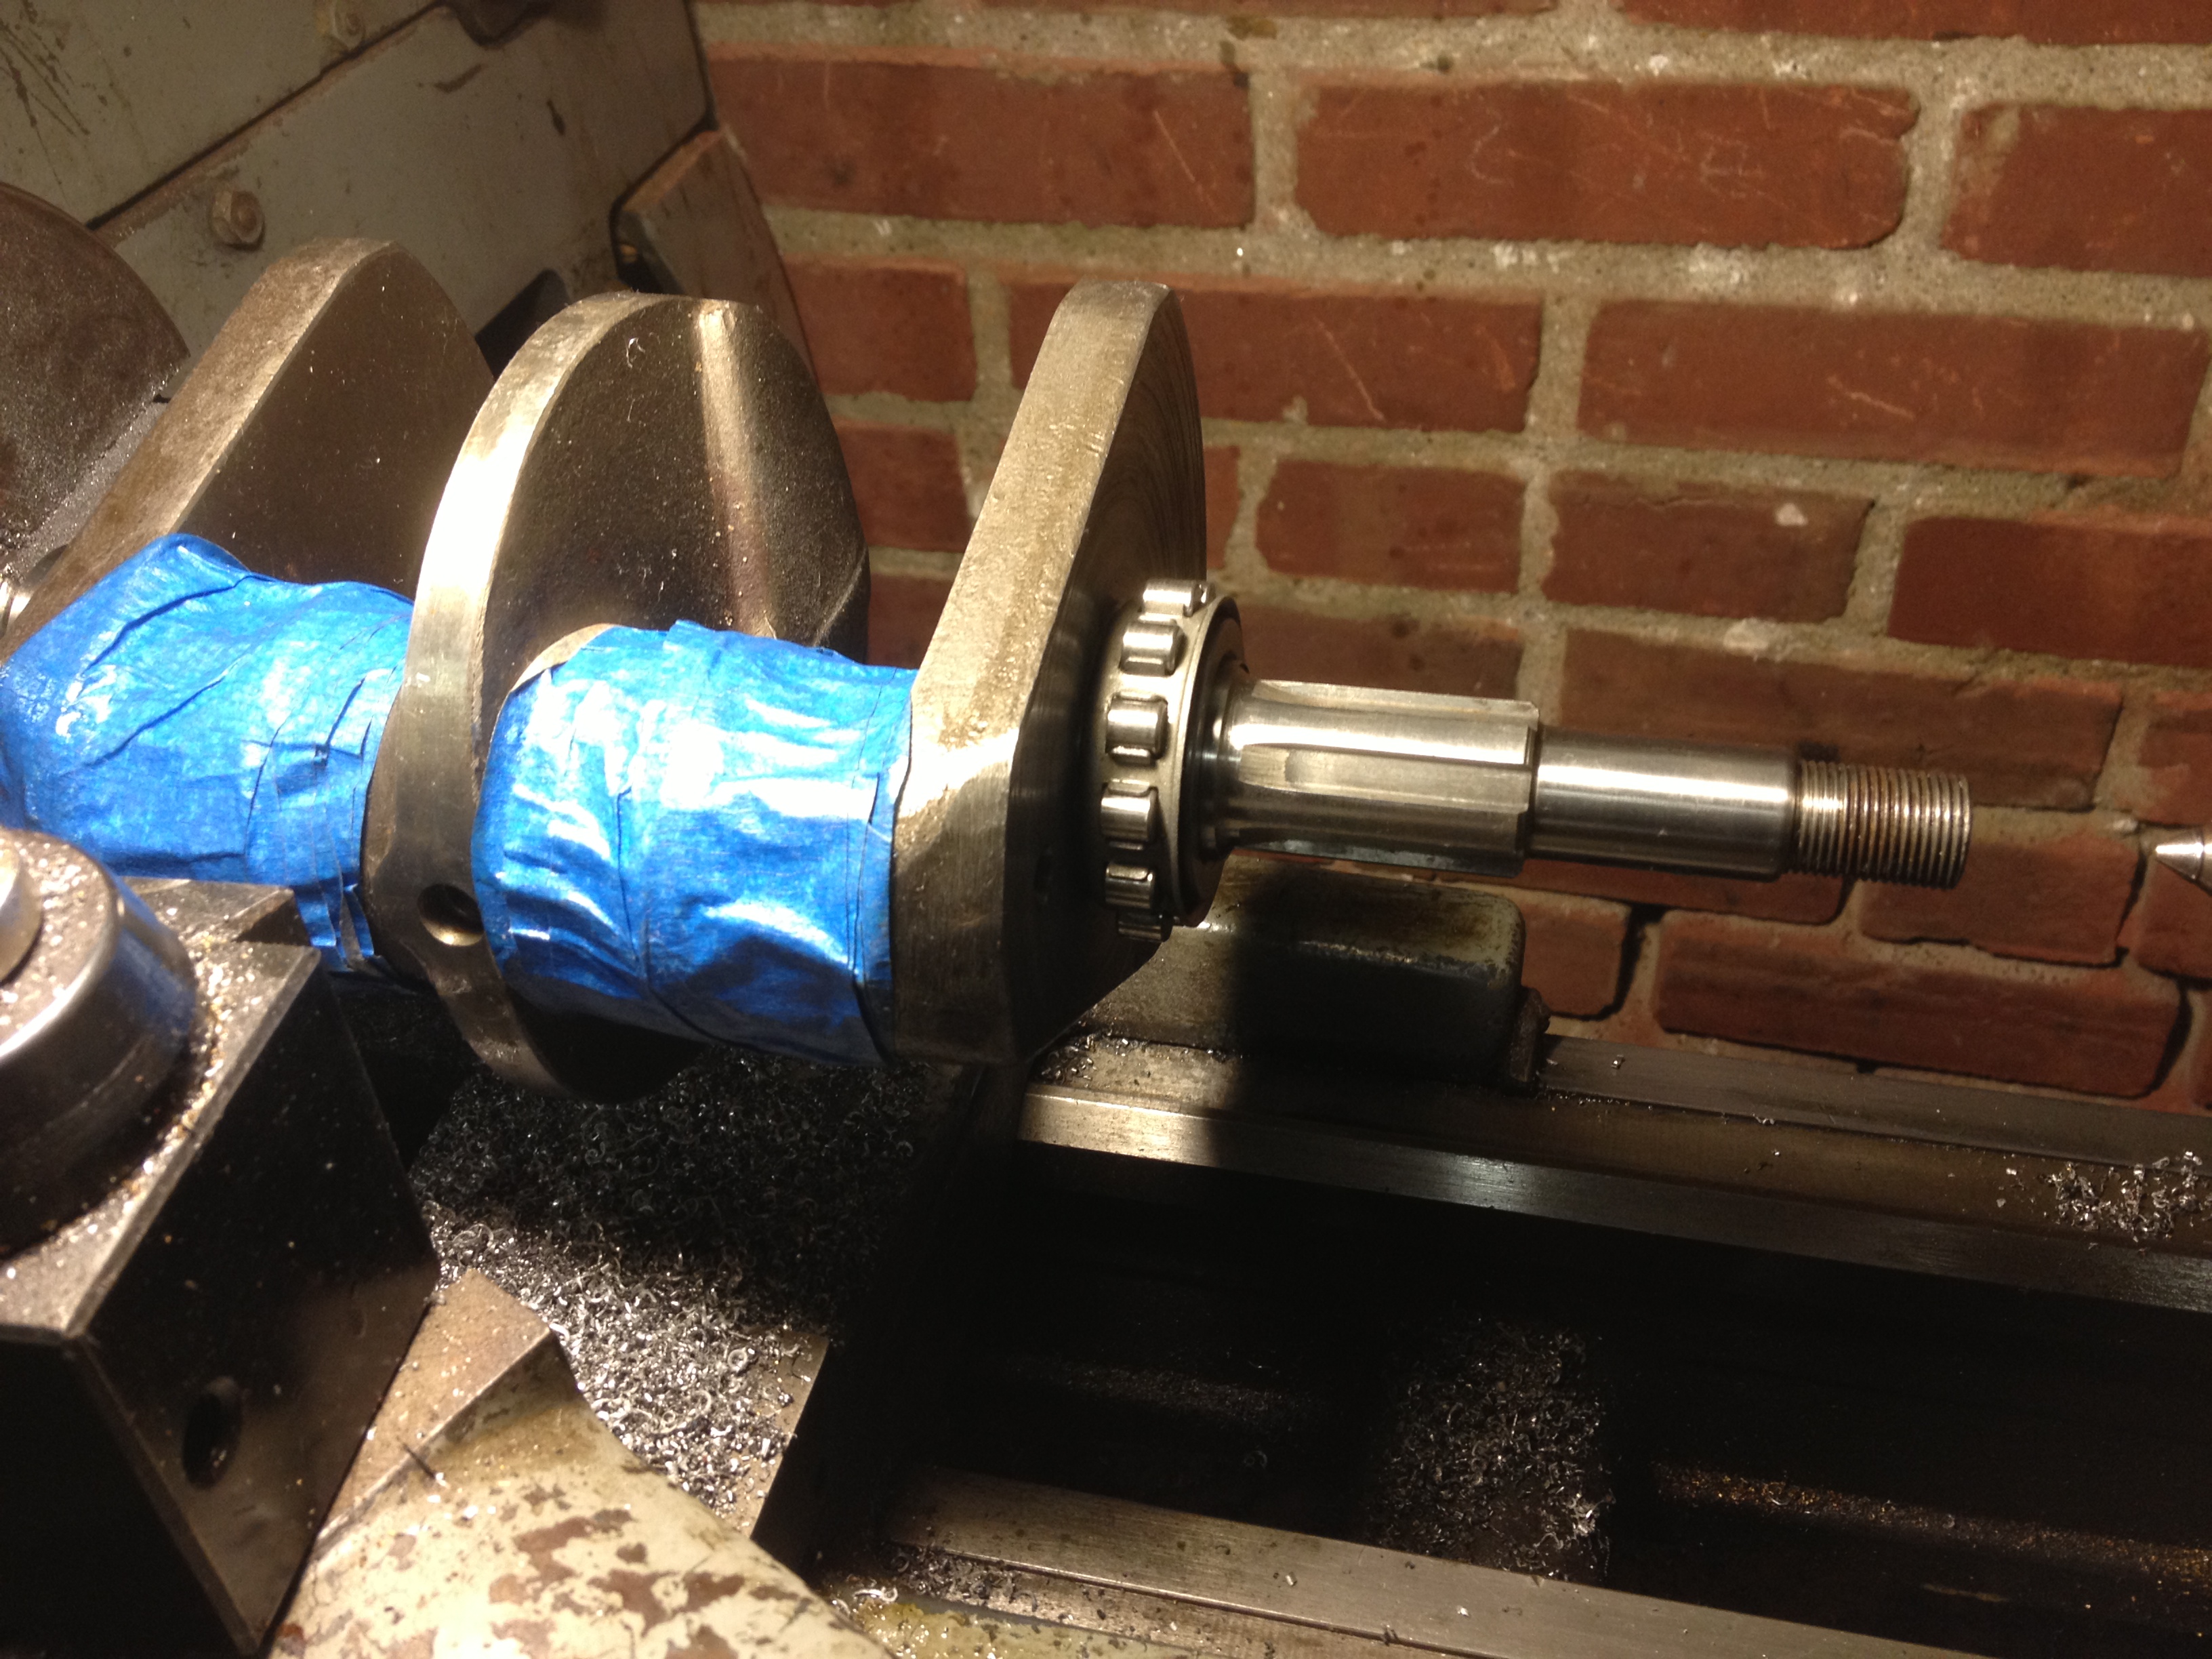
With all this done I had to machine about .300 off the OD to fit the bearing on. This was no easy task with the weight of the crank throws, it was descry to turn this at very low speed on a dead center. Using a carbide cutter does not give you a nice cut at this speed.
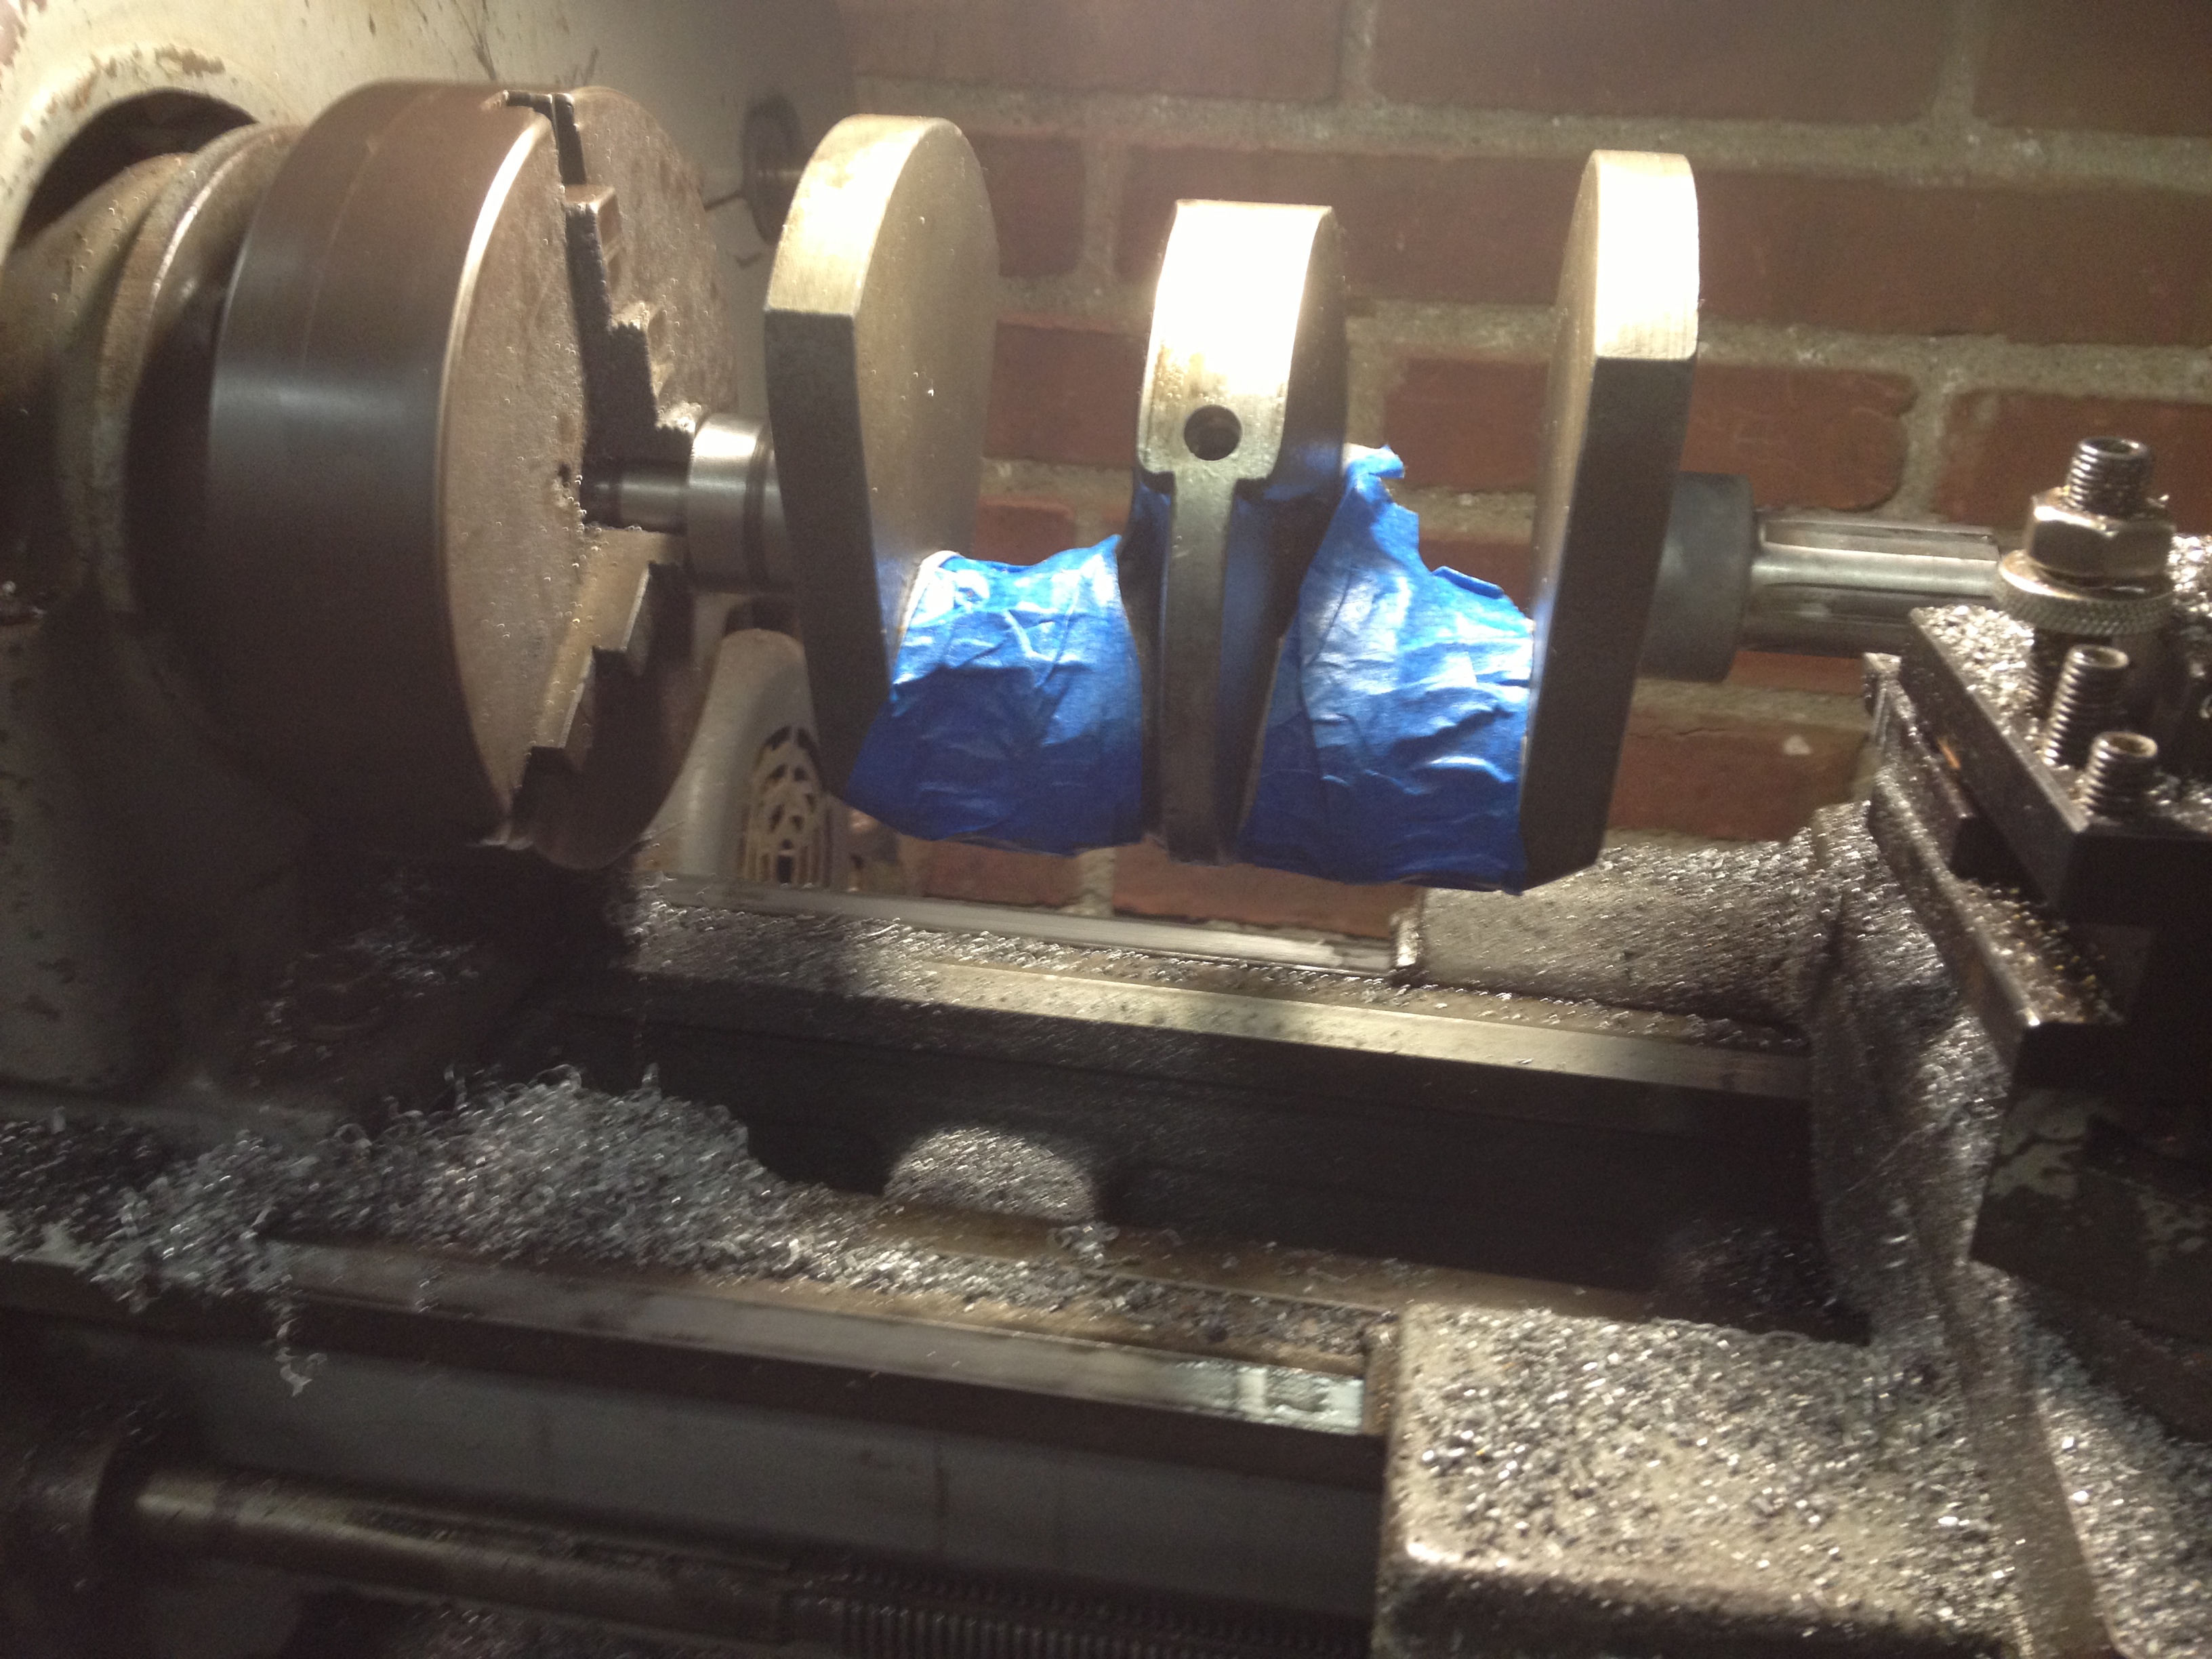
I made many cuts and stopped at .007 to big. I’ve been know to overshoot these things by a mile so it was time to make less aggressive cuts
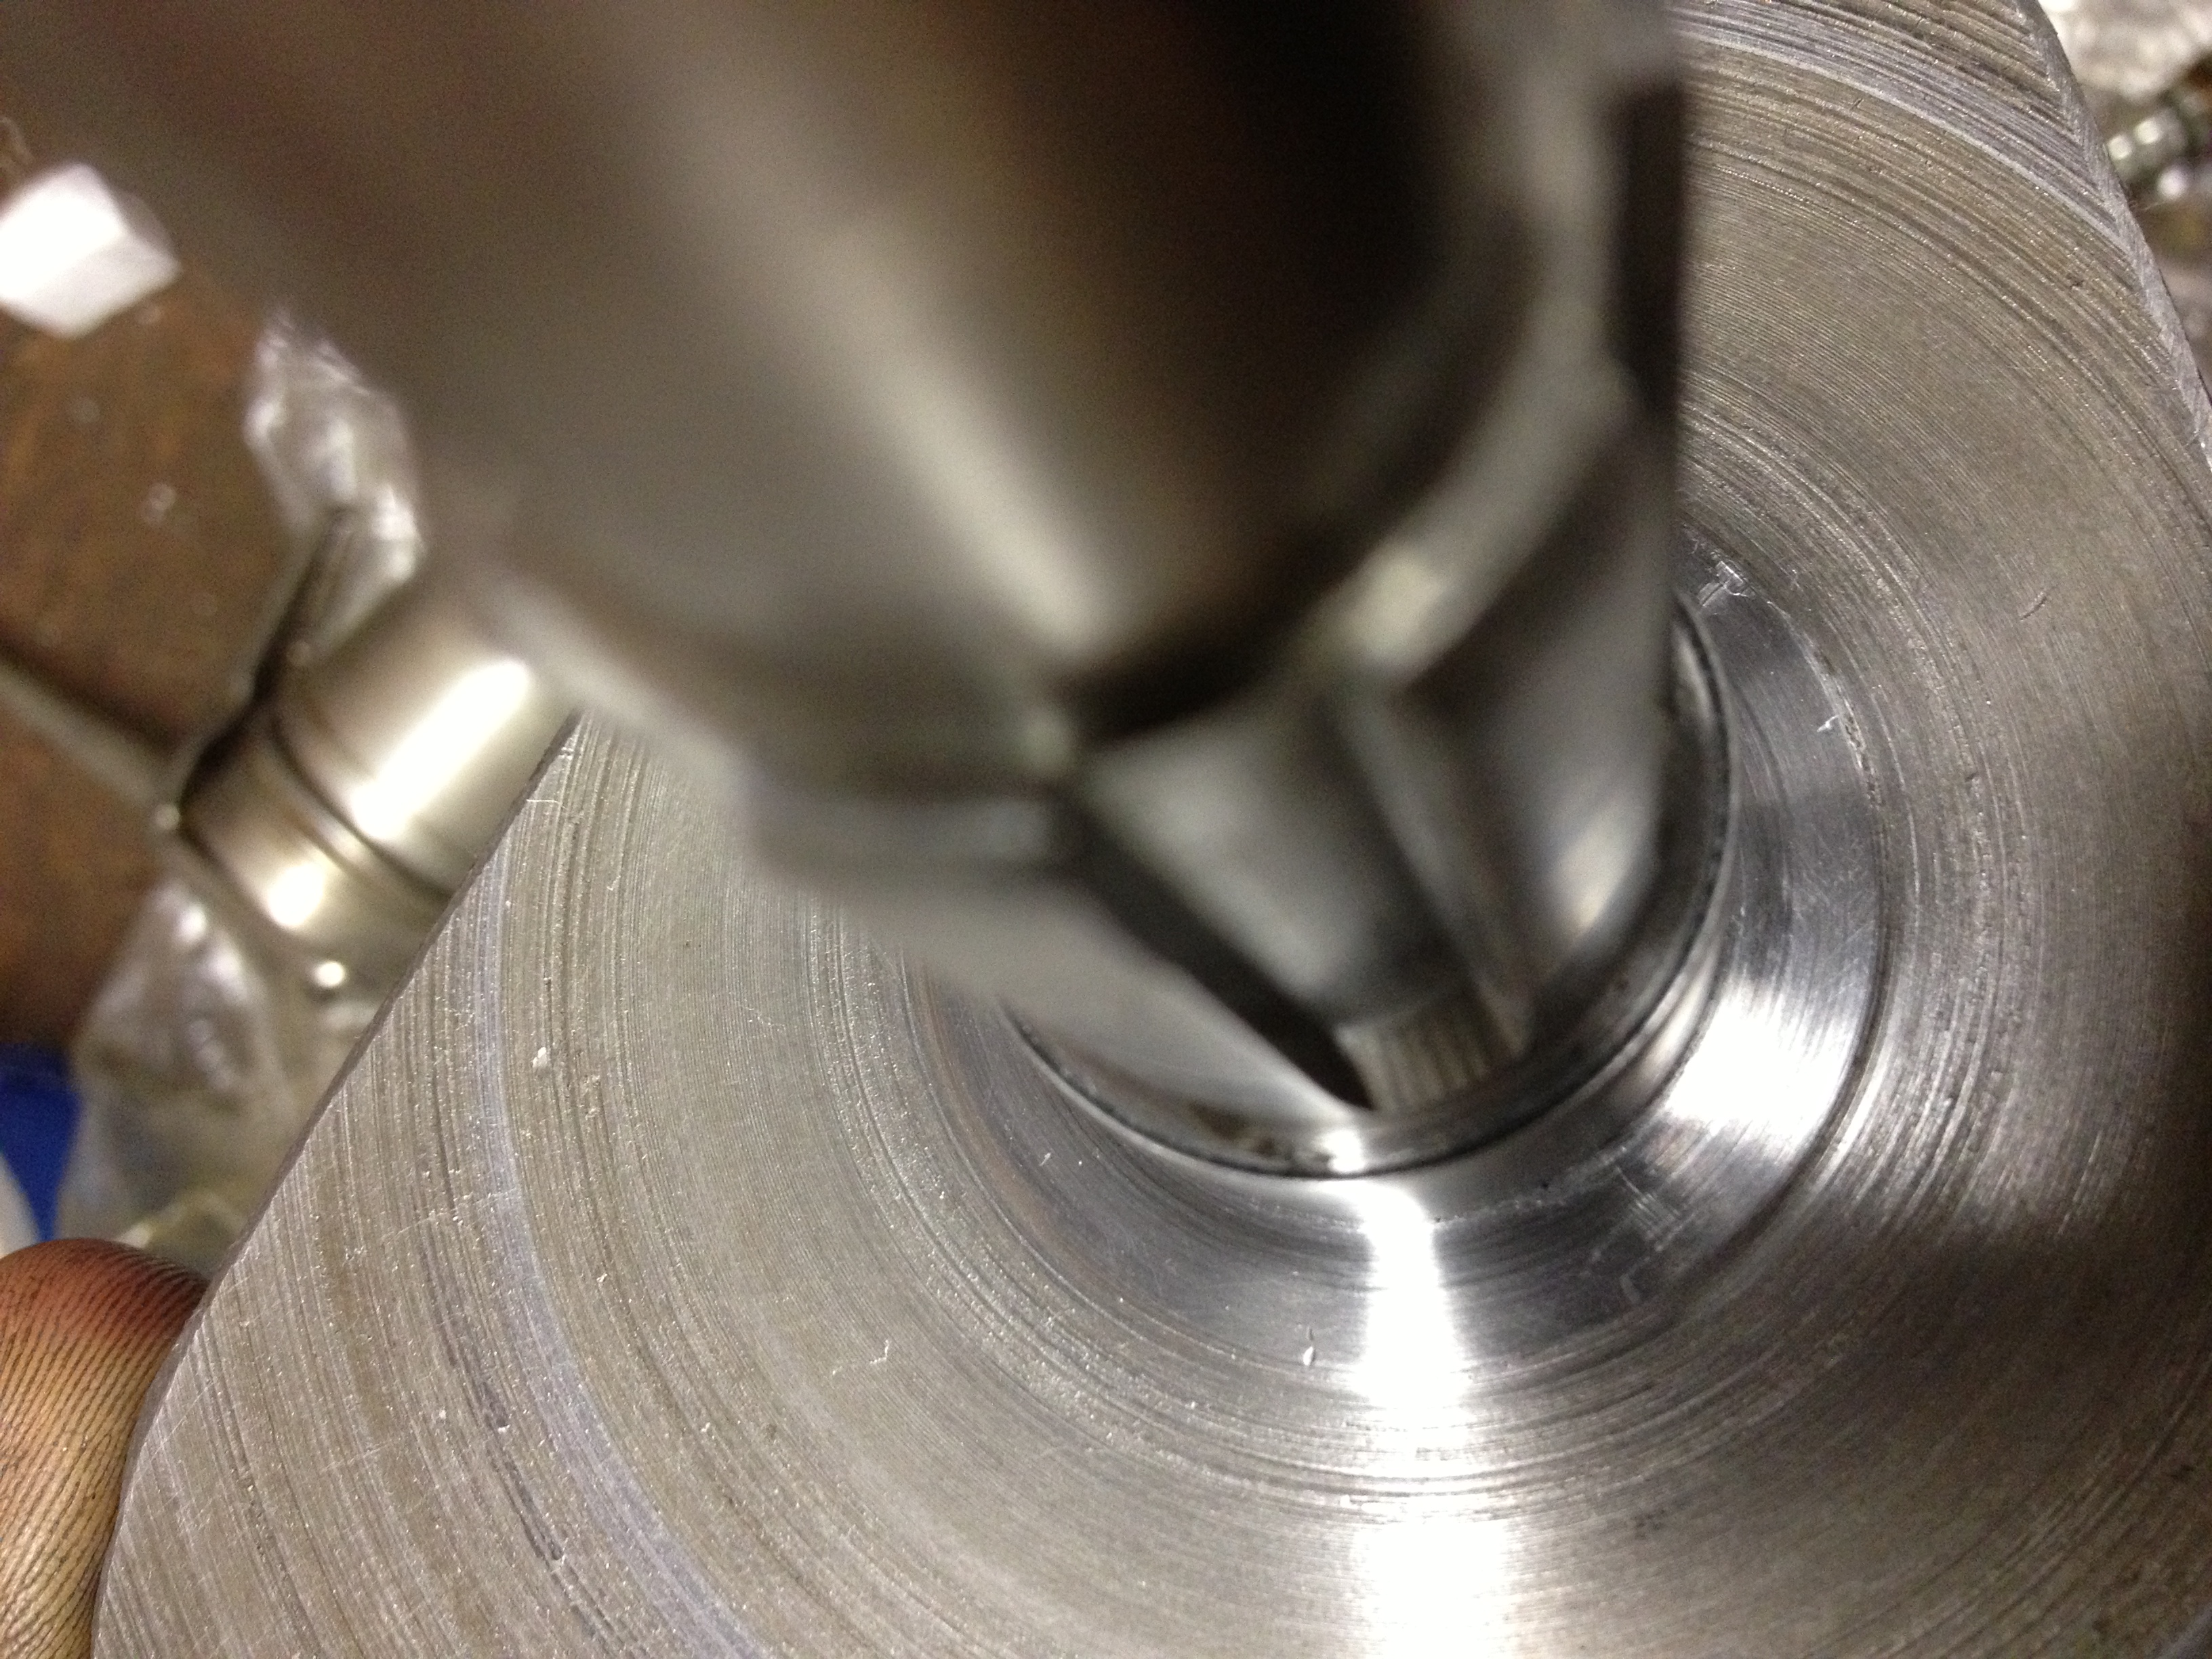
Bearing installed in new adapter

Here you can see the thinness of the adapter, its about .012 the final .007 was sanded down to fit the bearing. It took a long time and I checked the fit often
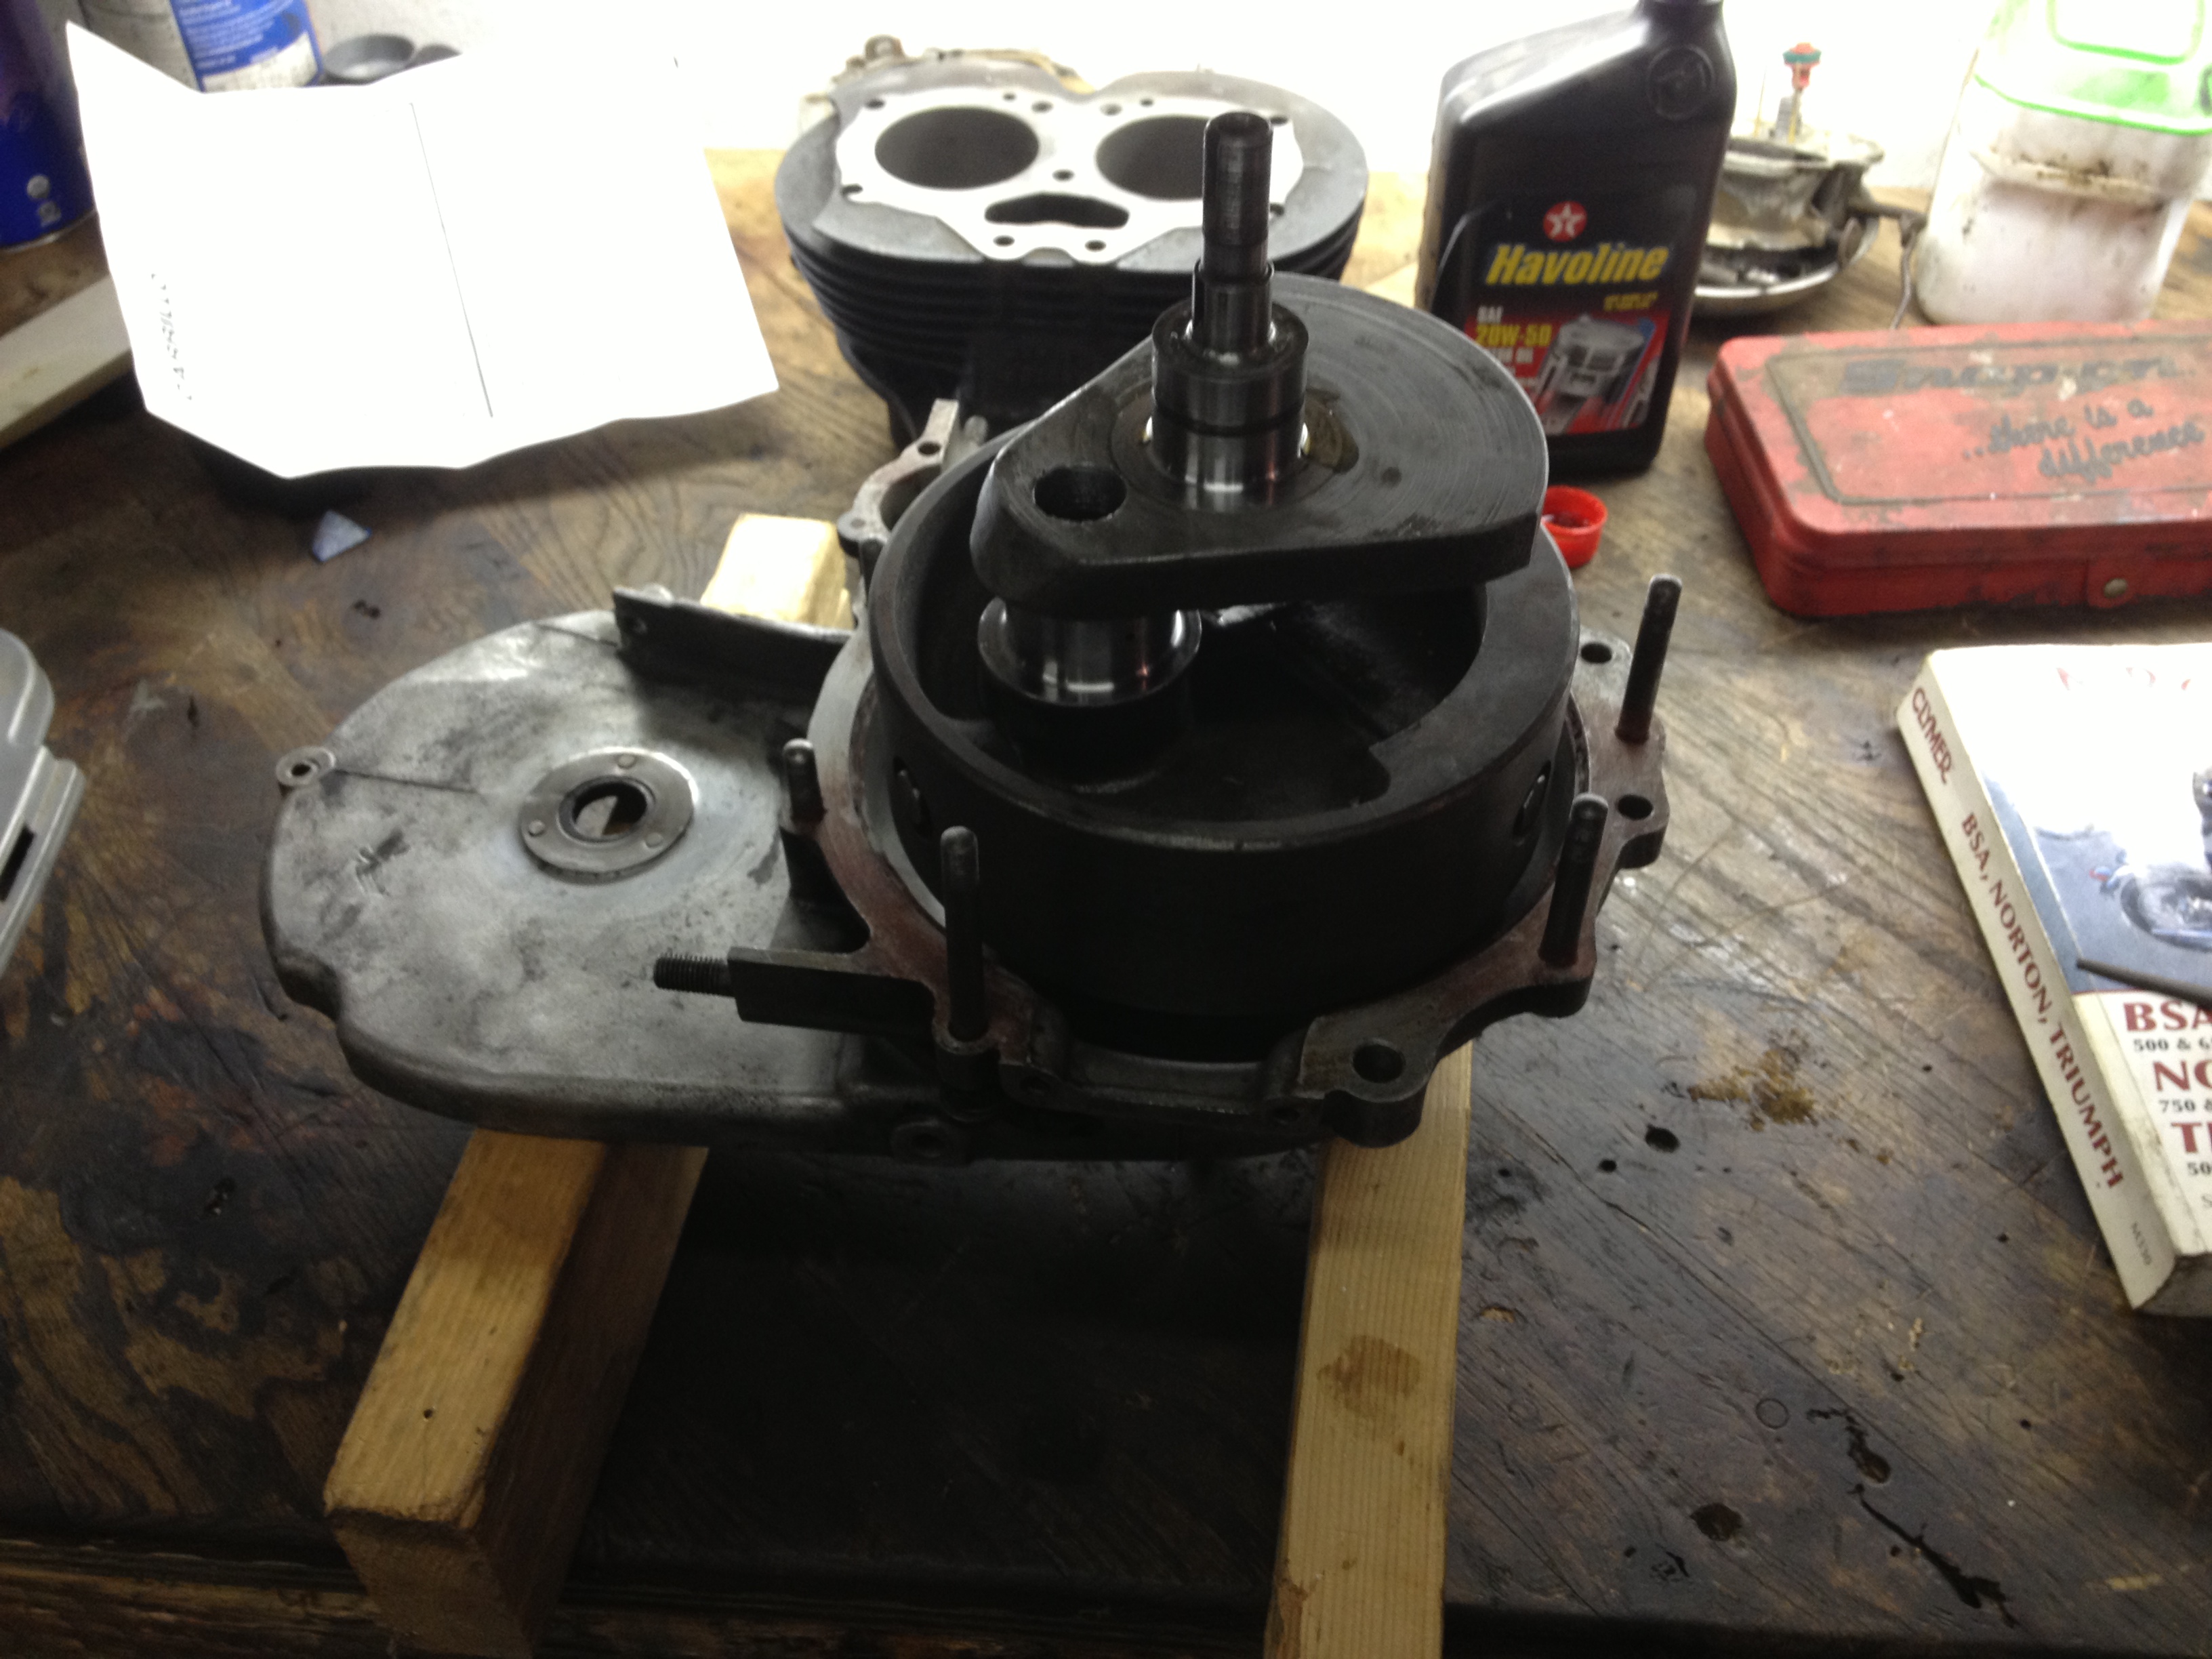
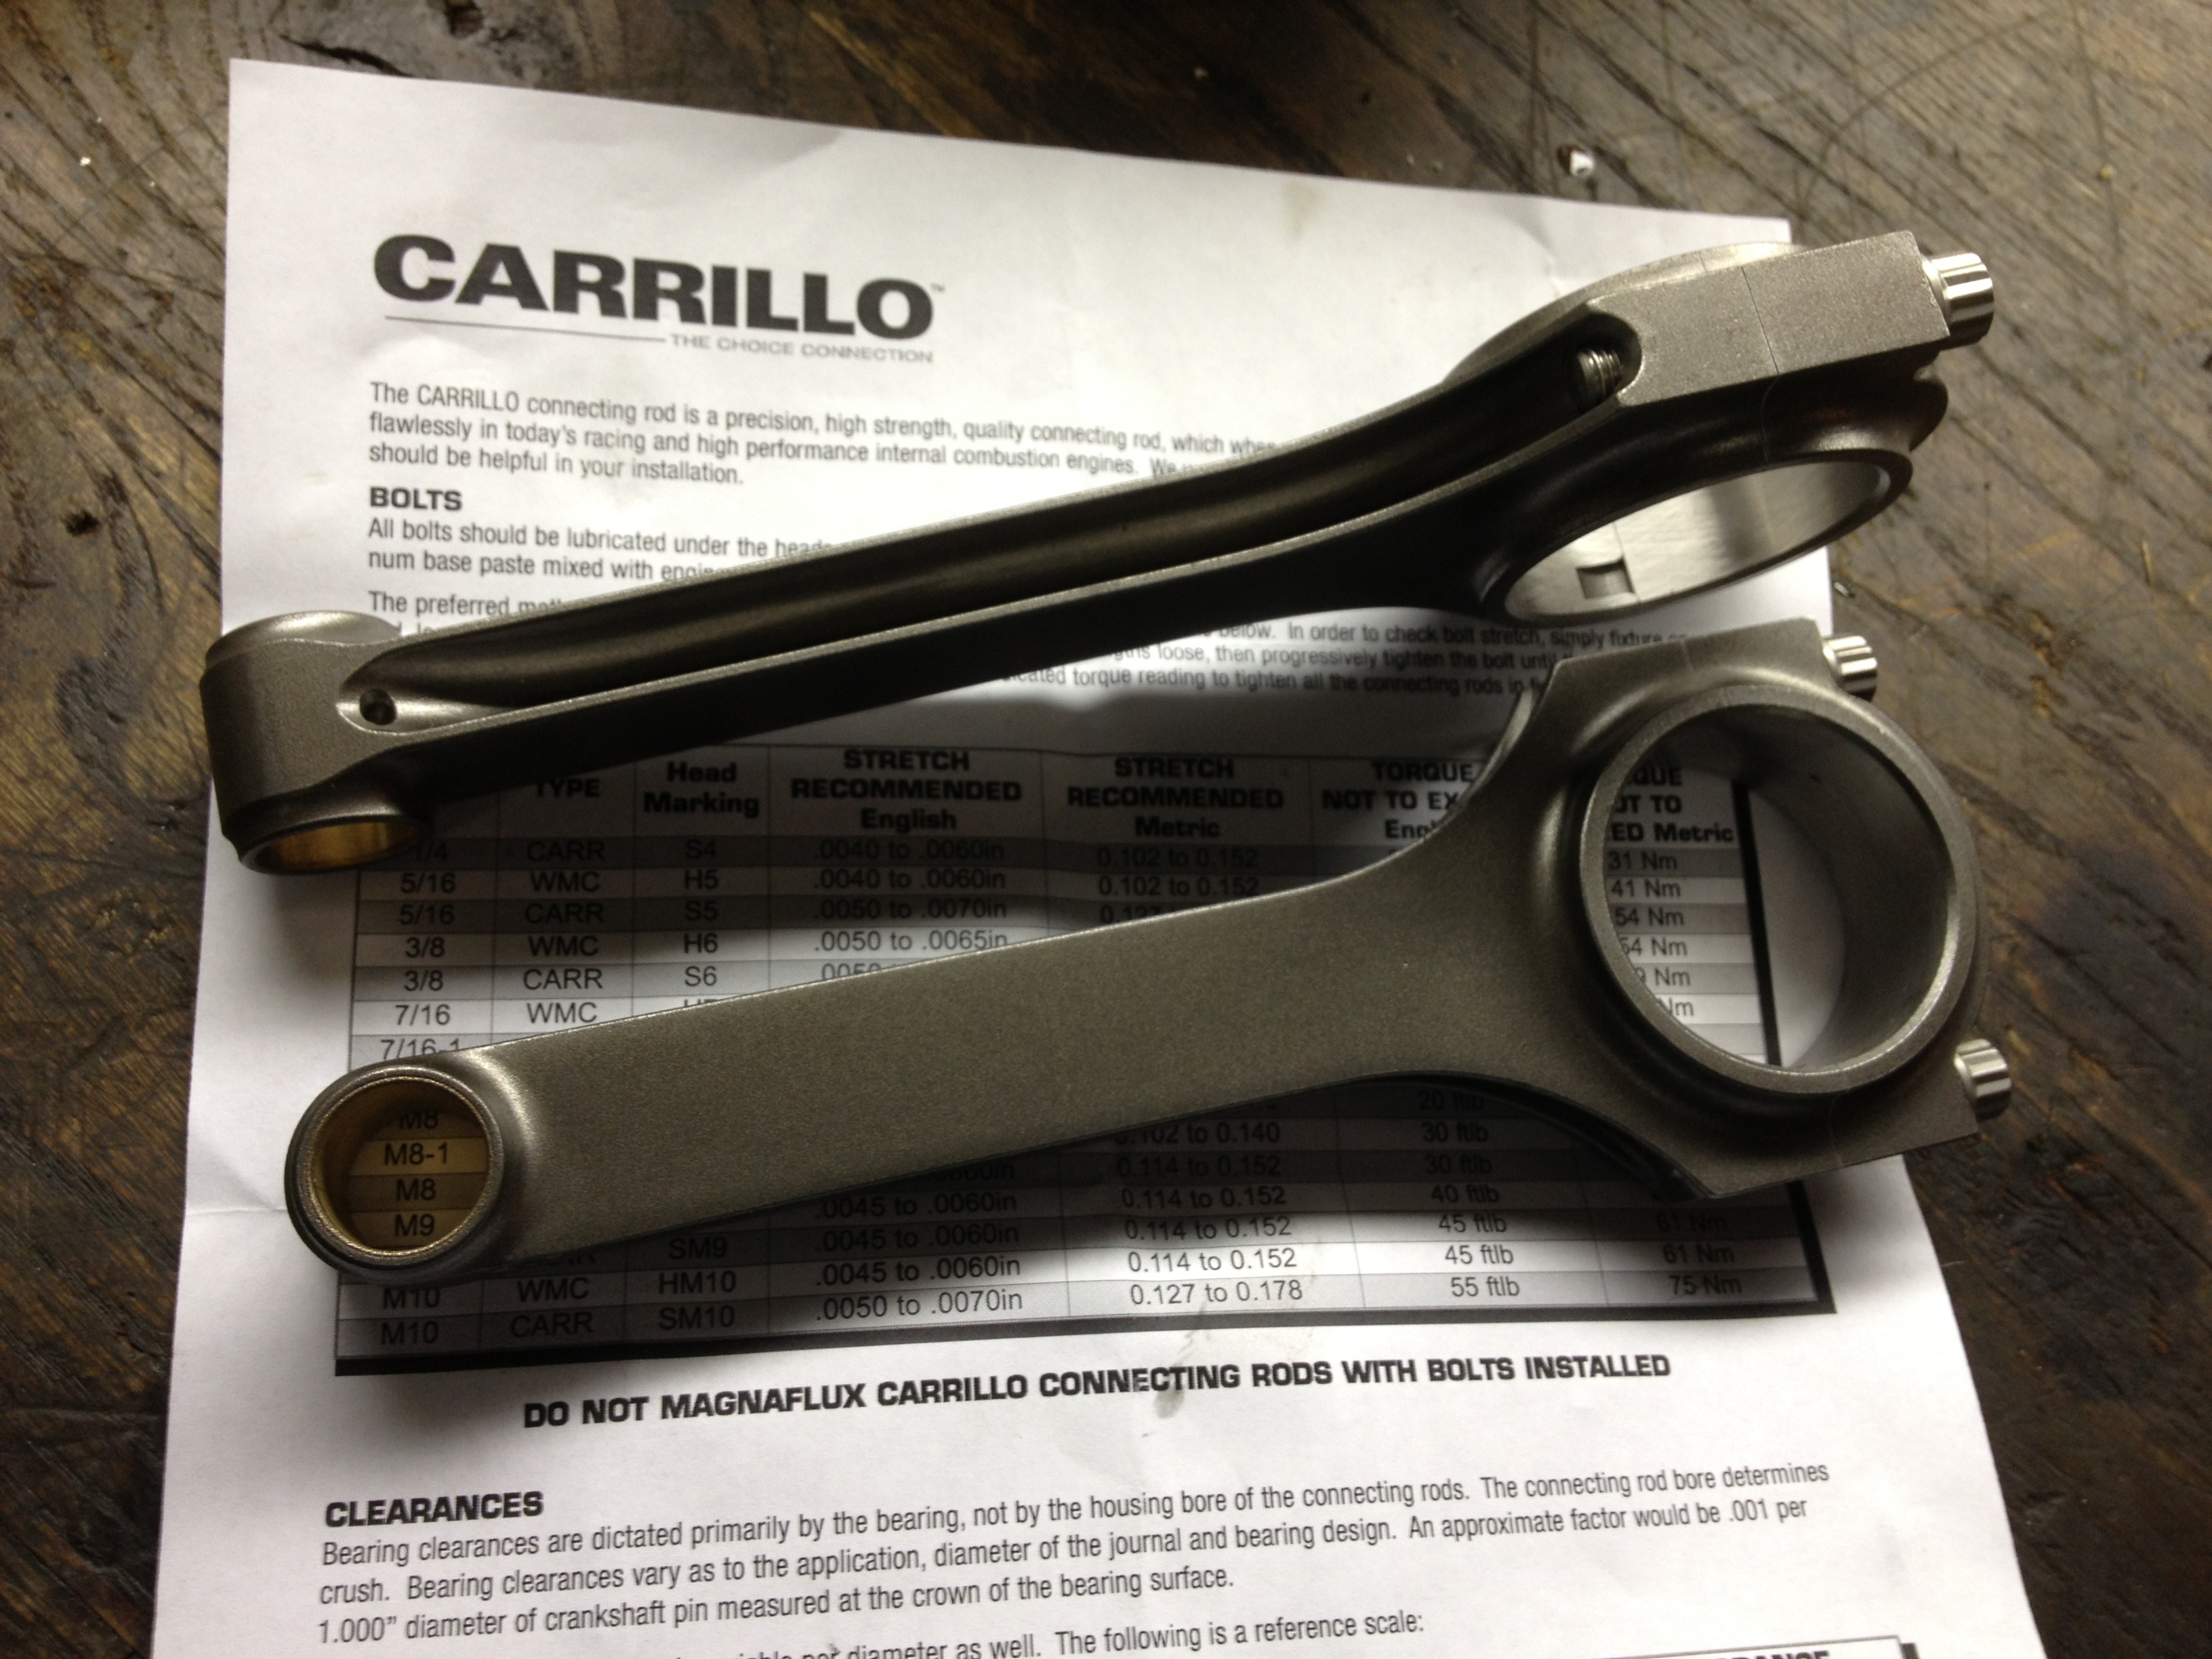
Carrillo H beam rods ready to be installed

I can’t tell you the feeling of accomplishment when the new bearing and adapter just dropped right in!

Stay tuned for part 2 and some work on the RODS

Update Modern Triumph Frankenfork

I picked up a few bottles of 10w fork oil, filled it up with the perscribed amount and took it out for a test ride. What better way to test it than some riding down the center of the railroad tracks and a trip to Wharton state forest over in Jersey.
It was tuff to tell if it had improved much on the street, the higher CG made kept me feeling like a first timer on the bike, I did hit as many potholes and bumps as I could and found myself bracing my body for a shot that never came.
In the dirt is where this setup really shined. If you have never been to Wharton, its in the NJ pinebarrens. Place is all ankle deep sugar sand whoops covered with pine needles, cranberry bogs and mud holes that never dry out. With the dampening dialed all the way back the bike performed flawlessly in all conditions I encountered. I cant tell you it this is better than stock, (never owned it that way) but it was light years better than the progressive springs I had in there before.

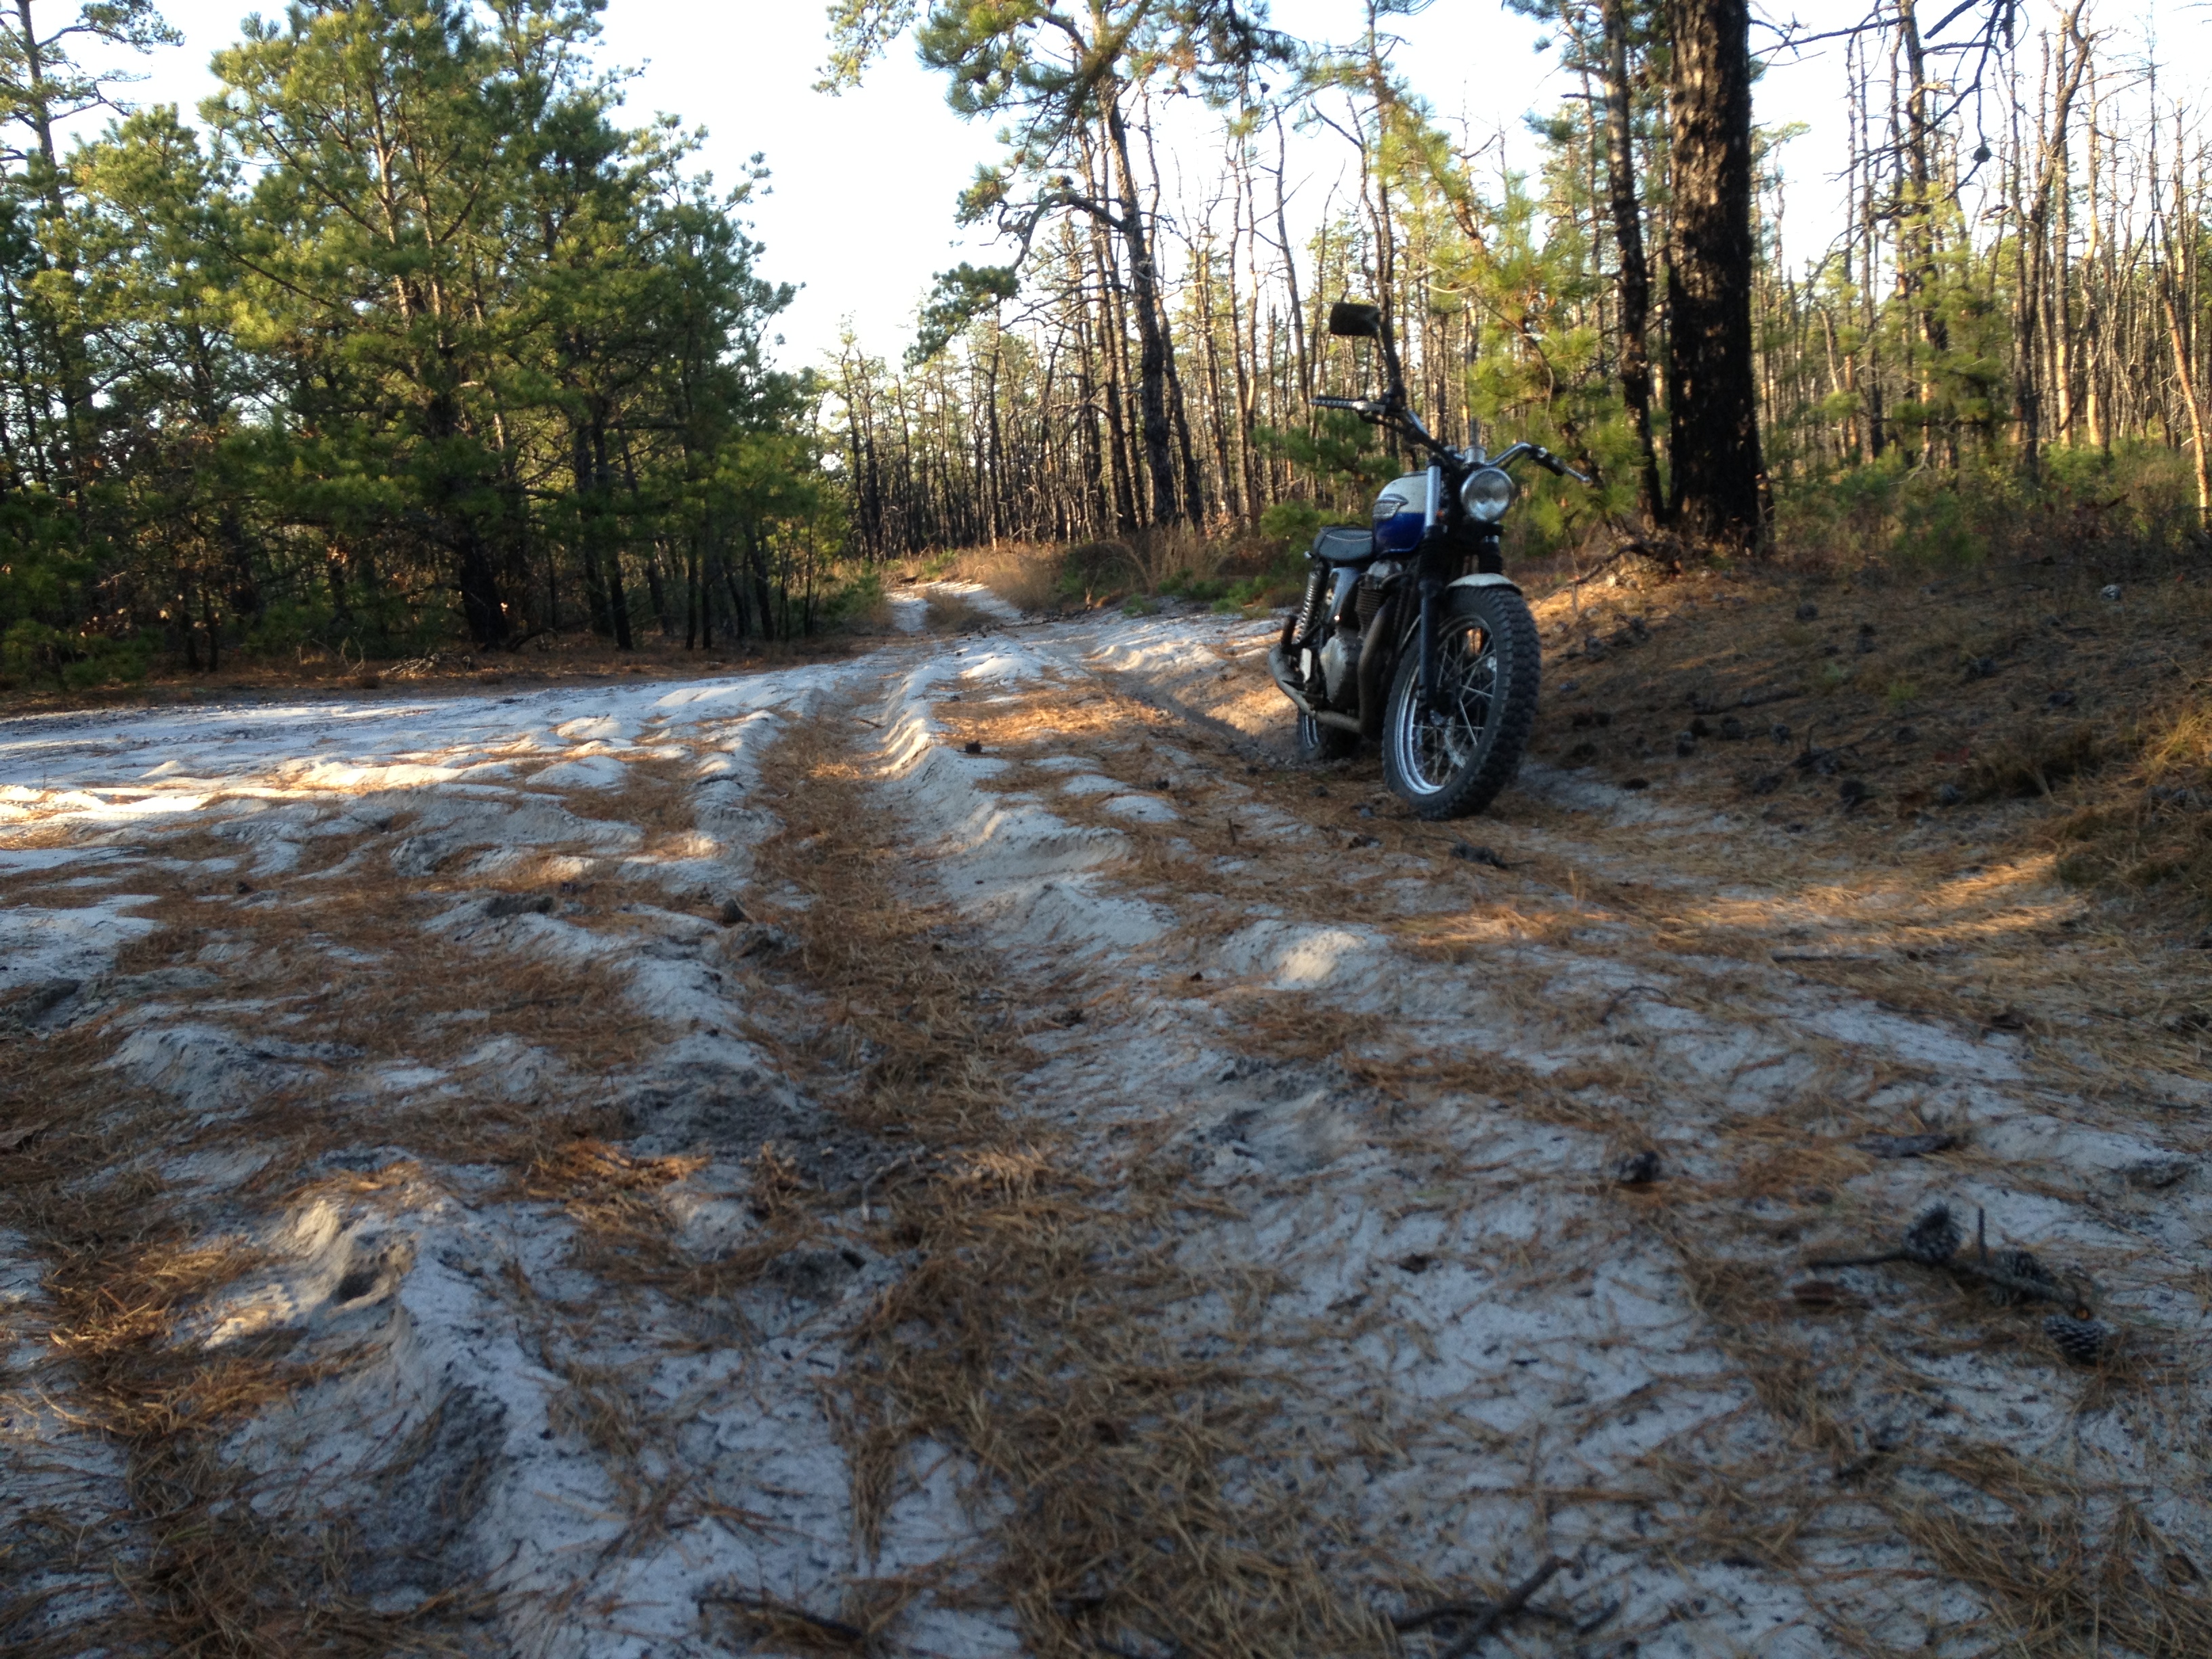
The ruts are like this most of the way

one of the many cranberry bogs in the middle of the woods

Where the bogs get all there water from….

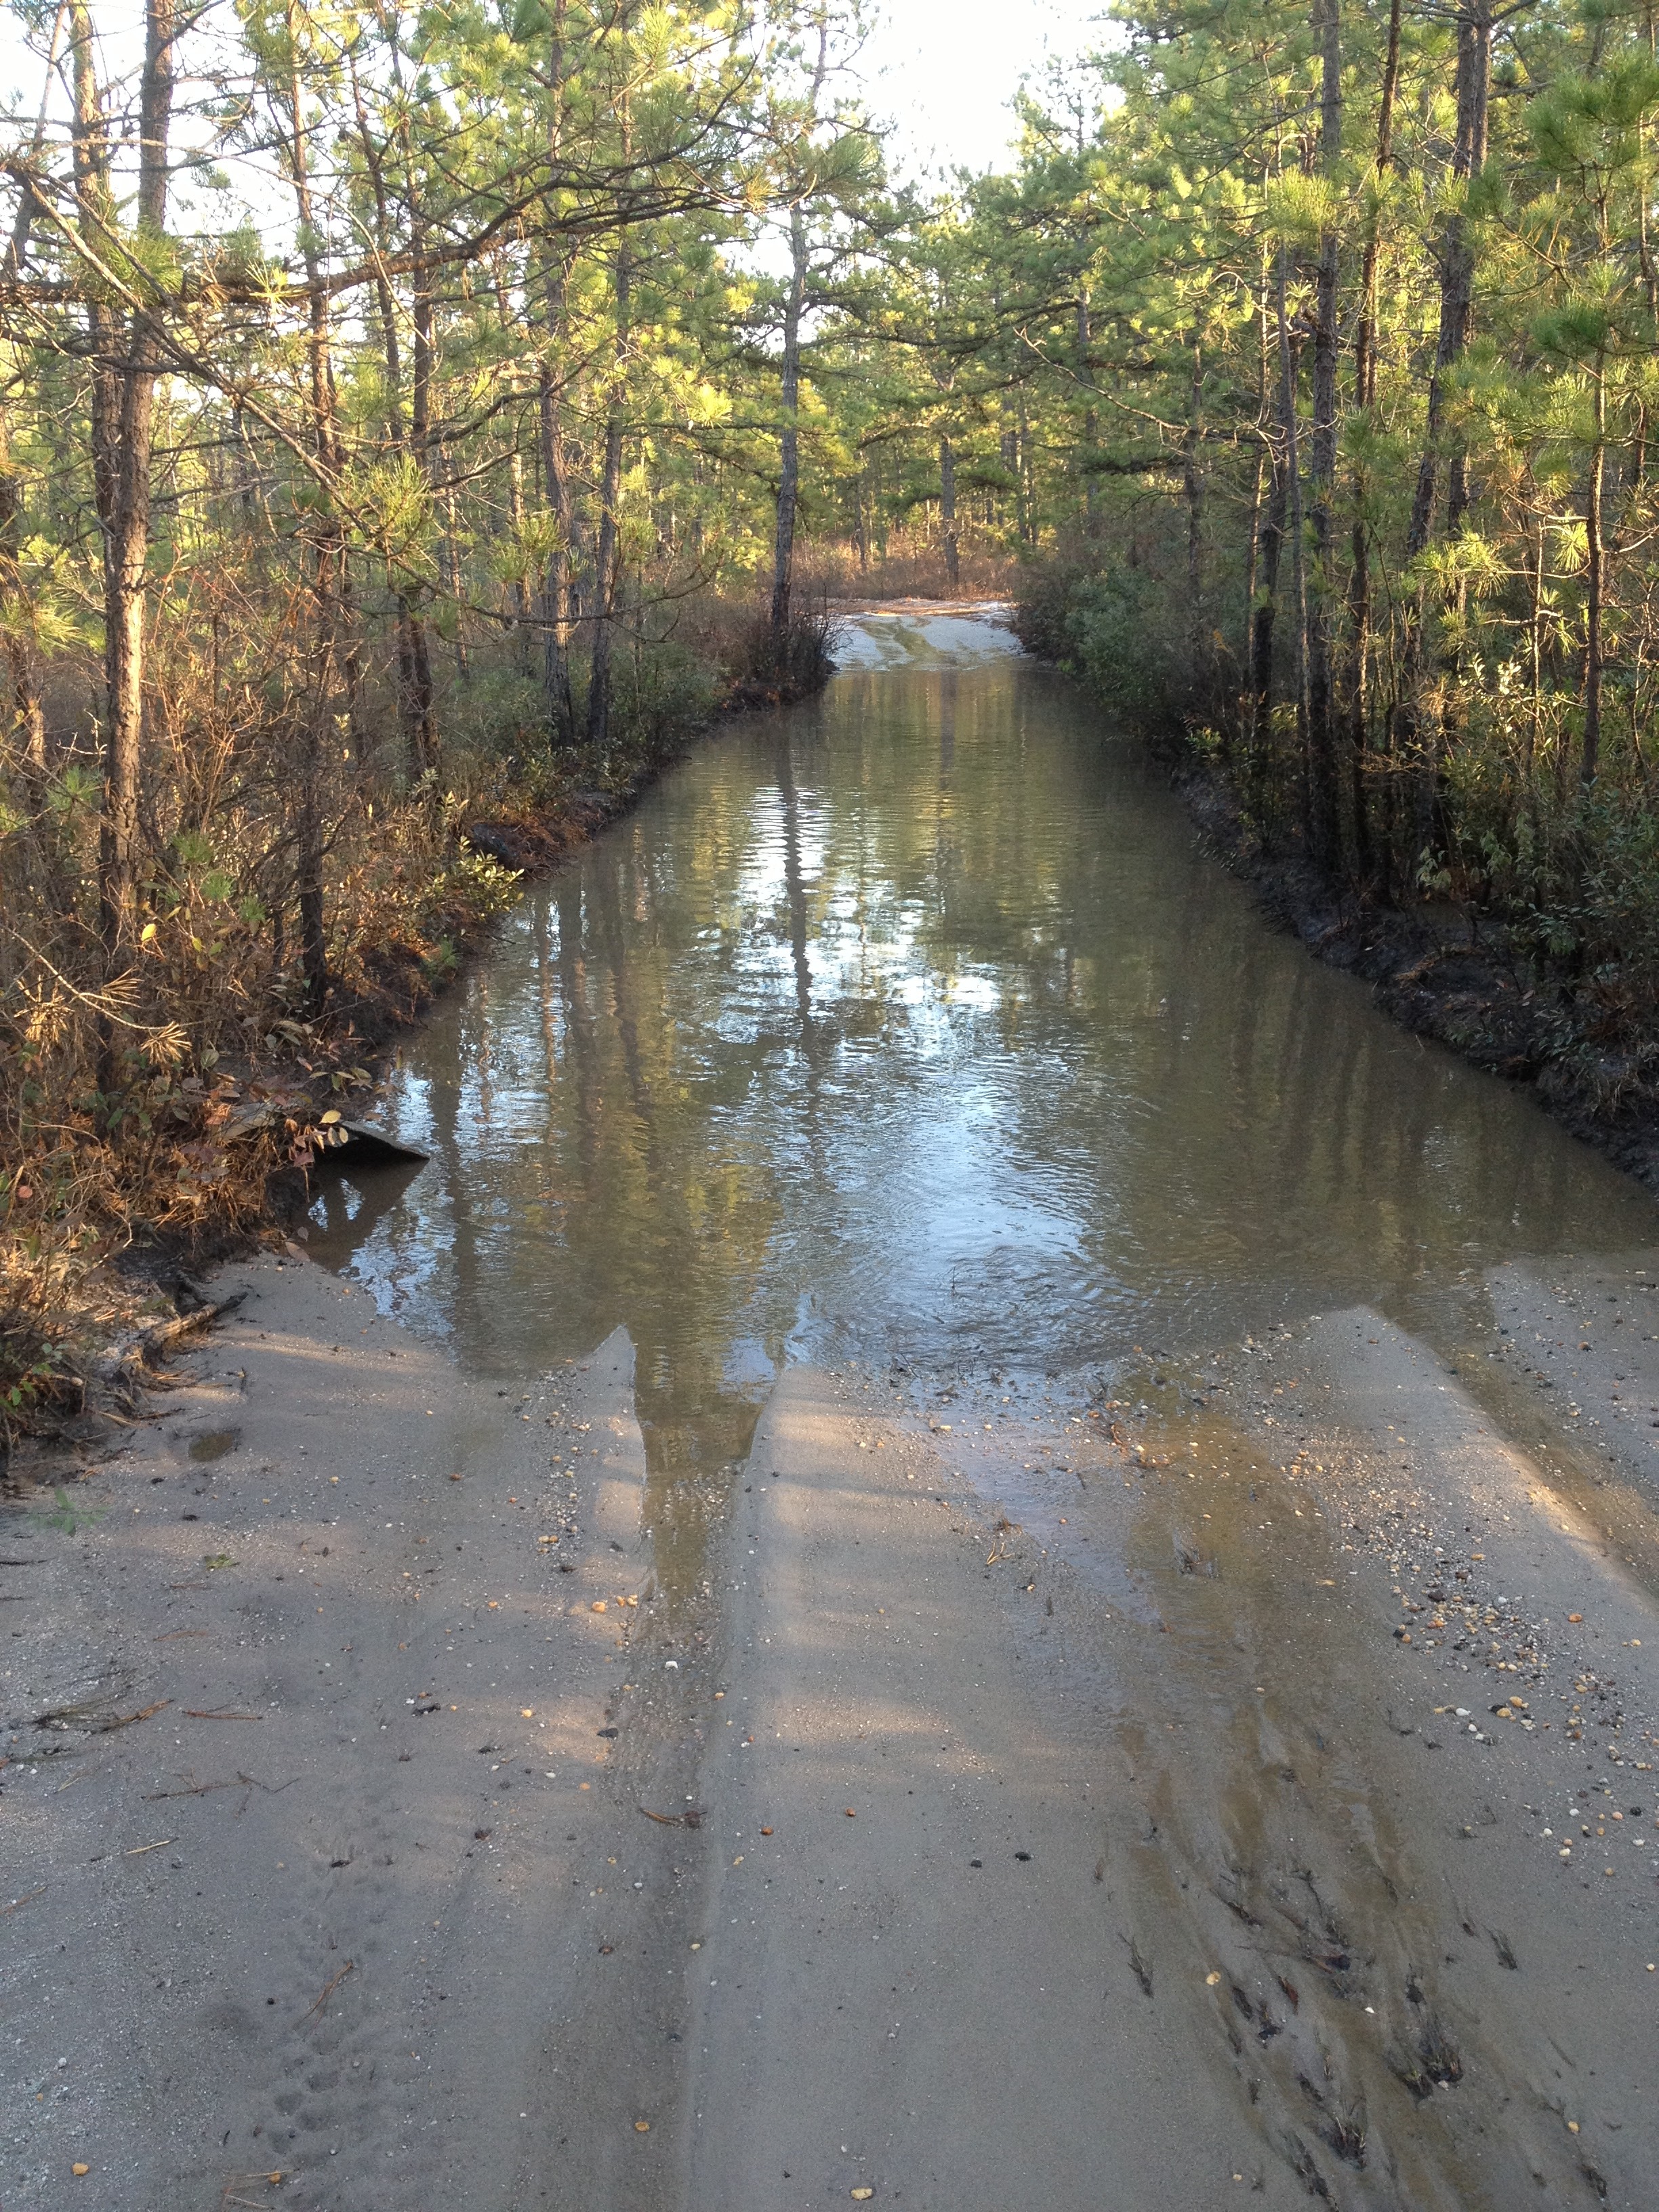
The water holes along the road range from knee to ankle deep, not exactly the way to stray dry! On the way back when it was getting dark I went through one and must of hit a stump that sent the bike over and under water breaking the clutch lever in the process. After I picked my pride back up out of the mud and no replacement on hand, I tied the cable to the lever and and rerouted it in a way to use the frame and lever to pull on it like a lawnmower pull-start. If you have ever ridden home without a clutch you know what I mean.

Nice lever!

Total miles today was 110 with 40 of that on the trails. Well worth the cost of the fork oil!

Modern Triumph Cheap Fork Upgrade

For quite some time Ive wanting to bring the scrambler it back to a more stock and trail riding friendly height, the previous owner had lowered it and Ive been bashing pipes since day one. This summer I had put some cartridge emulators in my Yamaha and did a fair bit of research on fork theory and different fork valving. I liked what I heard. Despite dampener rod forks being 1940’s technology the come as standard equipment on many new bikes including my scrambler. I had toyed with the idea of getting some emulators but they require dissassembly of the fork to change the dampening settings, less than ideal to tear the forks down on the side of the road with the varying on and offroad conditions I like to ride in. I had heard of guys using 90’s Honda CBR tubes and internals as both bike have 41mm front ends.

Both fork types displayed with the oil flow paths displayed

See HERE for a great discription on the differences of the two. After a few month of searching on ebay for the proper Honda forks the ones I found were bent or to spendy to just try it out.

Wait a miniute, Vinney brought me some broken Suzuki Katana forks last year and they externally adjustable dampening cartridge type. A quick dig out of the parts area yielded them and that they are indeed 41mm as well. I saw no reason that they wouldent work just like the orignial tubes 41mm is 41mm right?

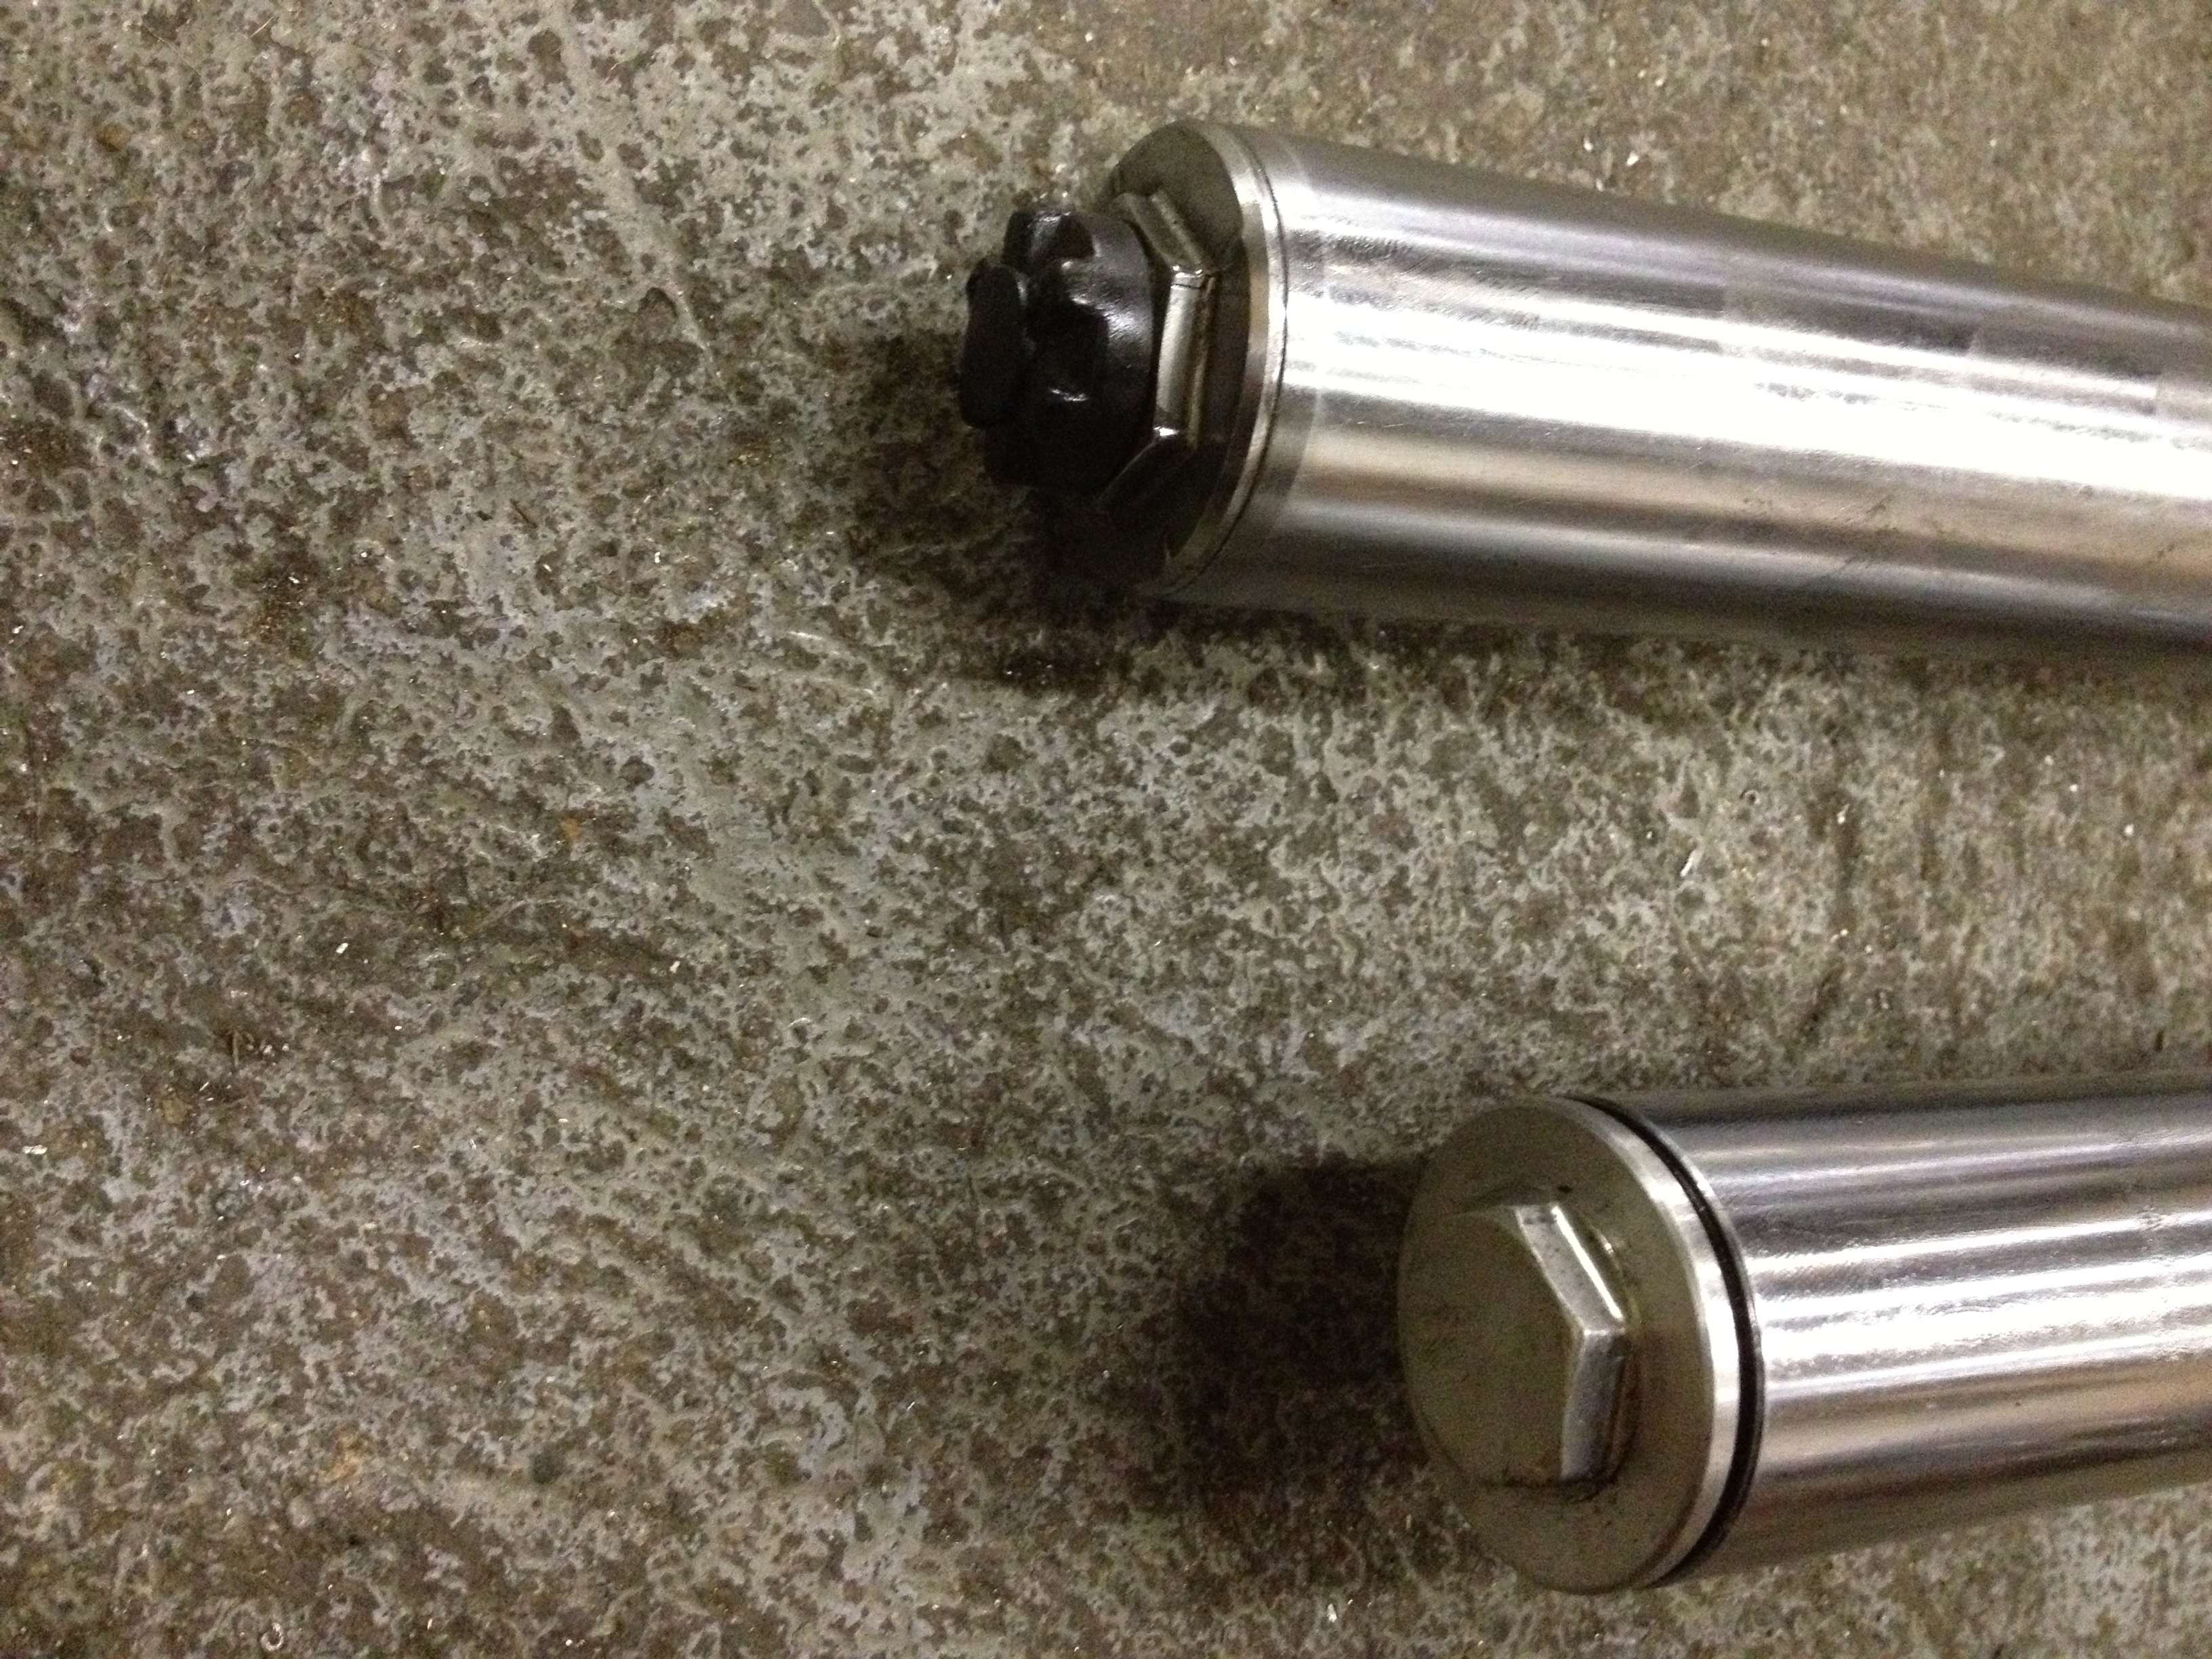
The tops of both forks, triumph on the bottom. The adjuster knob works by changing the size of rebound dampening holes in the fork

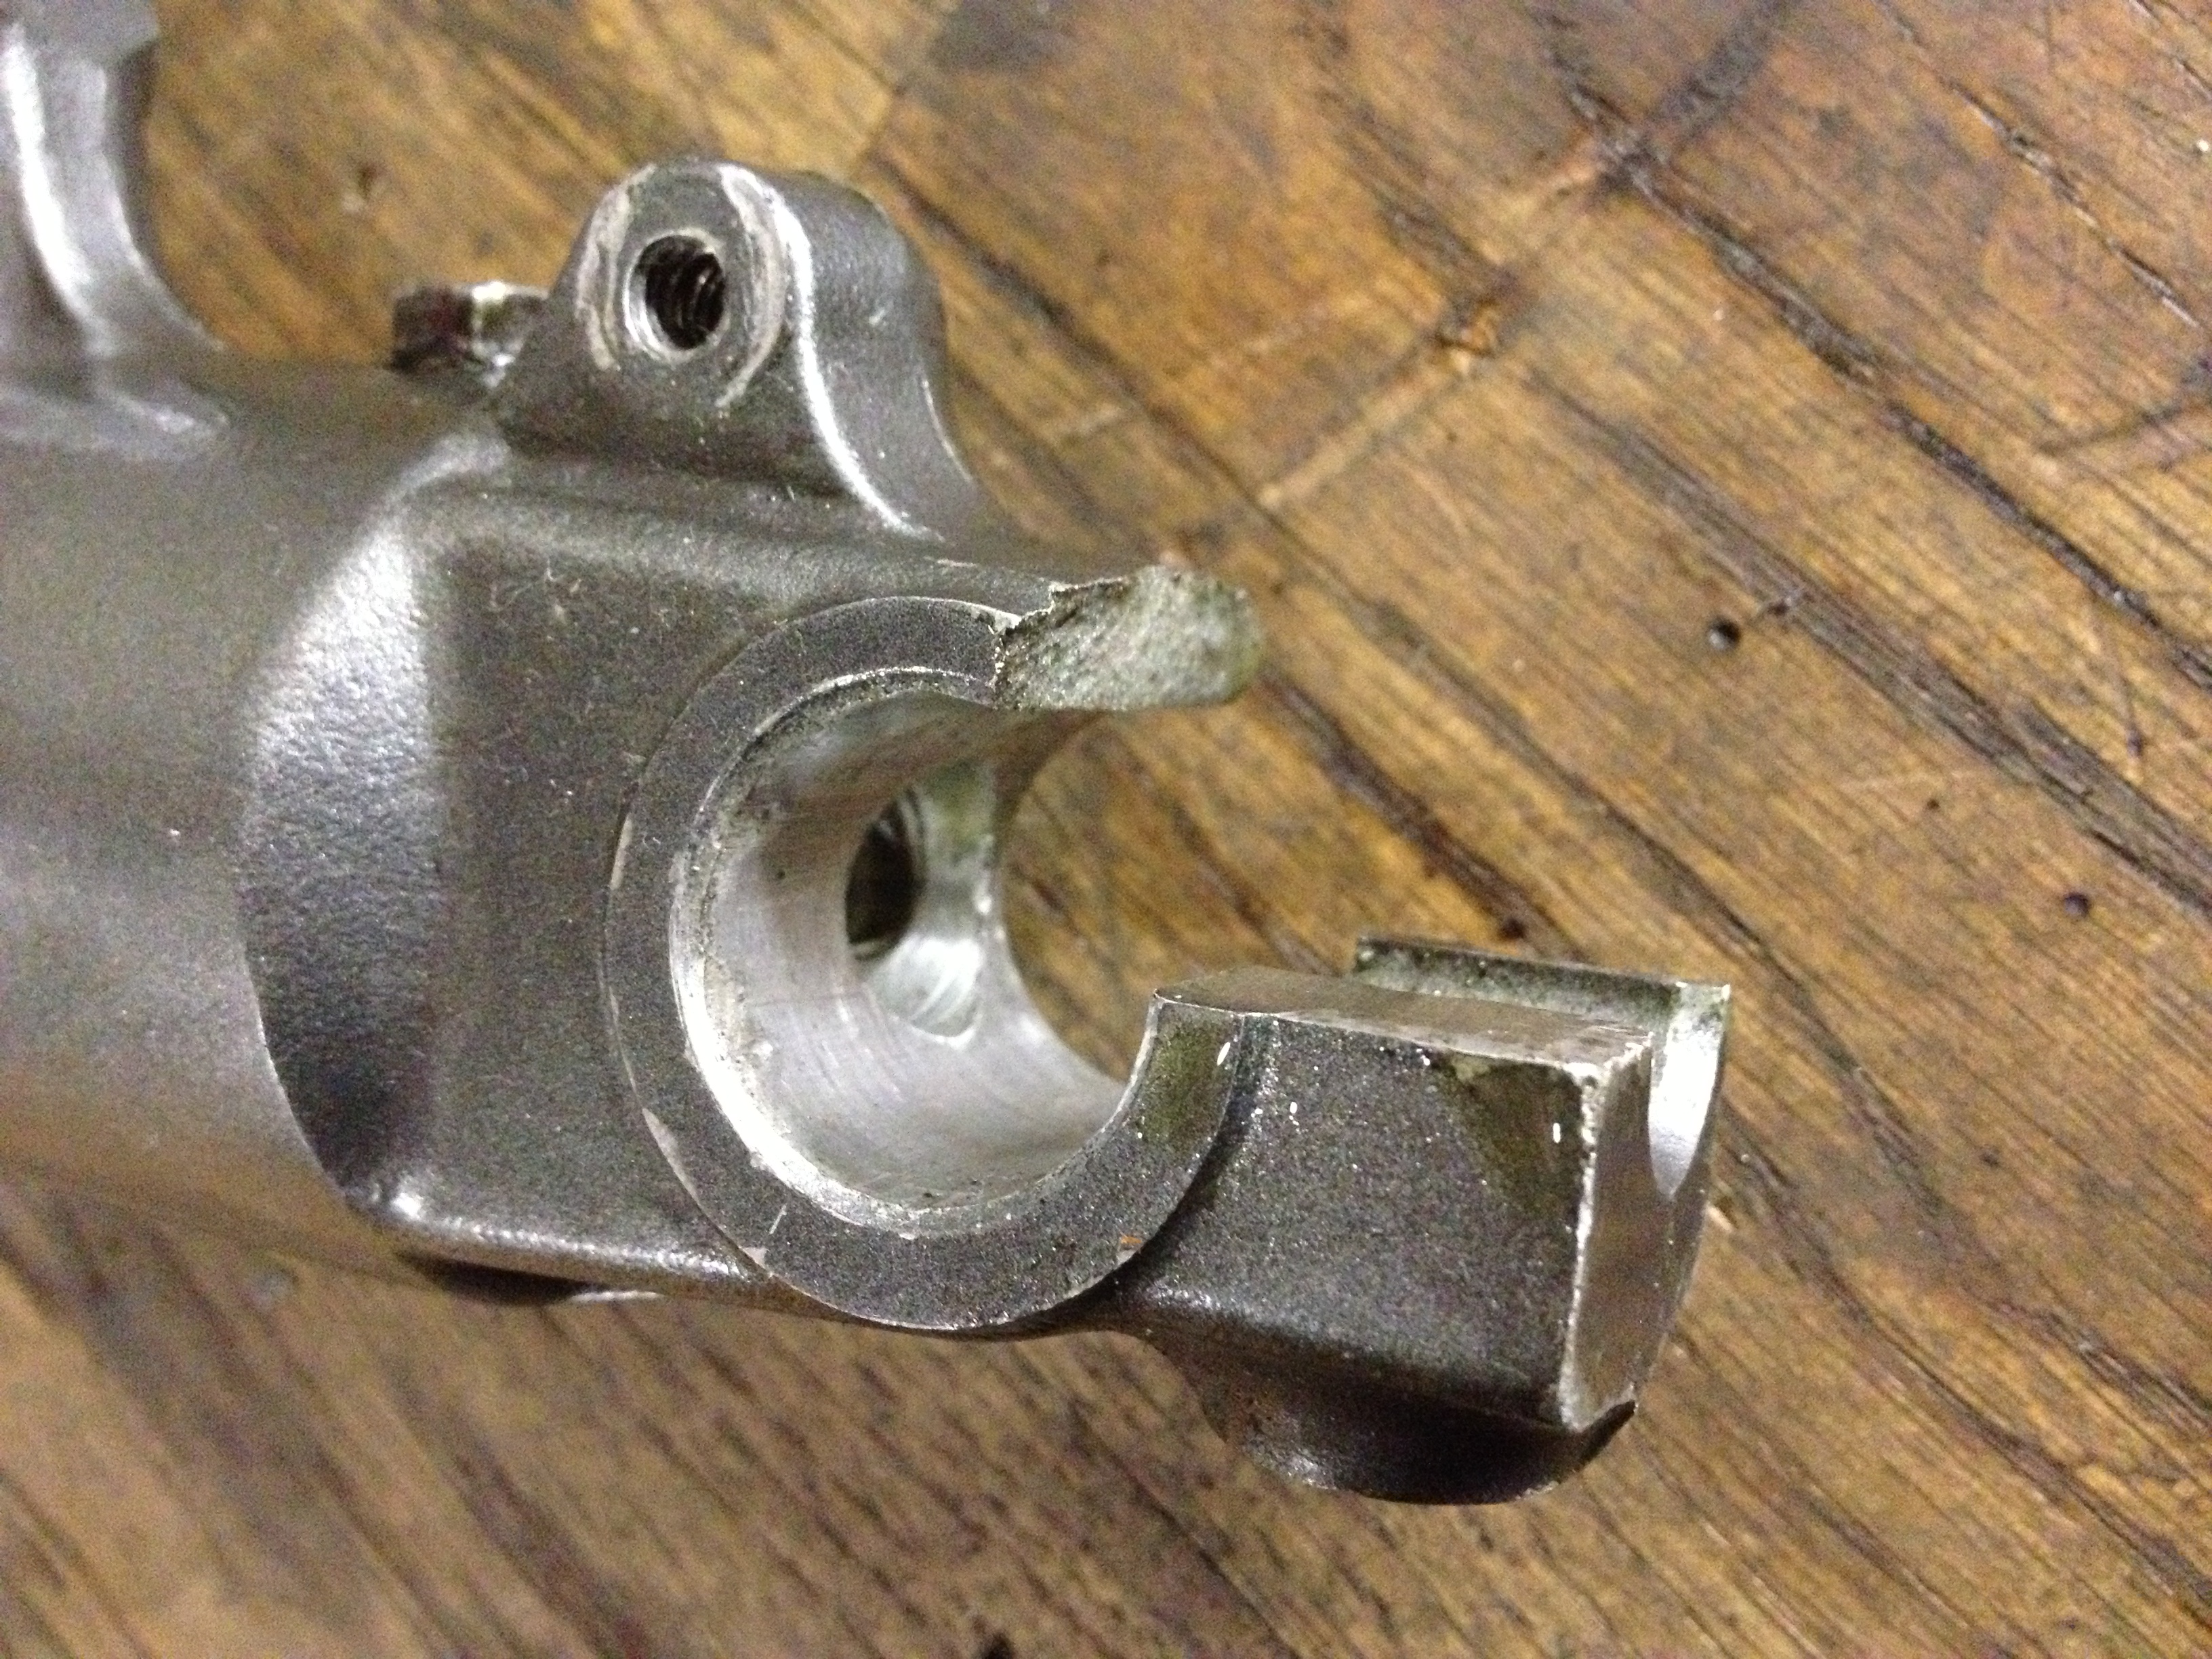
After some dissassembly of the the Suzuki and Triumph forks to take measurements it was clear there was some signiffent differences in the two. Now just to figure the workaround.
Continue reading

Convert-O-Bike Project (Final)

Time keeps moving and I found myself a day away from Emmett’s birthday, needing to get down the shop to finish up. Still had the rear fork/axle to figure out, all the wheel bearings, the crank assembly, and finally, some cleaning up and polishing to do.

Got down there around 3p on Saturday, put some good music on and grabbed a big mug of coffee. I had a great time, which is what this is supposed to be all about. I was done by seven. Megan thought for certain that I’d be my usual maniacally obsessed self and get home at three in the morning. Sorry to disappoint.

Emmett loves it! I may have created a monster. He said nothing other than “Bike! Bike! BIke!” all morning after we gave it to him. His legs are about two inches too short to fully engage the pedals, but it’ll be no time at all until it fist him perfectly. He demanded that I push him all around the house while he steered, which I was happy to do.

Details of the build are in the pics as always. This was a fun one. Thanks for joining me.

Jason

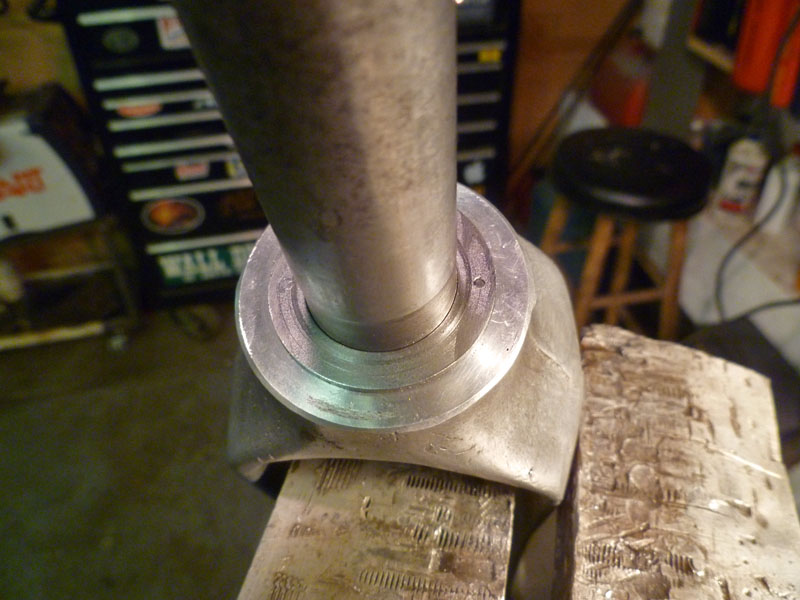
I embedded a hardened steel thrust bearing into a counter-bore in the bronze bearing between the fork and head tube so the original material would not get worn away. Here you can see it pinned in place so it doesn’t rotate against the aluminum shoulder.

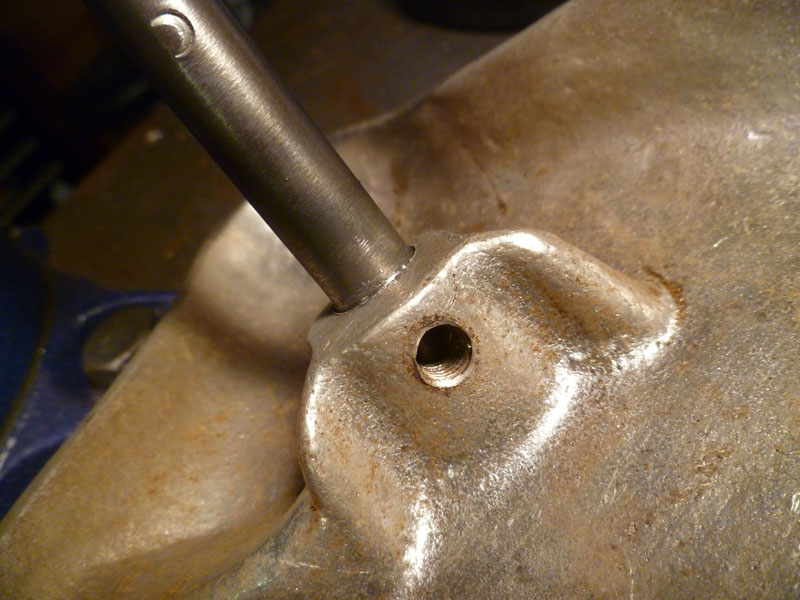
The seat post fit in the seat was hammered, leaving the seat wobbly and about to fall off. I built up the post with welding rod and turned it back down to a large enough diameter to press fit into the seat. The set screw remains although is now basically only for decoration.

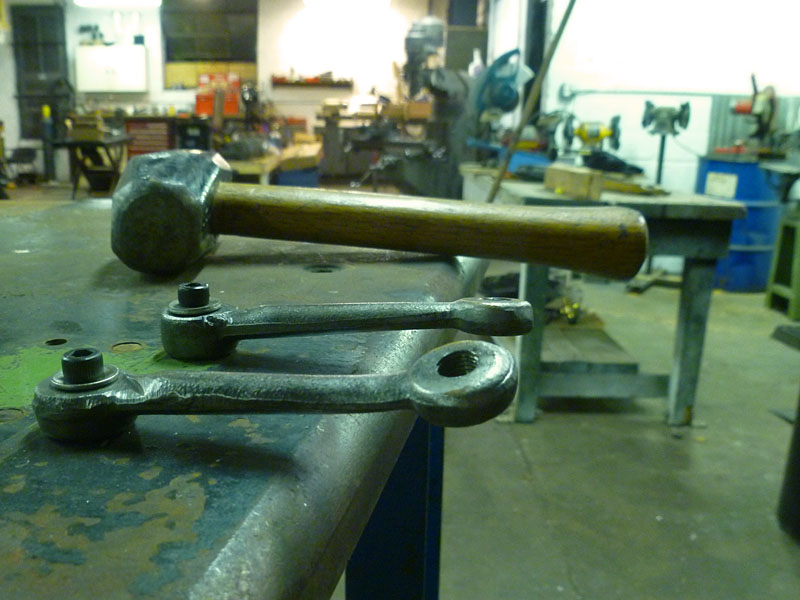
By this point, I was pretty certain this tricycle had been backed over by a car in someone’s garage. The cranks were twisted and bent pretty severely. Luckily we have a heavy duty jig/welding table in the shop. Bolted the cranks to the table next to each other so I could straighten them out with heat and a large pipe.

Continue reading