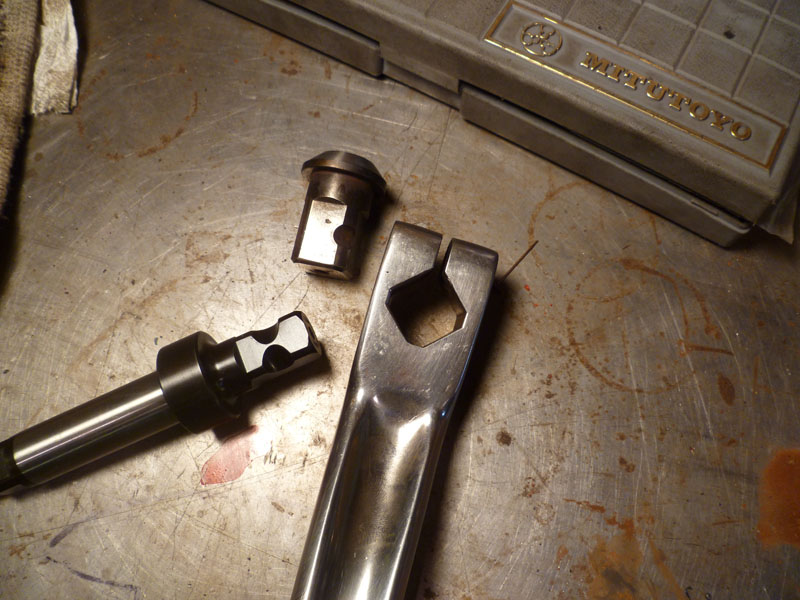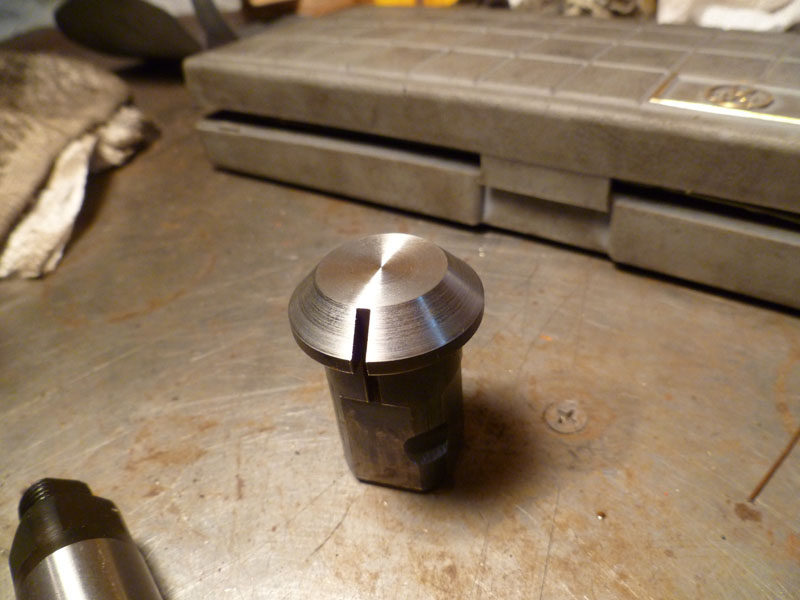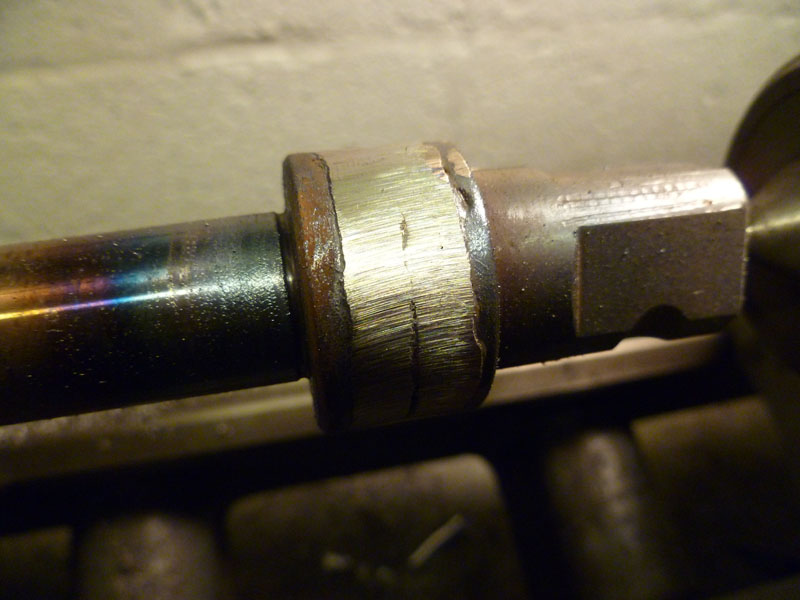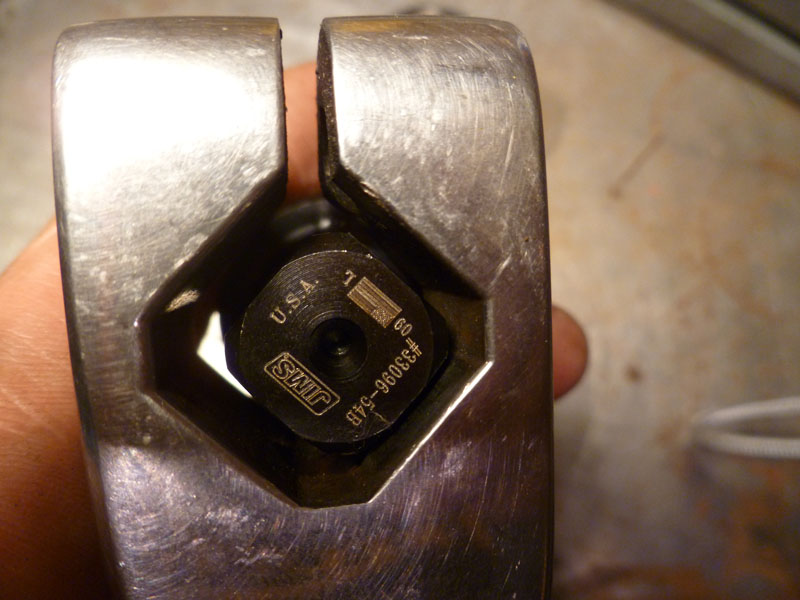
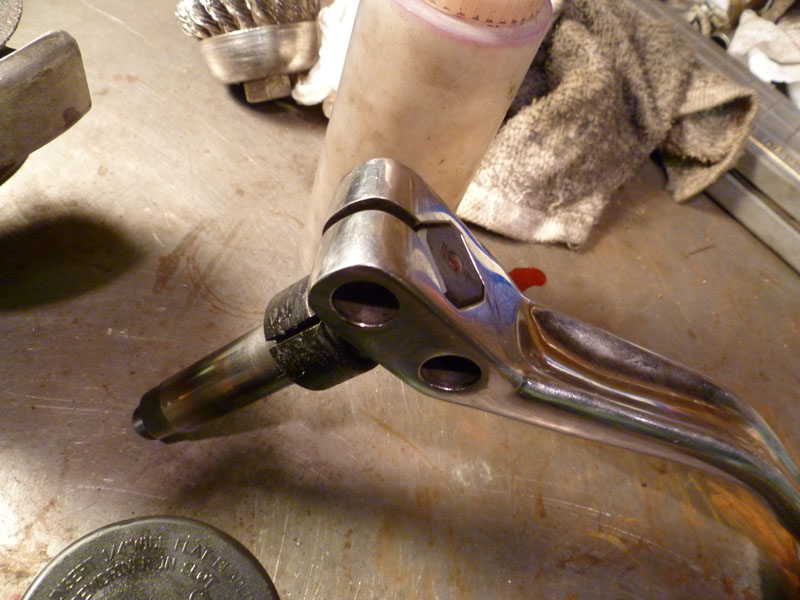
Hmmmm. How to make this part fit that part. . . I don’t think smashing it closed and bolting it down will do.
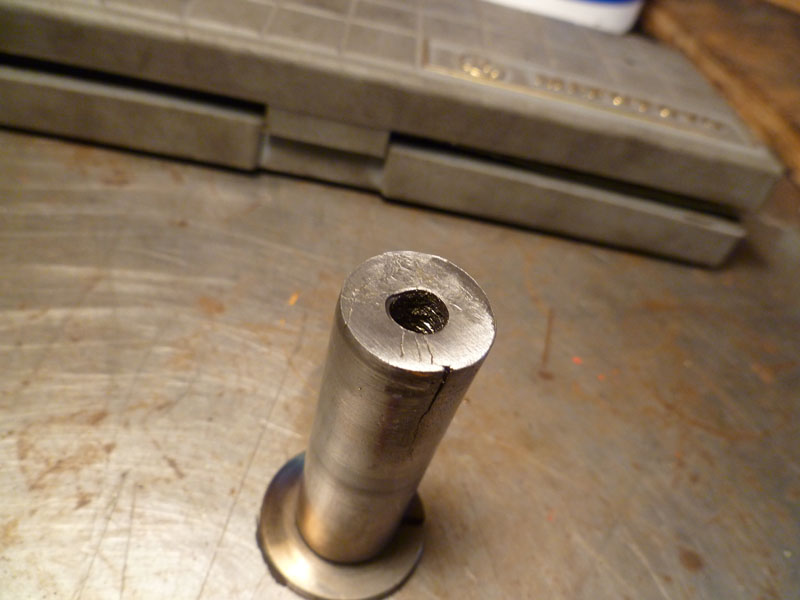
So as I’m leaving to go for a ride a couple weeks ago the kicker on the red & black pan gets stuck in the bottom position and no longer turns the motor. There were no noises or other indications that the shaft had broken, but it did. A number of years ago I fixed this shaft when the threaded boss for the internal gear sheared off. That one was my fault. Sometimes I’m still a gorillla-fist and tighten things too much. I machined off the end and tapped it for a retainer screw and made a thick retainer washer. This fix lasted about five years. Not bad.
At that time I was too stubborn to buy a new shaft as I thought they were too expensive at almost a $100. Well, now you can’t get one at all for any price. I searched pretty thoroughly. Seems they stopped making them. The shaft for this particular kicker has an oversized boss where the arm attaches for increased strength. The arm has an extended length compared to stock, too. The attachment point on this one measures at .788″ where a stock one is closer to .600″. That’s a big difference to cover by fashioning some kind of shims but I imagine it could be done.
I ordered a replacement shaft of stock dimension from the local shop (Riverside Cycles in Phila) and figured I’d come up with an idea for how to make it work shortly. It came to me later that day: Cut the old shaft in two, keeping the oversize arm attachment portion. Cut a perfectly good brand new shaft in two, keeping the internal gear and shaft portion. Weld them together. What makes this job tricky is that the shaft material is extremely hard, tempered and precision ground. You can’t weld at the shaft as you’d have no way to grind it back down to original dims. It’d also probably be weak. I decided to cut them off just behind the arm attachment point, taper them down to a “V” shape to allow deep welds and then clean up the welds back to original size.
Guess there’s no way you can claim to know how to weld if you don’t trust your own work. This application will be good test. You can imagine that there are major forces exerted at the repair point including flex and torsion. I don’t claim to be a welder but I have welded a ton of parts for my bikes and a few others’ that have held up just fine. I know the machine I have very well and can generally be confident in my work. I also have fucked up a bunch of stuff. . . and like to think I learned from it. We’ll see with this one.
I was pleased with how this came out in that at least it looks decent enough. I’ll see if it holds in real life. This kicker is used to start a 93ci shovel/panhead motor with 9:1 compression. Not huge, but no 350 Honda either. I’ll keep you posted.
Let’s get to it. Pics and steps after the jump . . .

Hmmmm. How to make this part fit that part. . . I don’t think smashing it closed and bolting it down will do.
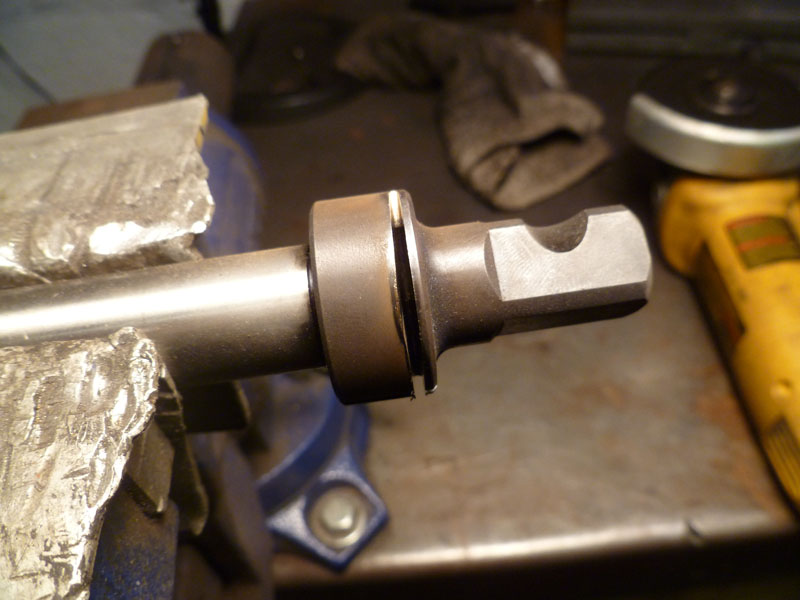
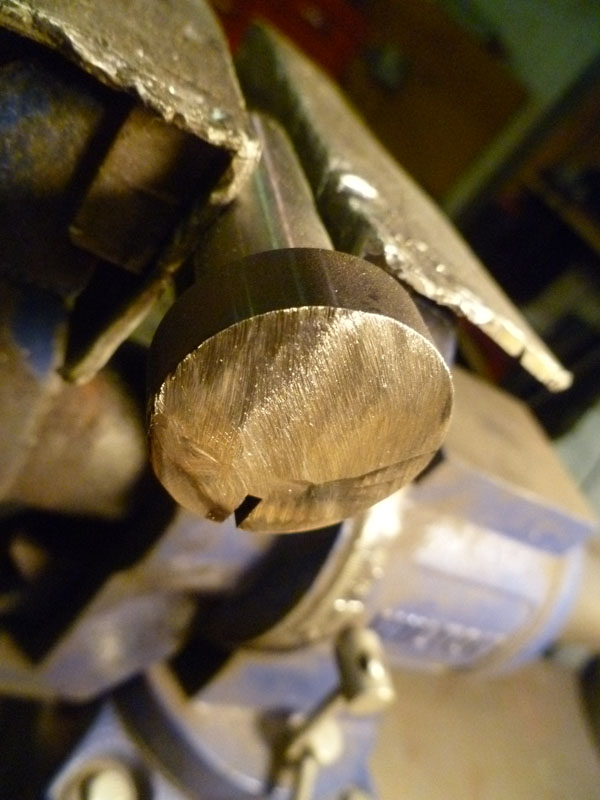
Those shafts are made out of some tough metal. Took quite a while to cut through them with a cut-off wheel.
![kkrfaced[1]](http://www.greasygringo.com/wp-content/uploads/2011/10/kkrfaced1.jpg)
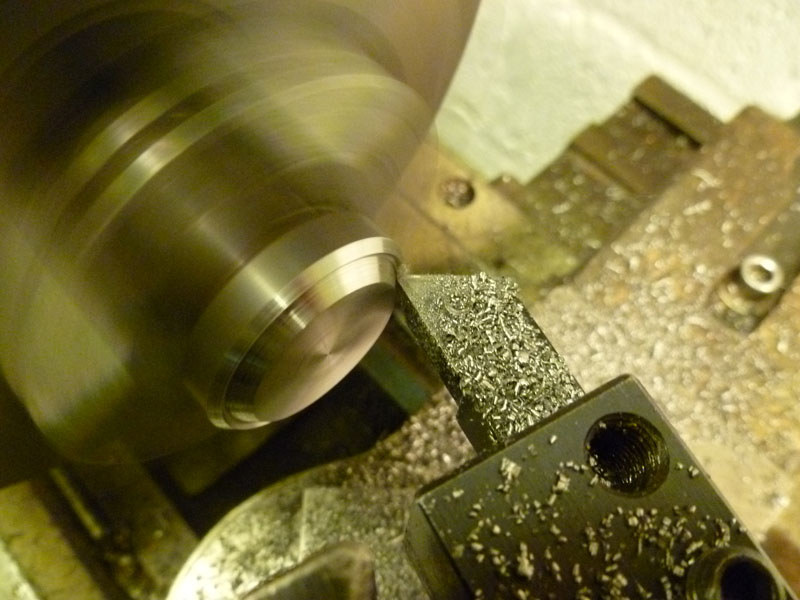
Facing off the pieces to be kept on the lathe. Note my lathe has a beer holder, the very latest in safety technology. If you spill your beer, you shouldn’t be near a lathe or any power equipment.
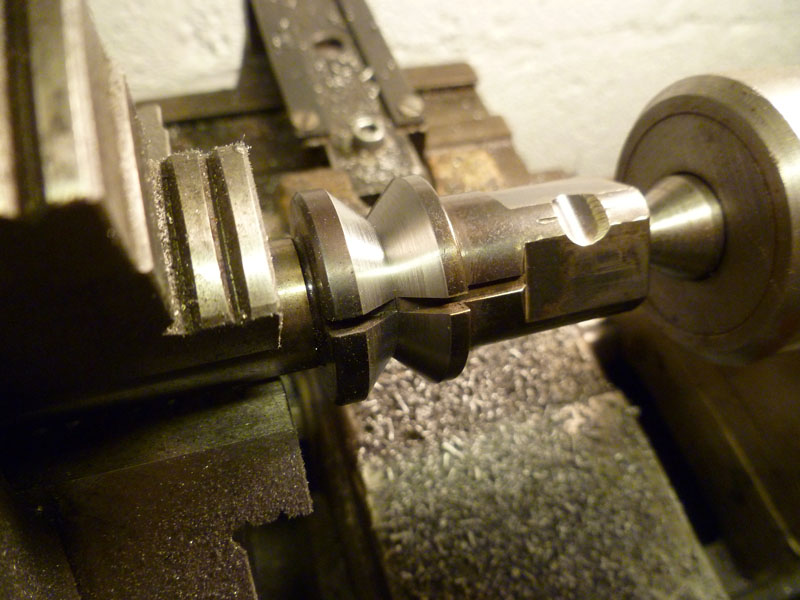
Since the parts need to be perfectly aligned and straight, why not use the lathe as a welding fixture? Disengaging the drive and using a live center allowed me to rotate the part freely while welding.
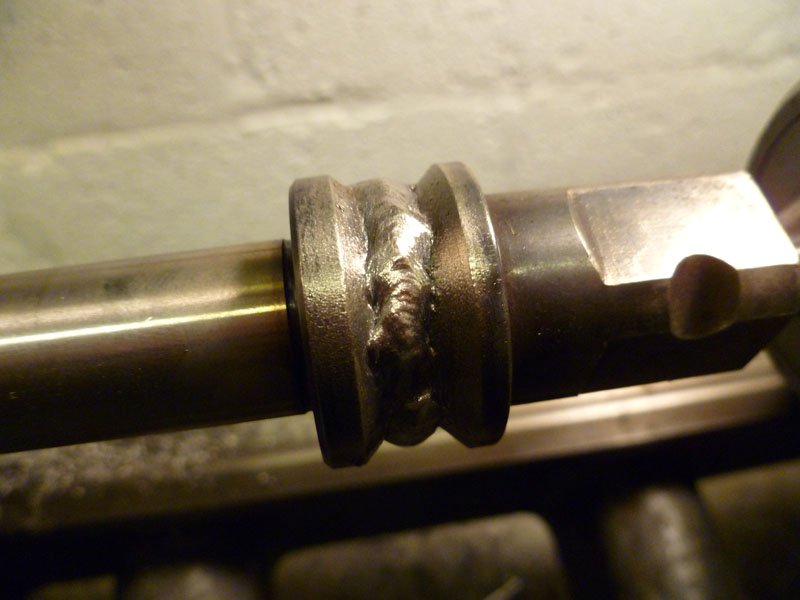
A little inconsistent on the root pass. I decided to setup a small table jack next to the lathe bed to rest my arm on while welding. The next passes were much, much nicer. I’ve been told that good welding is 80% good positioning hundreds of times. Guess there’s something to that.
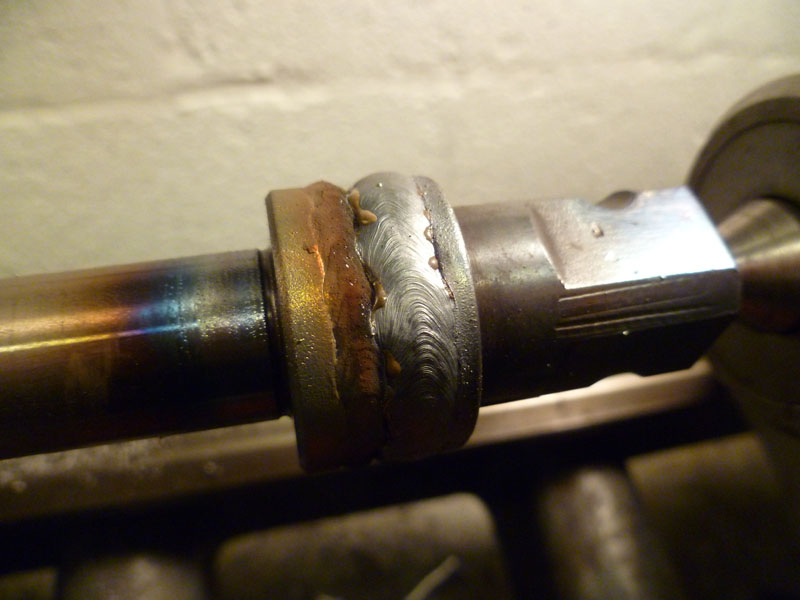
After three or four fill passes. Plenty of penetration and not undercut too badly. Some splatter to clean up, though.
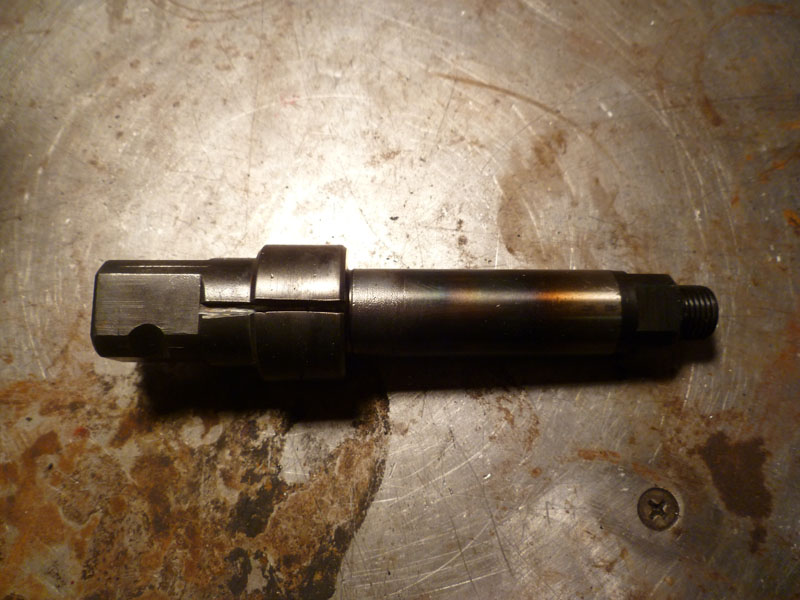
After cleaning up O.D. on the lathe and re-opening the slot of the kicker return spring. I stress-relieved the weld by bringing it up to just a light straw color with the torch and cooling it slowly. While I don’t believe I reached critical temp and weakened the part, my knowledge of heat treating and tempering is minimal at best. I generally harden and quench parts and half-ass temper them as I don’t have an ash box or treating oven.
Covered the fixed area with some spray paint to help fight rust. Looks decent enough. We’ll see how it works.
UPDATE: It’s now been three months since this fix and it’s a winner!
-Jason

